Are you ready to save the planet and get crafty at the same time? Try paper mache, the OG sustainable crafting technique that’s been around for centuries. Not only is it easy on your wallet, but it’s also a super eco-friendly alternative to those icky plastics and synthetic adhesives.
Contents
Why Paper Mache?
This blog post will explore the numerous benefits of paper mache, from its low environmental effect to its versatility as a crafting medium. Whether you’re an experienced crafter or a newcomer to the world of DIY, there’s no denying the appeal of this simple yet effective technique.
By using paper mache in your crafting projects, you’ll be doing your part to promote sustainability and reduce your carbon footprint. So, if you’re looking for a fun and creative way to express your artistic side while also helping the environment, look no further than paper mache. Delve in and discover all the many benefits of this craft!
Transform ordinary paper into extraordinary art!
With paper mache, you can transform ordinary paper into extraordinary art. From sculptures to masks, there are a lot of options to choose from.
Not only is it easy to work with, but it’s also incredibly sustainable – you can even make your own paste with just glue and water! And with the added benefit of being budget-friendly, you can create art without spending much money. Whether you’re a seasoned crafter or a beginner, it’s a craft you will really enjoy!
Gather the supplies and start crafting!
Paper mache is a fun and inexpensive craft that requires just a few basic supplies. Here are the supplies you will need to get started:
- Paper: You can use any kind of paper, but the newspaper is the most commonly used. You can also use tissue paper, scrapbook paper, or any other thin paper.
- Glue: You will need glue that can be thinned with water, such as white school glue, Mod Podge, or wallpaper paste.
- Water: Use water to thin the glue and make a wetting agent for the paper.
- Bowl: Pick the perfect bowl to properly combine your glue and water.
- Balloon, Cardboard Box, or Wireframe: You will need a form to create your project. A balloon is a common choice, but you can also use a cardboard box, a wireframe, or any other object that can be covered with paper mache.
- Paint: Once your project is dry, you can paint it with acrylic paint, tempera paint, or any other type of paint.
- Brushes: You will need brushes to apply the paint to your project.
- Scissors: Make sure you have a good pair of scissors to easily cut the paper into strips or shapes.
- Plastic Wrap: You can use plastic wrap to cover your form before applying the paper mache, so it will be easier to remove the form once the project is dry.
- Optional Embellishments: You can add embellishments to your project, such as glitter, sequins, or beads.
With these basic supplies, you can create a variety of paper mache projects, from pinatas and masks to bowls and puppets.

Have fun creating extraordinary paper mache objects!
Paper mache is a versatile craft that can be used to make a variety of projects. Here are some ideas to get you started:
Pinatas
Pinatas are a popular party game in which participants take turns hitting a paper mache object until it breaks open and spills out its contents. The contents can be candy, small toys, or other treats.
- To make a pinata, you can start by inflating balloons to the desired size and shape.
- Then, you can mix together some paper mache paste (made with glue and water) and cut strips of newspaper or other thin paper.
- Dip the paper strips into the paste and layer them into the balloon, smoothing out any wrinkles or bumps.
- You can repeat this process several times until you have a thick layer of paper mache.
- Once the paper mache is dry, you can paint it in any colour or design you like. You can also add tissue paper or crepe paper fringe to create a decorative effect.
- To fill the pinata, you can cut a small hole in the top or bottom and insert candy or small toys.
- Cover the hole with more paper mache or tissue paper.
When it’s time to use the pinata, you can hang it up and let participants take turns hitting it with a stick or bat. It’s a fun and interactive party activity that can be customized to match any party theme or occasion.
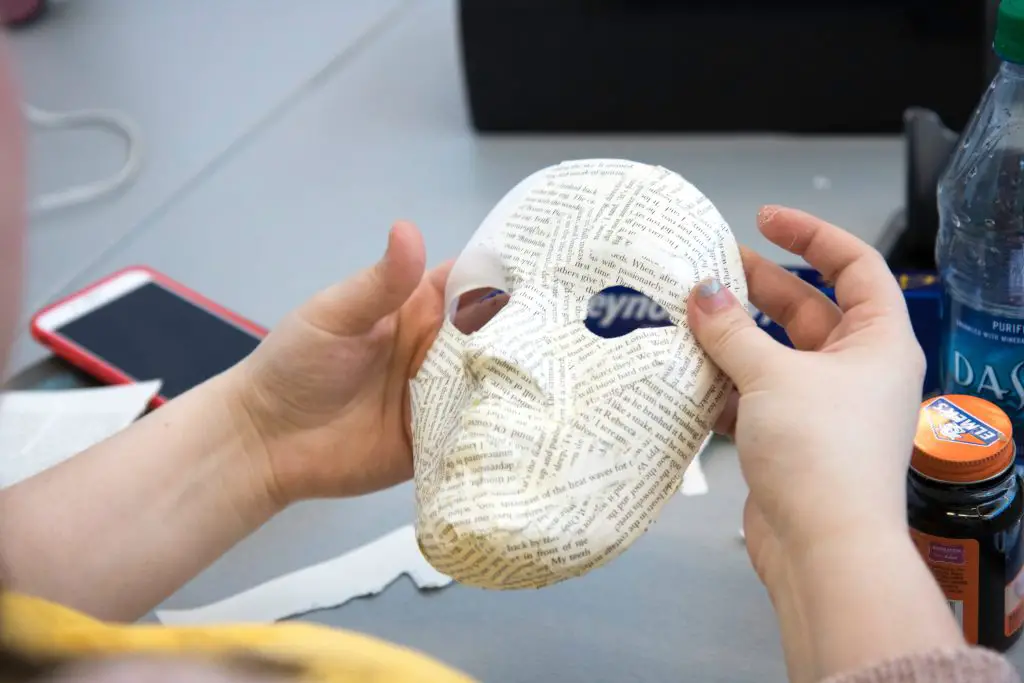
Masks
Paper mache masks are a fun project for kids and adults alike. You can make animal masks, superhero masks, or any other kind of mask you can imagine.
- Make sure you have newspaper strips, water, glue, a balloon or a mask form, and any additional materials you want to use to decorate your mask.
- Then, mix up the paper mache paste. Mix equal parts of glue and water until you get a smooth consistency.
- Dip the newspaper strips in the paste, making sure they are fully coated, and then apply them to the balloon or mask form.
- Repeat this process until you have several layers of paper mache.
- Once it’s dry, you can paint and decorate your mask to your heart’s desire.
That’s it you have a paper mache mask. Are you ready for some serious compliments on your DIY skills?
Bowls
Paper mache bowls are a functional and decorative project. You can make them in any size or shape, and paint them to match your decor.
Here are the steps to make a paper mache bowl:
- Inflate a balloon to the desired size of your bowl.
- Cut newspaper strips or torn paper into small pieces.
- In a mixing bowl, prepare the paper mache paste by mixing flour and water or white glue and water. Make sure the consistency is smooth and not too runny.
- Dip the newspaper strips or torn paper into the paste, one at a time, and apply them to the surface of the balloon. Cover the surface of the balloon halfway, leaving an opening at the top.
- Repeat the process, adding 2-3 layers of paper mache. Allow each layer to dry before adding another.
- Once the paper mache is dry, pop the balloon and remove it from the inside of the bowl.
- Use scissors to trim the edges of the bowl to the desired shape.
- Let the paper mache bowl dry.
- Paint it with acrylic paints in any design or pattern you like. Before using the bowl, give enough time for the paint to become dry.
Congratulations! Your paper mache bowl is now ready to use!
Sculptures
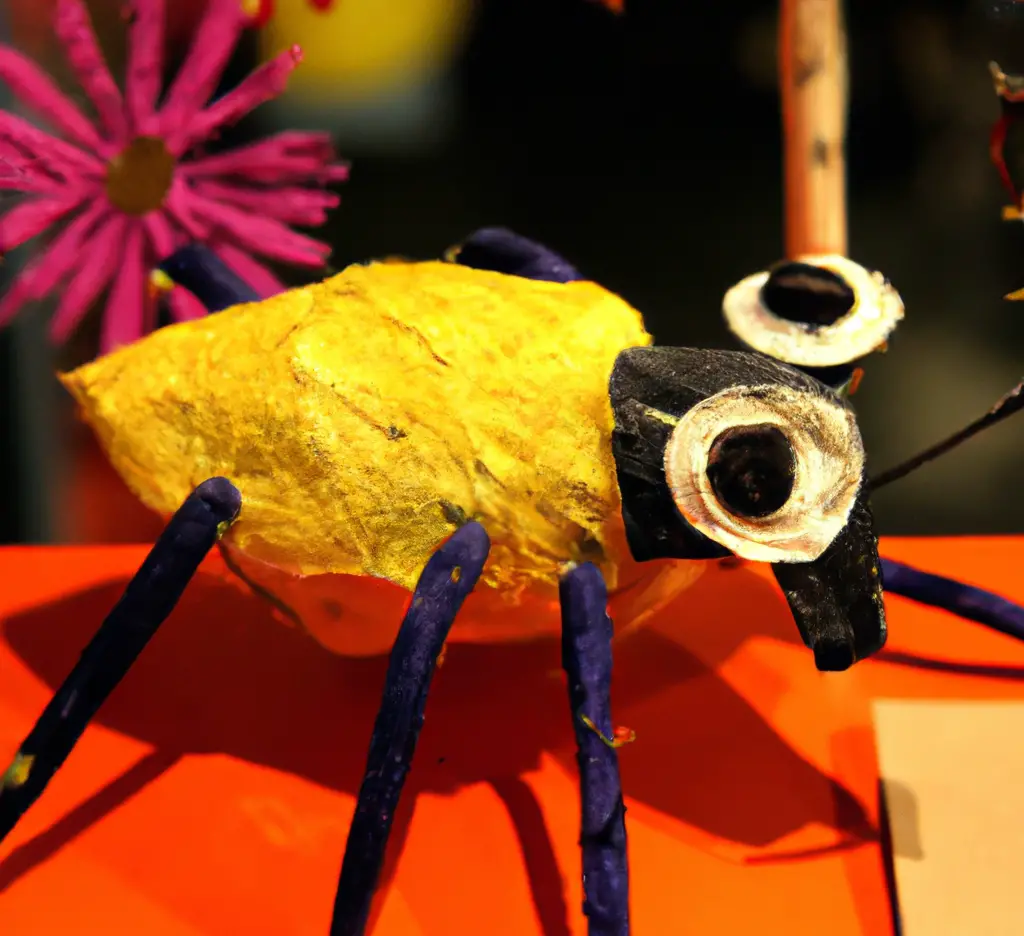
Paper mache sculptures can be simple or complex. You can create animals, people, or abstract shapes. The paper mache dog is one best examples. Here’s how to make one:
- Make a frame of a dog’s body using cardboard or wireframes.
- Tear strips of newspaper or tissue paper into small pieces.
- Mix equal parts of white glue and water in a bowl until it becomes a paste.
- Dip a strip of paper into the glue mixture and remove any excess glue by running it through your fingers.
- Place the strip on your frame and smooth it out with your fingers.
- Continue adding strips of paper until the entire surface of the balloon is covered. Make sure to leave a small opening at the bottom for the dog’s legs.
- Allow the paper mache to dry, which can take a few hours.
- Cut out four legs from cardboard or other stiff paper and attach them to the body using glue.
- Use additional paper mache to sculpt the head and ears of the dog. Carefully sculpt the eyes, nose, and mouth. Allow it to dry.
- Paint the dog with acrylic or tempera paints to give it colour and texture.
- Allow the paint to dry, and your paper mache dog is ready to be displayed or played with!
Note: Be creative with your paper mache dog’s design and features. You can also add a tail or collar to make it unique and personalized.
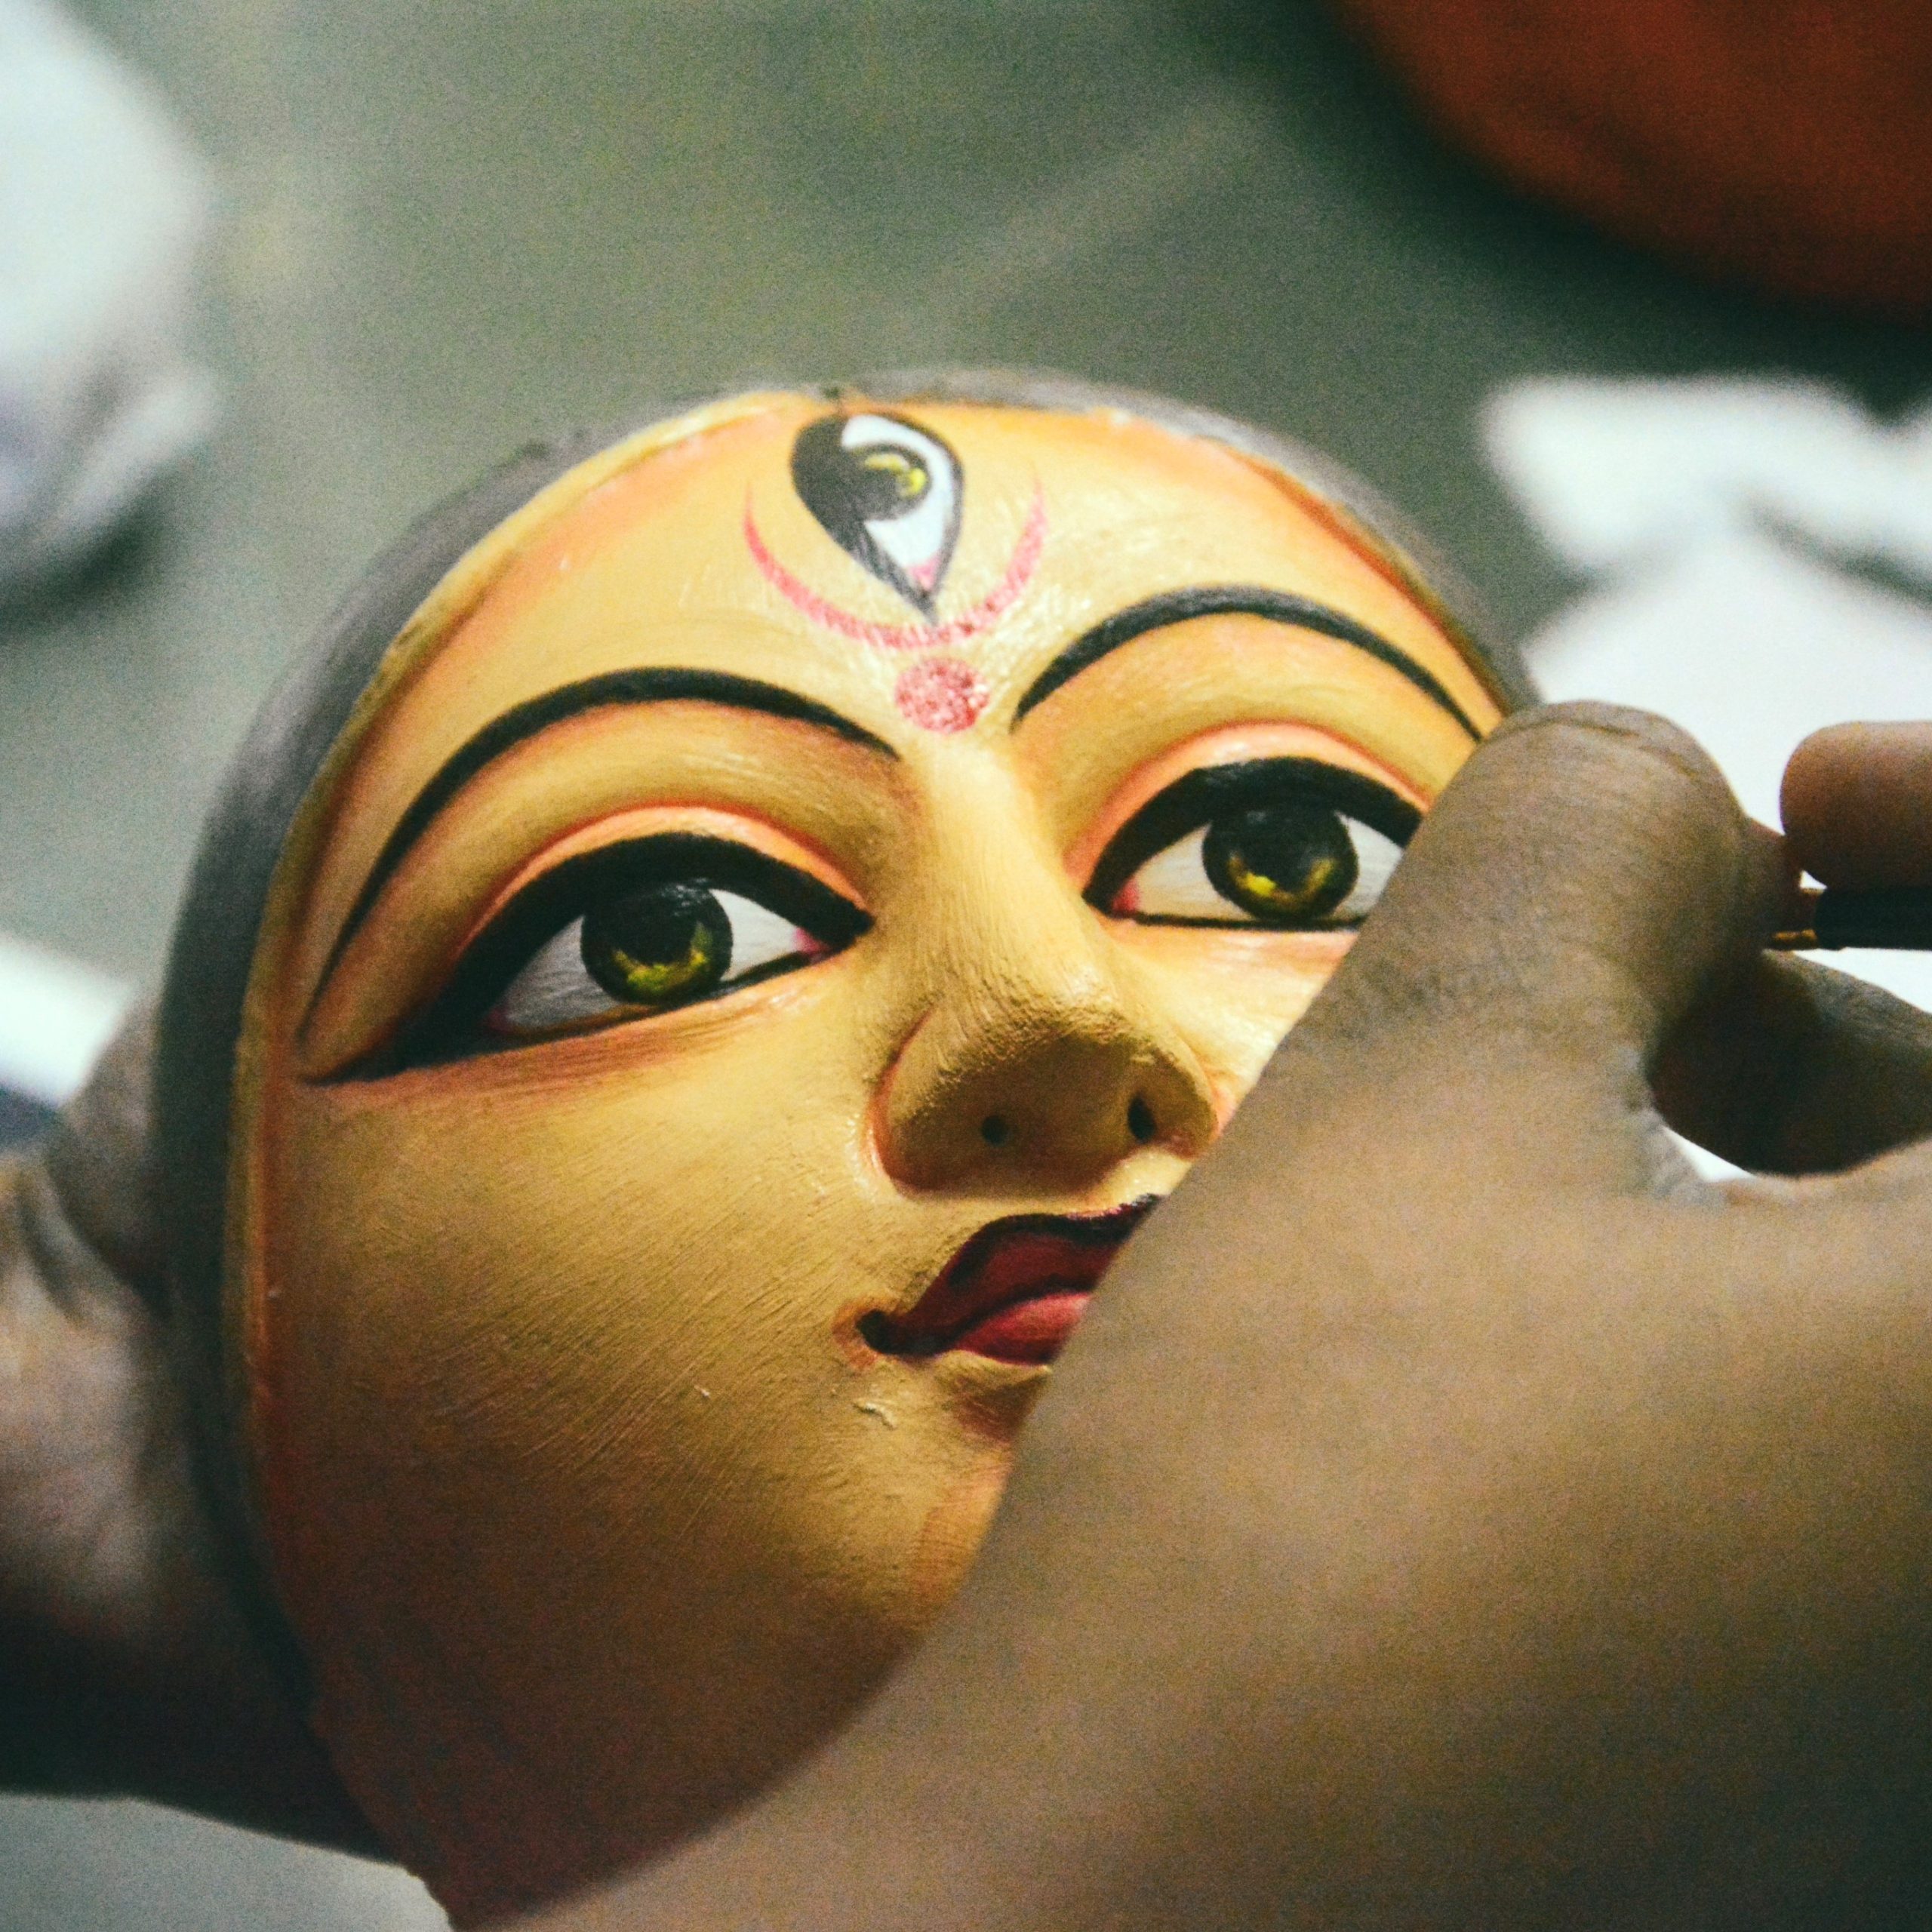
Puppet’s Head
Paper mache puppet heads are a fun project for kids. You can make hand puppets, finger puppets, or even marionettes. Here are the steps to make a paper mache puppet:
- Decide on the type of puppet you want to make (hand puppet, finger puppet, or marionette).
- Inflate a balloon or any other circular object you can use as a mould for the puppet’s head.
- Mix equal parts of white glue and water in a bowl until it becomes a paste.
- Tear strips of newspaper or tissue paper into small pieces.
- Dip a strip of paper into the glue mixture and remove any excess glue.
- Place the strip on the balloon or your mould and smooth it out with your fingers. Continue adding strips of paper until the entire surface of the balloon or glove is covered.
- Allow it to dry, which can take hours.
- Once it is dry, pop the balloon or remove it from your mould.
- Cut out the desired shape of the puppet’s body, arms, and legs from cardboard or other stiff paper.
- Attach the cardboard pieces to the head using glue.
- Use additional paper mache to sculpt additional features, such as eyes, nose, mouth, ears, or hair. Allow it to dry.
- Paint the puppet with acrylic or tempera paints to add colour and texture.
- Allow the paint to dry so you can start using it!
You can add clothing or accessories if you want to make your puppet more appealing. If you’re still feeling inspired, there’s a similar project that you can also get yourself into, the DIY Lego man costume! The material you’ll need, which is a box, is also super affordable!
Summary
To sum it up, paper mache is a versatile and sustainable craft solution that can bring life to your creative ideas, without spending much money. It’s a fantastic way to reuse materials and transform them into something new and beautiful.
It is eco-friendly! Plus, it is a fun way to engage in art and craft projects with friends and family. By exploring different techniques and finding inspiration, you can create truly unique and environment-friendly pieces through paper mache.


