Creativity can be a fickle thing. It’s what makes the world of beadwork so captivating and dynamic, and what endears so many to the art form. But, sometimes inspiration can be elusive, and finding that perfect balance between originality and practicality can be challenging.
It’s enough to make even the most experienced beader break into a cold sweat. But don’t worry, whether you’re a seasoned pro or a newbie on the block, here you’ll find the inspiration that you’ll need to create some seriously epic beadwork patterns!
Extraordinary Beading Patterns to Try
This blog post will explore some techniques and strategies for drawing inspiration to craft your unique beaded masterpiece. From exploring traditional patterns to experimenting with new materials and techniques, there are countless ways to incorporate your own personal style into your beadwork patterns.
This will also delve into the importance of trial and error, and how to approach mistakes as opportunities for growth and creativity. By the end of this post, you will be bursting with innovative ideas and fearless confidence to craft the most stunning and one-of-a-kind beadwork patterns that will have everyone in awe!

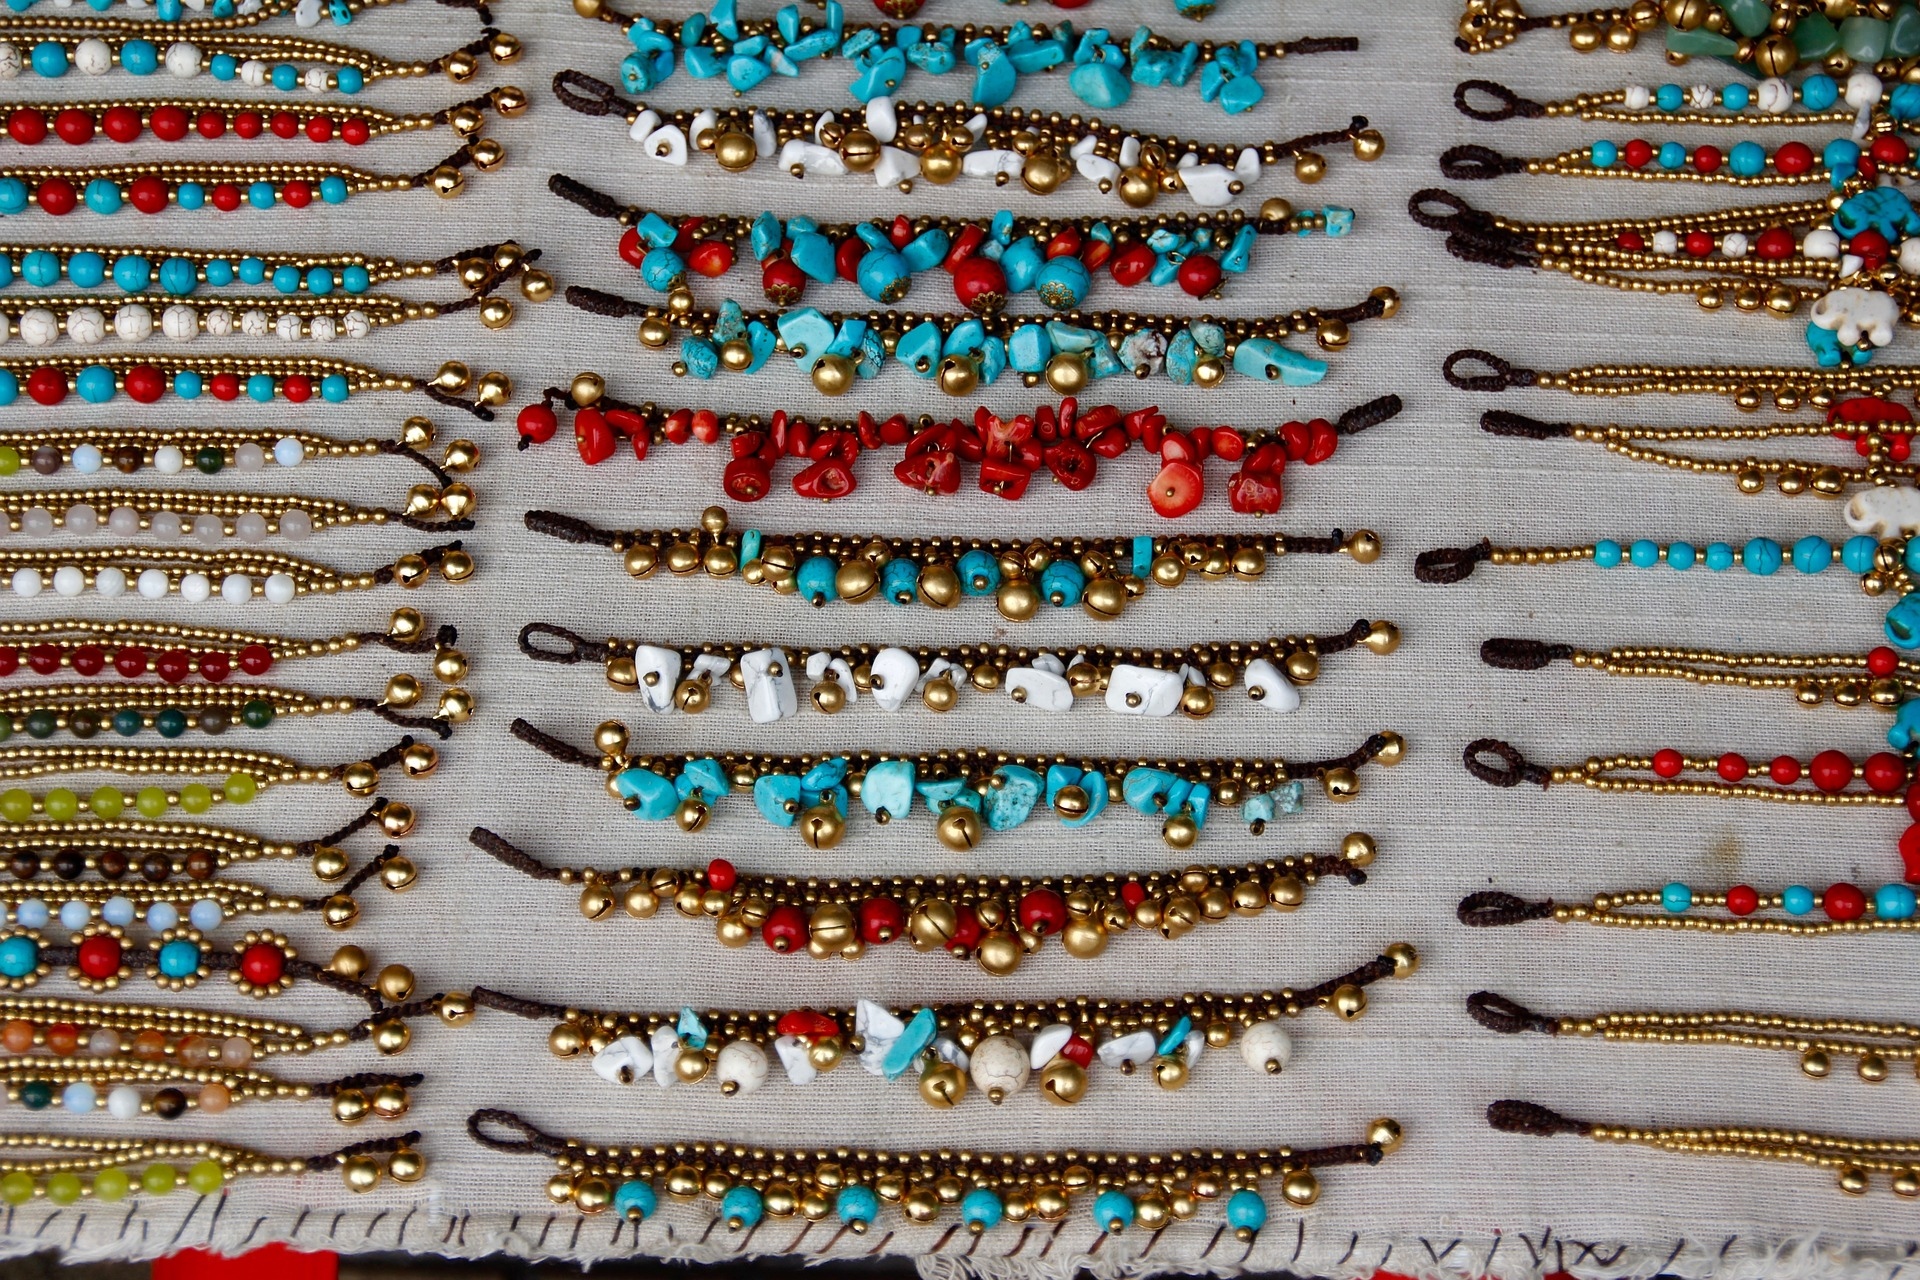
Unique beading patterns are created by combining different types of beads, colours, and patterns creatively and originally. The process involves creating a design on paper, selecting the appropriate materials and then carefully stringing and weaving the beads together to create a beautiful and unique piece of jewellery or decorative object.
To make your beadwork patterns truly unique, you can experiment with different colour combinations, bead sizes, and textures. You can also add different types of embellishments, such as crystals, pearls, and charms, to add more interest and dimension to your beadwork patterns.
There are many examples of unique beading patterns, as creativity and experimentation make them limitless. Here are a few examples:
Spiral Stitch
This beading technique is often used to create necklaces and bracelets. It involves creating a spiral pattern using a continuous strand of beads.
To create a spiral pattern, the beader typically starts with a small circle of beads and gradually adds more beads in a circular pattern, working in a spiral motion as they go. This creates a spiral effect that can be continued until the desired length is reached.

Netting Stitch
The netting stitch technique can be used to create bracelets, necklaces, and other pieces of jewellery. It involves weaving beads together in a mesh pattern to create a net-like fabric.
To create a netting stitch, the beader typically starts by stringing a row of beads onto their beading thread. They then use additional thread to weave through the beads, creating a mesh-like pattern. This process is repeated, with the beader adding additional rows of beads and weaving them together to create the netting effect.
Fringe beading
Fringe beading is also commonly used to create accessories like earrings, necklaces, and other pieces of jewellery. It adds strands of beads to the edges of a piece to create a fringe effect.
To create a fringe, the beader typically starts by creating a base piece, such as a bracelet or necklace, using another beading technique. They then add strands of beads to the edges of the piece, either by attaching them directly to the base piece or by using additional thread to create the fringe.
Bead Embroidery
The bead embroidery technique can be used to create intricate designs and beadwork patterns on clothing, accessories, and home decor items. Personalized aprons are the perfect example of these, with the use of beads to embellish the fabric.
The beader typically starts with a piece of fabric or material that they want to embellish with bead embroidery. They then use a needle and thread to stitch beads onto the surface of the fabric, creating a design or pattern.
Bead Crochet
The bead crochet technique is normally used to create accessories as well. It involves the use of beads to create a crochet fabric.
To create bead crochet, the beader typically starts by stringing beads onto their crochet thread. They then use a crochet hook to work the thread and beads together, creating a crochet fabric that incorporates the beads. The beads can be incorporated into each stitch or added intermittently, depending on the desired beadwork patterns.
Craft Beadwork Patterns in 6 Easy Steps
Creating your own unique beadwork patterns can be a fun and rewarding process. Here are some steps you can follow to create your own unique beadwork patterns:
1. Design the pattern
The first step in beadwork is to decide on the pattern you want to create. You can either create your own design or use an existing pattern as a guide.
It’s important to have a clear understanding of your beading pattern. This will typically be a diagram or chart that shows the order in which the beads should be strung and any specific spacing requirements.
2. Gather the materials

Once you have your pattern, you will have to gather the materials and tools you will need for your project. The materials needed for creating unique beadwork patterns will depend on the design and technique you choose. But, here are the common materials and tools for this craft:
- Beads (Glass, stone, wood, or plastic)
- Beading thread or wire (Nylon thread, silk thread, beading wire, or elastic cord)
- Beading needles
- Fabric or felt
- Findings such as clasps, jump rings, or ear wires
Tools
- Graph paper or software
- Wire cutters, pliers, or crimping tools
- Beading mat or tray
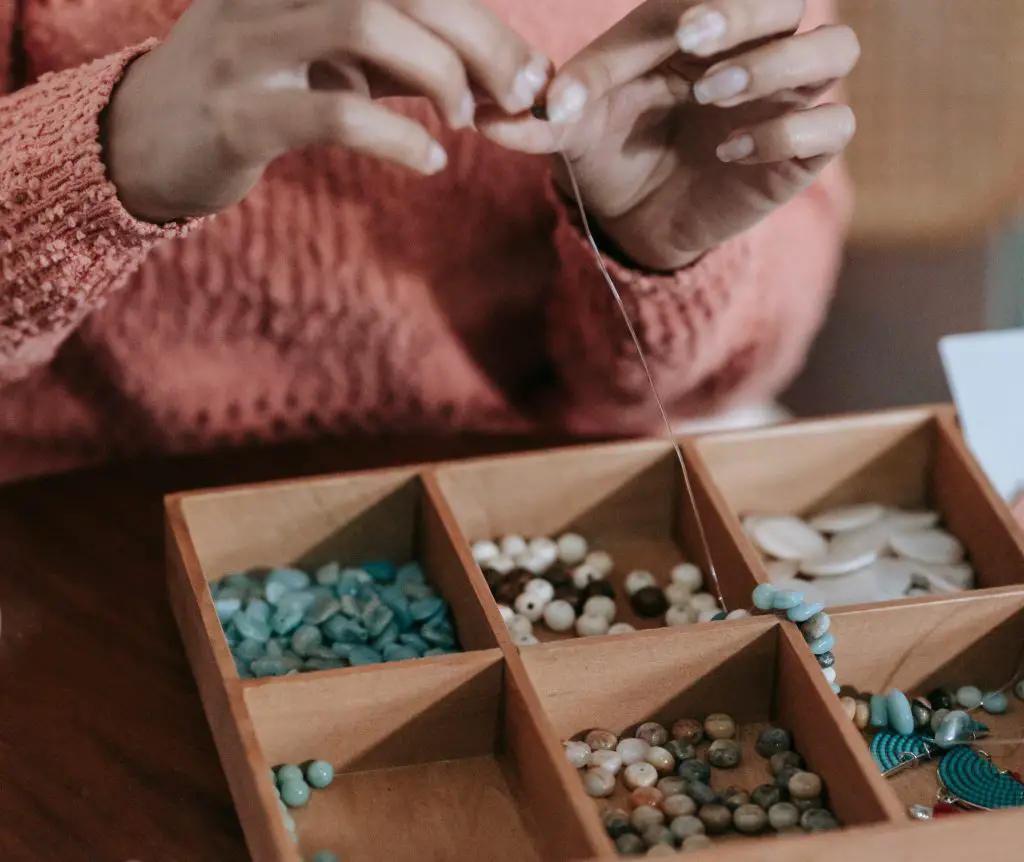
3. Prepare the beads
Before you can start beading, you will need to prepare your beads. This can involve sorting them by colour or size, and possibly cleaning them if necessary.
Prepare your beads so that they are ready for use. It will help you to easily find the beads you need as you work through your pattern. With clean beads, your finished piece will likely also look neat and uniform.
4. String the beads
Once your beads are ready, you can begin stringing them onto your beading thread or wire. You will need to follow your pattern carefully, stringing the beads in the correct order and spacing them out evenly.
To begin stringing your beads, you will need to thread your beading needle or wire through the first bead in your pattern. Then, you will continue to string the beads in the correct order, following your pattern carefully.
5. Add more rows
Depending on your pattern, you probably need to add additional rows of beads to your design. This involves repeating the process of stringing the beads and carefully following your pattern.
To add additional rows of beads, you will start by securing your thread or wire to your work surface. Then, you will begin stringing your beads in the same way that you did for the first row, following your pattern carefully to ensure that the beads are strung in the correct order.
Once you have strung all of the beads for the new row, you will need to pass your needle or wire back through the previous row of beads. This will secure the new row in place and help to create a strong and sturdy finished piece.
Repeat this process several times, depending on the number of rows required by your pattern. Throughout the process, it’s important to keep your work surface clean and organized and to be patient and meticulous in your beading.
6. Finish the project
This can involve tying off the thread or wire, adding clasps or closures, or sewing the beadwork onto a fabric or other material.
If you are making a simple beaded bracelet or necklace, you need to tie off your beading thread or wire once you have added all of the beads. This will help to secure the beads in place and prevent them from coming loose over time. To tie off your thread or wire, you can simply knot it a few times and trim the excess.
For more complex pieces, you will need to add clasps or closures to your beadwork. You can attach a lobster clasp to a beaded necklace or a button closure to a beaded bracelet. You can do this by using wire or thread to attach the closure components to the ends of your beaded piece.
If you are incorporating your beadwork patterns into a larger project, such as a piece of clothing or a home decor item, you likely need to sew your beadwork onto the fabric or other material. Use a needle and thread, and be careful to keep your stitches hidden behind the beads.
Summary
To sum it up, creating unique beadwork patterns is a fun and rewarding process that can help you discover your creativity and inspiration. By following the tips and techniques mentioned in this post, you can learn to draw inspiration from your surroundings, experiment with colours and shapes, and develop your own beadwork patterns that reflect your personality and interests.
Whether you are a beginner or a pro, the key is to keep practising and exploring new ideas until you find the perfect pattern that complements your style. So, grab your beads and tools, and start trying some beadwork patterns today.


