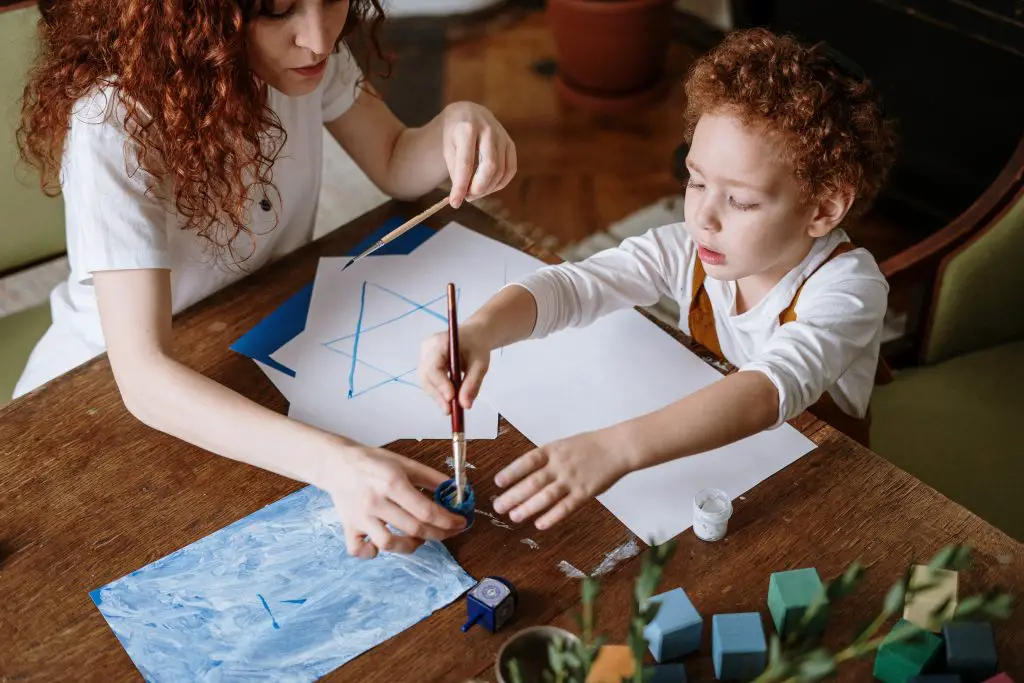
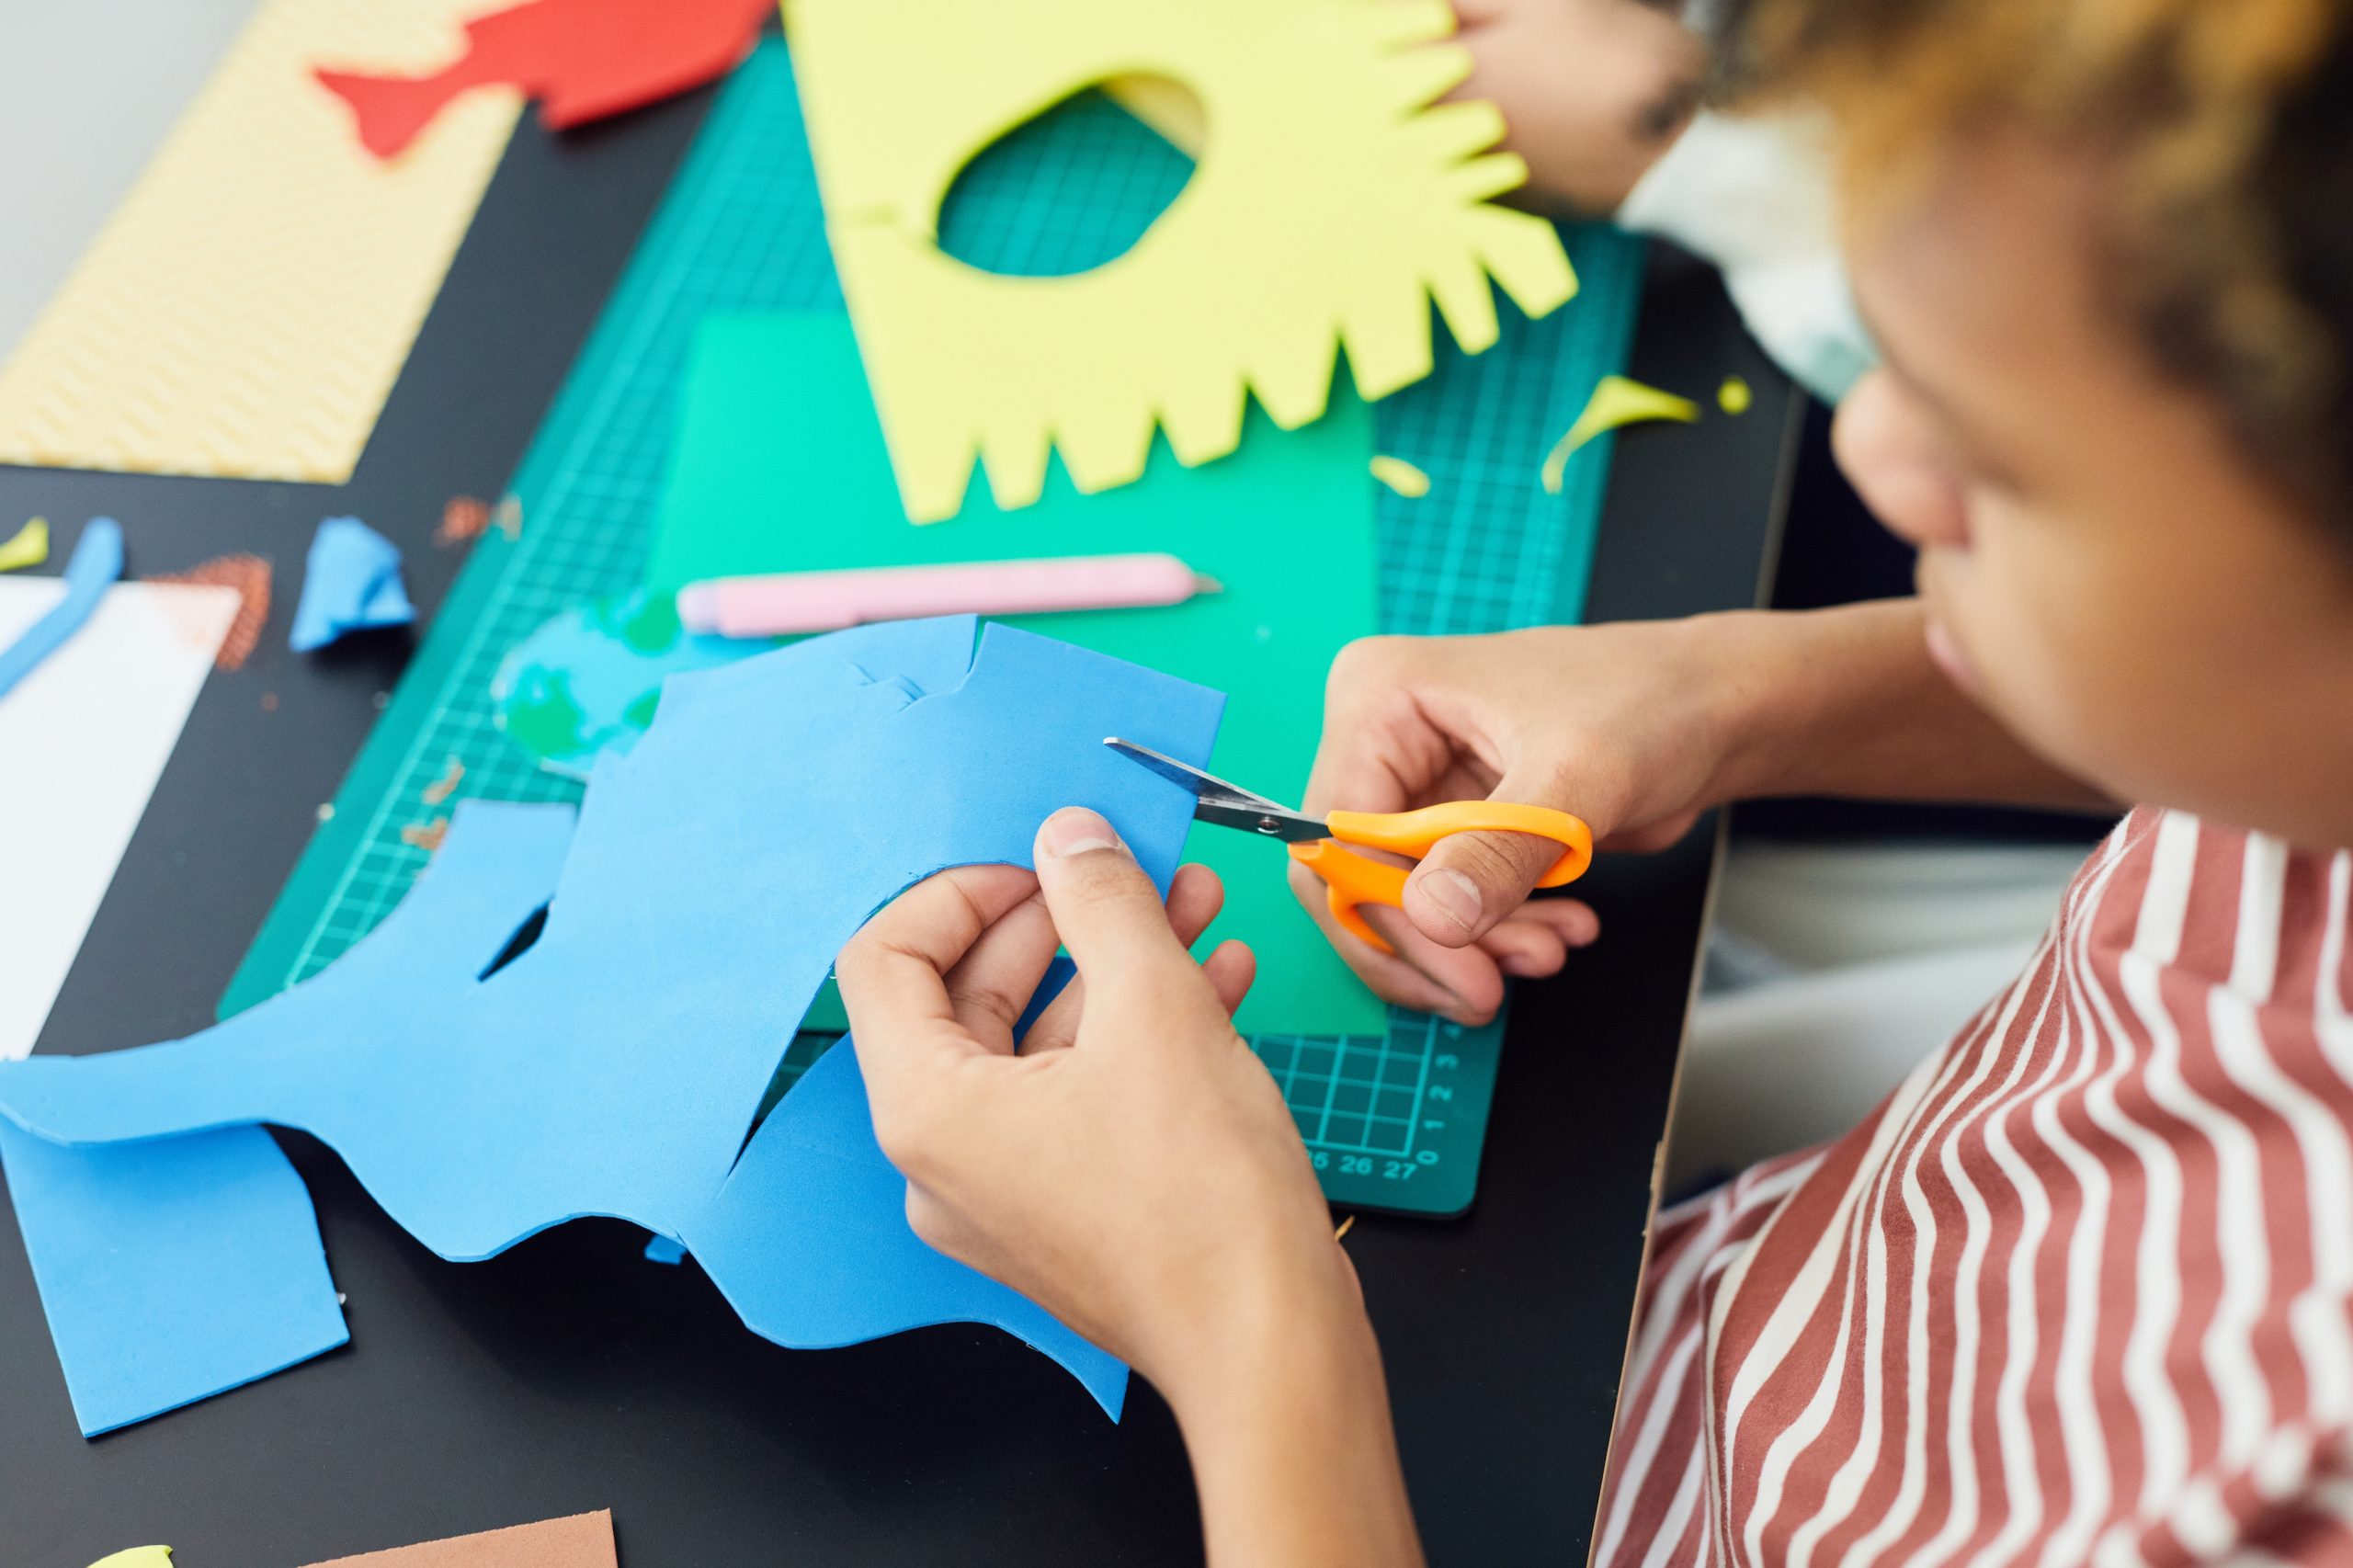
We all know that crafting is a fun and creative way to spend time with our children, but it can be difficult to come up with ideas that are not only creative but also sustainable. Recycled crafts for kids are an awesome way to keep them entertained while teaching them a valuable lesson about sustainability.
Contents
5 Simple Recycled Crafts for Kids
In this blog post, we will explore some simple recycled crafts for kids that are sure to keep your child entertained and excited while also teaching them the importance of fostering an eco-friendly mindset.
Treat your child to the ultimate learning experience with fun and educational projects made from upcycled materials! From the plastic jug piggy bank to an old box puppet theatre, your little learner will be captivated and inspired. Plus, you’re helping to reduce waste and keep our planet a little bit cleaner—an added bonus!
So, let’s get crafty and explore some simple recycled crafts for kids that are sure to be a hit with your little ones and give you a fun time together!
1. Turn a plastic jug into a piggy bank
What better way to teach kids the value of saving money than by turning a plastic jug into a piggy bank? Recycled crafts for kids make an easy, creative way to give kids the opportunity to get creative with materials that are probably already thrown away. To make this fun piggy bank, you’ll need an empty, clean plastic jug and some other items you may already have lying around the house.
Unlock your kids’ creative potential with some recycled crafts for kids! Turning a plastic jug into a piggy bank is one fun and creative craft project. Here’s how to get started!
Materials:
- A plastic jug with a handle and a cap
- Scissors or a craft knife
- Pink acrylic paint or spray paint
- Black acrylic paint or a permanent marker
- White acrylic paint or a white paint marker
- Paintbrushes
- Hot glue gun
- Small wooden beads for the pig’s nostrils
- Optional: googly eyes, pink felt, or pipe cleaners for additional decorations
Instructions:
- Start by cleaning the plastic jug with soap and water to remove any dirt or residue. Allow it to totally dry.
- Use the scissors or craft knife to cut a slot in the top of the jug for inserting coins and bills.
- Paint the entire jug with pink acrylic paint or spray paint. Allow the paint to dry before proceeding.
- Use black acrylic paint or a permanent marker to draw the pig’s eyes and mouth on the jug. Add a small white highlight to each eye using white acrylic paint or a white paint marker.
- Use the hot glue gun to attach two small wooden beads to the front of the jug for the pig’s nostrils.
- Optional: add googly eyes, pink felt, or pipe cleaners for additional decorations, such as the pig’s ears or curly tail.
- Allow the piggy bank to dry before using it to save your coins and bills.
With these steps, easily turn a plastic jug into a cute piggy bank! Your kids will be proud of the piece of art they’ve created, and they’ll be learning valuable lessons about money and the environment.
2. Turn used cardboard boxes into a dollhouse
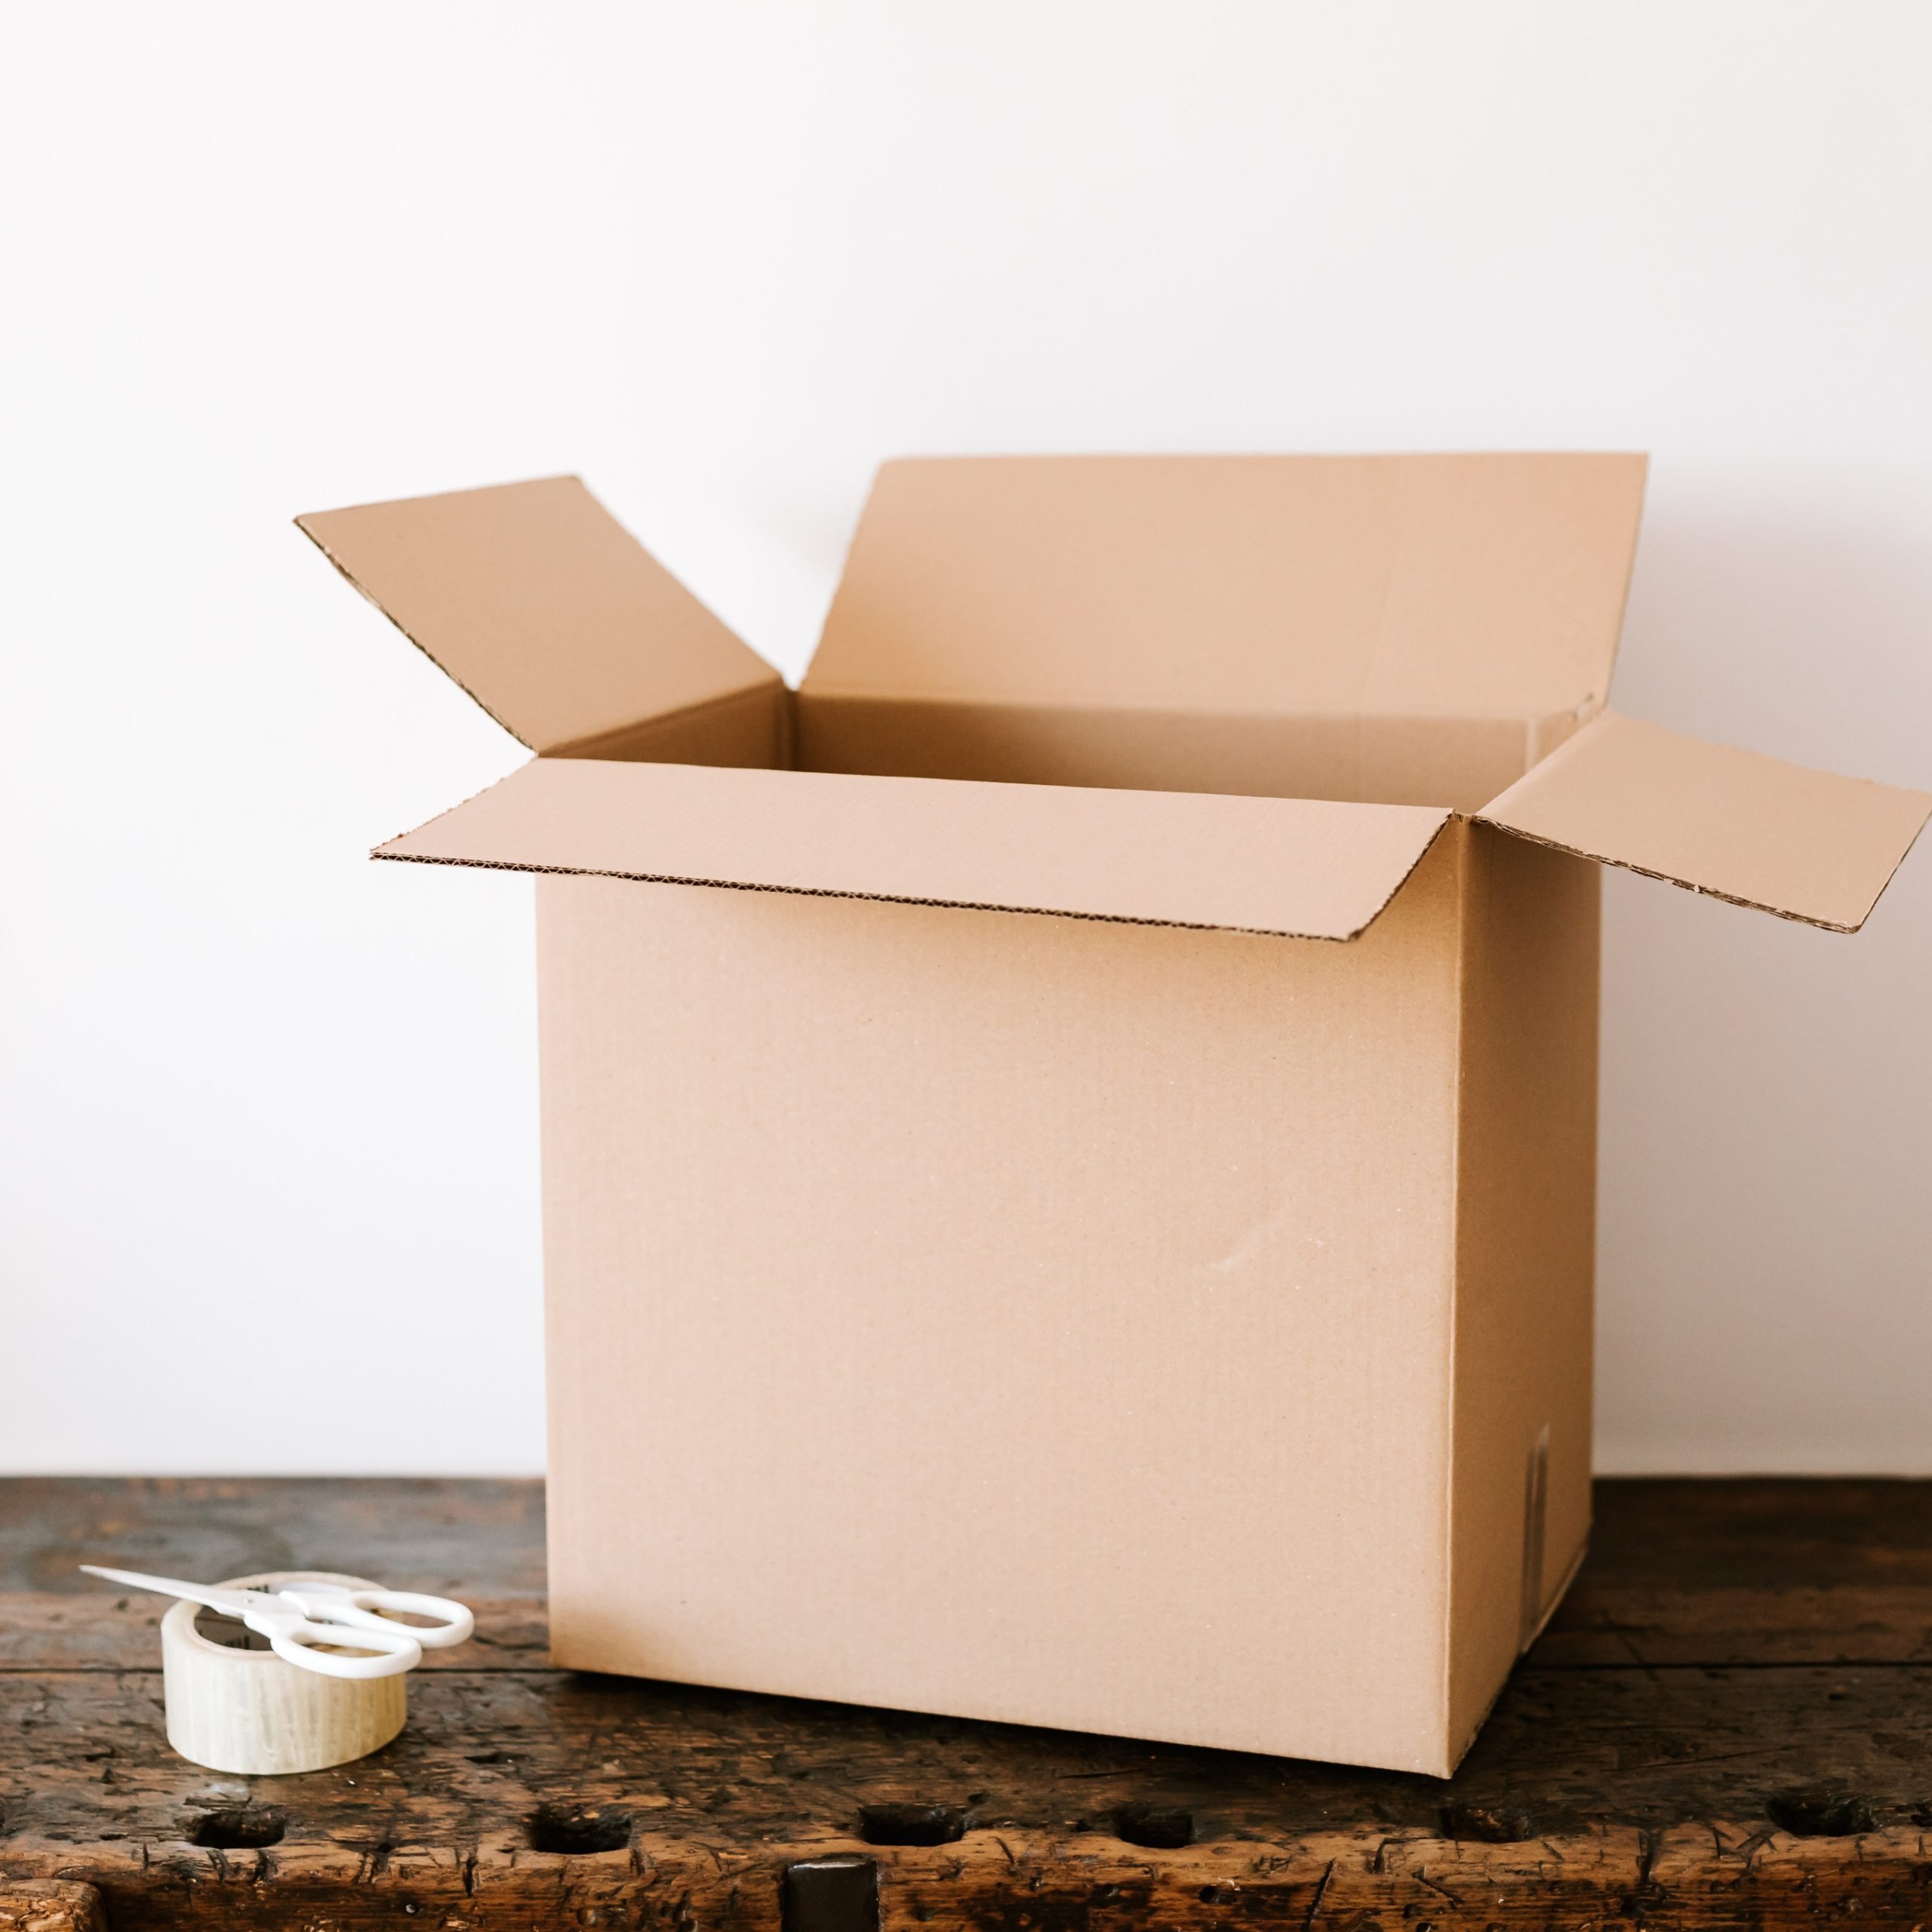
Kids will love getting creative with recycled crafts like turning used card boxes into a dollhouse! It’s one of the easiest and most fun recycled crafts for kids.
Making a DIY dollhouse can be a fun and creative project that can provide hours of entertainment for children. And the materials and steps are all simple!
Materials:
- Cardboard boxes (one larger box for the house and smaller boxes for the rooms)
- Scissors or craft knife
- Ruler or measuring tape
- Glue or double-sided tape
- Paint, wrapping paper, or other decorations
- Dollhouse furniture and accessories (optional)

Instructions:
- Choose the size of your dollhouse and the number of rooms you want to have. Use a larger box for the main house and smaller boxes for the rooms.
- Cut off the top flaps of the larger box and the smaller boxes. Cut out windows and doors in the main box and room boxes using a craft knife or scissors.
- Arrange the room boxes in the main box, and use glue or double-sided tape to secure them.
- Cut out pieces of cardboard to create walls for the rooms, and glue or tape them in place.
- Decorate the dollhouse using paint or wrapping paper. You can also add wallpaper or flooring using scrapbook paper or contact paper.
- Create furniture and accessories for the dollhouse using materials such as cardboard, felt, or fabric. You can also use small items such as bottle caps or beads to create decorations.
- Place the furniture and accessories in the dollhouse and arrange them as desired.
Your DIY dollhouse is now ready to play with. You can also customize it more according to your liking.
If you’re looking for an awesome family activity, why not get creative with recycled crafts for kids? There are also PVC pipe projects your kids will love. Get them involved, and it will be an experience that’s sure to be fun for everyone!
3. Create a wind chime from bottle caps
Looking for fun and creative recycled crafts for kids? Gather up some bottle caps, fishing lines, and other supplies to create a colourful and unique wind chime. Recycled crafts for kids are a sure hit and a great way to get your kids excited about reusing materials and being creative.
It’s a breeze to make fun recycled crafts for kids! Let them try making a cheery wind chime from bottle caps and they’ll surely find it enjoyable to create something entirely new and unique. Here’s a quick guide to get the project rolling:
Materials:
- Bottle caps
- String or fishing line
- Small beads
- Metal or wooden rod
- Scissors or wire cutters
- Drill or nail and hammer
- Optional: paint or markers for decoration
Instructions:
- Collect several bottle caps and remove any paper or plastic liners inside them.
- Optional: paint or decorate the bottle caps with paint or markers to create a desired look for your wind chime.
- Using a drill or nail and hammer, make a small hole in the centre of each bottle cap.
- Cut a length of string or fishing line for each bottle cap, and tie a knot at one end. Thread a small bead onto the string or fishing line, and then thread the bottle cap onto the string or fishing line.
- Repeat step 4 for each bottle cap, spacing them out as desired along the string or fishing line.
- Tie the strings or fishing lines to a metal or wooden rod at even intervals, ensuring that the bottle caps hang freely and can move in the wind.
- Tie a length of string or fishing line to each end of the metal or wooden rod to hang your wind chime.
With these steps, you can create a unique and creative wind chime from bottle caps that will make a delightful sound in the wind!
4. Transform a cereal box into a robot
Kids will love transforming a cereal box into a fun robot! Recycled crafts for kids don’t get much more fun than this. Let kids use their imaginations to draw on some features for the robot like eyes, a nose and a mouth, and use their creativity to design the shape of their robot’s body.
Recycled crafts for kids are easier than you think! Here’s a simple and fun way to turn a simple cereal box into a robotic masterpiece:
Materials:
- A cereal box
- Scissors or a craft knife
- Ruler or straight edge
- Pencil
- Paint or markers
- Glue
- Optional: Pipe cleaners or wire for arms and legs
- Additional craft materials such as buttons, foam, or stickers for decoration
Instructions:
- Cut off the top flaps of the cereal box and discard them.
- Using a ruler or straight edge, draw a rectangle on the front of the box for the robot’s body, and cut it out with scissors or a craft knife. Then, cut two smaller rectangles on the sides of the box for the robot’s arms, and two rectangles on the bottom of the box for the robot’s legs.
- Fold the top of the box down to form the robot’s head. Cut out a small rectangle for the face and use paint or markers to draw on eyes, a mouth, and other features.
- Paint or colour the robot’s body, and add any additional decoration with craft materials.
- Cut the remaining portion of the box for the robot’s arms and legs, and form them into shape. Glue them onto the robot’s body in the appropriate places. You can also use pipe cleaners or wire if you have one.
- Allow the glue to dry, then your cereal box robot is ready!
With these steps, you can transform a cereal box into a unique and creative robot that is sure to delight both kids and adults alike. Feel free to experiment with different shapes, colours, and decorations to make your robot truly one-of-a-kind!
5. Upcycle an old box into a puppet theatre
Bring your kids’ creativity to life with simple recycled craft! Like upcycling an old box to make a puppet theatre. It’s one of the most creative and unique recycled crafts for kids!
Materials:
- Old box
- Scissors
- Glue
- Paint
- Paintbrushes
- Fabric
- Decorations (optional)
Steps:
- Choose your design: Think about how you want your puppet theatre to look. Do you want it to be a specific colour or have certain decorations?
- Cut out the stage: Use the scissors to cut out a rectangular section of the box to create the stage. Leave some space around the edges for the curtains to hang.
- Create the curtains: Cut two pieces of fabric that are slightly larger than the opening of the stage. Fold over the top edge of each piece to create a hem, and glue or sew it in place. Then, glue or tape the curtains to the top of the box above the stage.
- Decorate the theatre: Use paint, markers, or other decorations to personalize your puppet theatre. You could add stars, and flowers, or even write the name of your theatre on the front of the box.
- Add puppets: Once your theatre is ready, you can create your own puppets or use store-bought ones. Set up the stage and enjoy a show!
The most important part of upcycling is to have fun and be creative. Don’t be afraid to try new things and make your puppet theatre your own. Recycled crafts for kids don’t get any better than this!
Wrapping It Up
To wrap up, there are so many ways to get crafty with recycled materials! Kids can create their own works of art while helping save the environment. Making recycled crafts for kids is a great way to teach them about the importance of recycling and reusing materials.
Recycled crafts for kids are beneficial to encourage kids to think creatively and use their imagination. They need to think outside the box to come up with new and unique ideas.
Using recycled materials for crafts can teach kids to be resourceful and to find new uses for items that are otherwise discarded. Recycled crafts for kids can be a great hands-on learning experience for kids. They can get creative in reusing things around the house.
Recycled crafts for kids also let your little ones practice fine motor skills, problem-solving, and following instructions.
So, it’s time to get crafty and eco-friendly! Who knows what imaginative masterpieces can be created with these recycled crafts for kids?


