
Unlock your creative potential with the captivating art of glass! It doesn’t matter if you’re an experienced artist or a novice, you can easily craft stunning glass artwork in the comfort of your own home. Seize this opportunity and let your inner artist shine.
In this blog post for active people, we will discuss the basics of creating glass art and provide some tips and tricks to help you get started. We will explain the materials and tools needed, and provide step-by-step instructions on how to create glass art at home with ease.

You can make your wildest creative visions come true with patience and dedication. We’ll use paint, etching, layering, and sculpting techniques to create magnificent pieces of art. So, if you want to create something unique, come join us!
Contents
- 1 Guide on Building Glass Art
- 1.1 1. Gather the necessary supplies
- 1.2 2. Select the type of glass you wish to use
- 1.3 3. Design the glass art you want to create
- 1.4 4. Cut the glass to the desired shape
- 1.5 5. Glue the pieces together
- 1.6 6. Grout the pieces of glass
- 1.7 7. Allow the glass art to dry
- 1.8 8. Add a finishing touch to your glass art
- 2 Safety Precautions and Best Practices
- 3 Incorporating Recycled Glass next
- 4 Kids and Glass Art: Fun and Safe Ideas
- 5 FAQs About Making Glass Art at Home
- 5.1 Is it expensive to start making glass art at home?
- 5.2 Can I make glass art at home without a kiln?
- 5.3 How long does it take to complete a glass art project?
- 5.4 Is glass art safe for children?
- 5.5 Where can I find glass art supplies?
- 5.6 Can I use any type of glass for my projects?
- 5.7 Do I need special skills to start glass art?
- 5.8 How do I ensure my workspace is safe for glass art?
- 6 Wrapping It Up
Guide on Building Glass Art
1. Gather the necessary supplies
Before you can start creating beautiful glass art at home, you must gather the necessary supplies. The supplies you will need will vary depending on the type of glass art you are making and the complexity of the project. However, a few essentials include glass pieces, a glass cutter, a grinder, a kiln, and a soldering iron.
Once you have all of your supplies, you’ll be ready to create beautiful glass art at home! Of course, you will need to grab a few additional items such as paints, glitter, decals, and adhesives. These will come in handy for adding intricate details and extra flair to your glass creations. You’ll be able to transform a seemingly ordinary piece of glass into a vibrant, eye-catching piece of art that will be sure to be a show-stopper in any home.
With your imagination, skill, and supplies, you’ll be able to craft a work of art that will be a delight to see.
2. Select the type of glass you wish to use
Now that you’ve chosen the design for your glass art at home, it’s time to select the type of glass you wish to use. There are a few different kinds of glass that you can choose from, each with its own unique properties. You can use clear or colored art glass, stained glass, or fused glass.
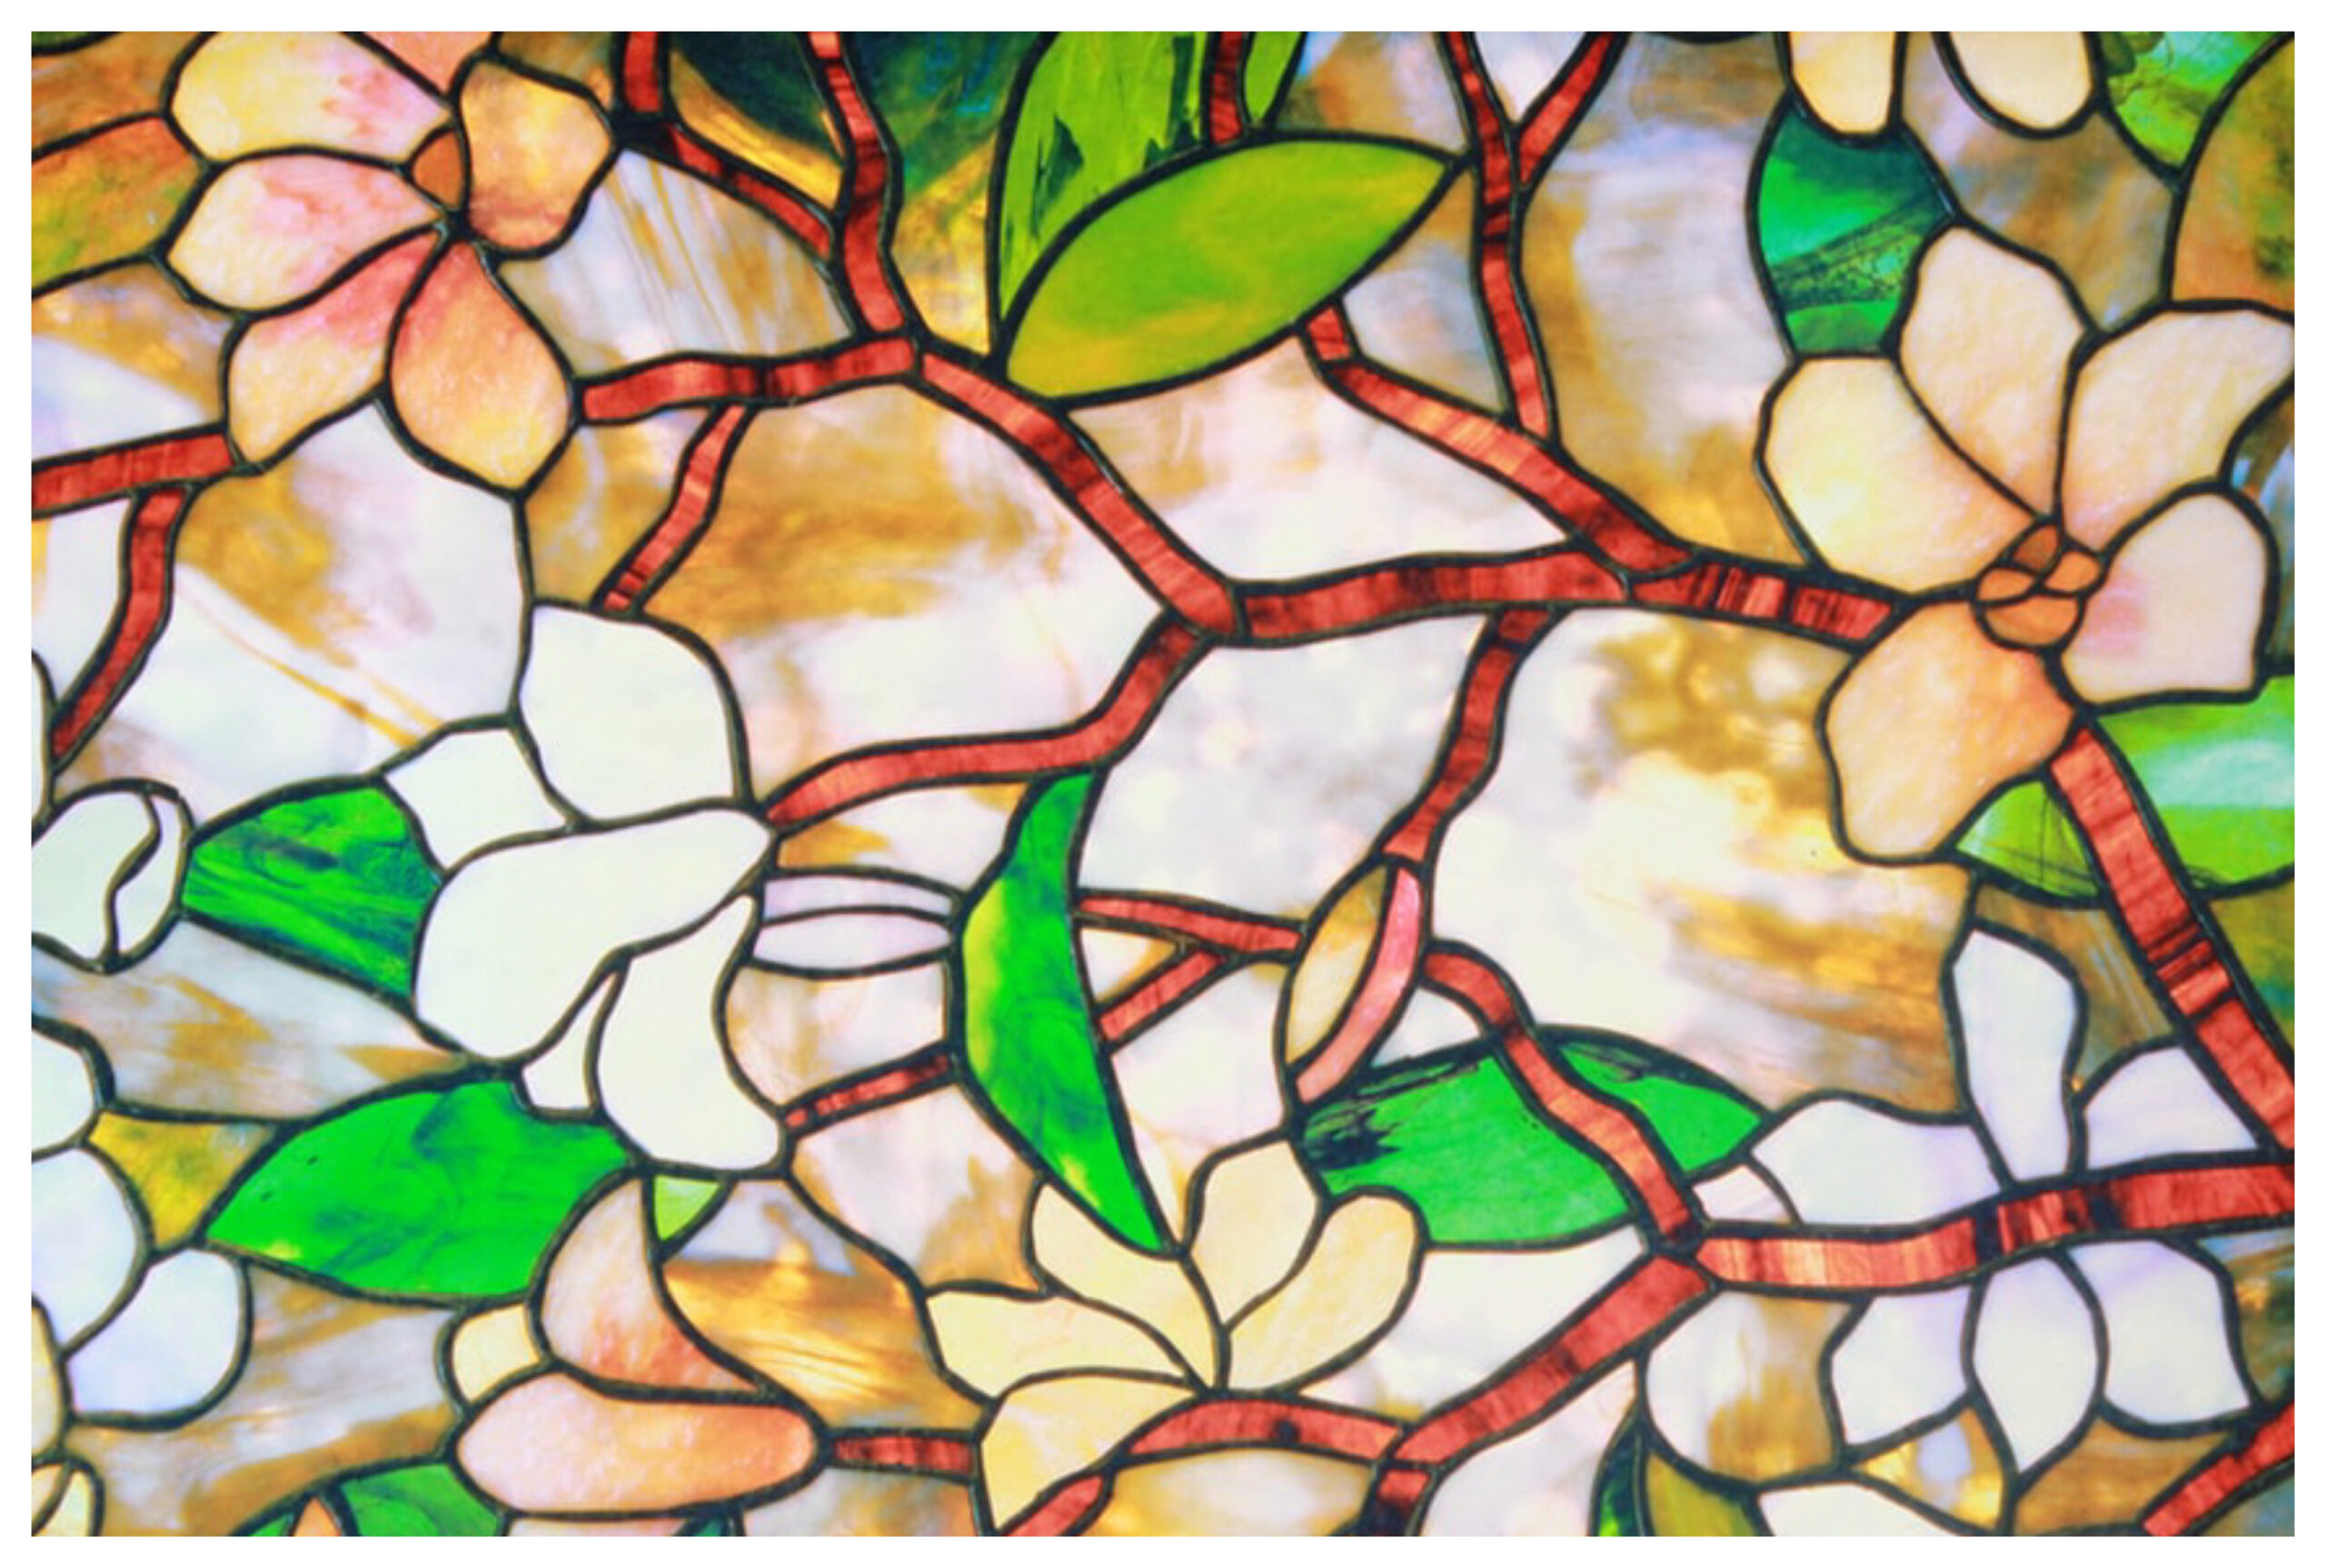
Clear and colored art glass is made from sheet glass that has been cut and shaped into the desired form. Fused glass is made by combining slices of sheet glass and melting them together in a kiln. Stained glass is made from pieces of colored glass that are cut to fit together and then joined together with lead.
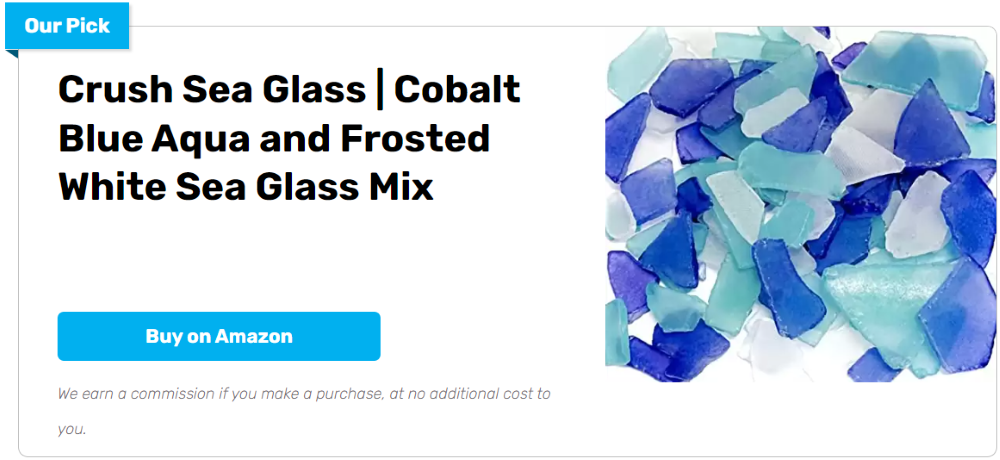
Each type of glass has its own unique properties and effects, so pick your glass carefully and experiment to find the one that works best for your project. You can also use fake sea glass as a material for your art.
3. Design the glass art you want to create
After preparing your supplies and tools, you need to work on the design of the glass art you want to create. Start by sketching your idea on a piece of paper, or you can use a computer program such as Adobe Photoshop or Illustrator.
Consider the size, shape, and color of the glass pieces you will need. You likely want to use a combination of opaque and transparent glass to achieve the desired look. Once you’ve designed your piece, have a professional glass artist cut the pieces to your specifications.
Whether you’re a seasoned artist or a complete novice, trying glass art at home can be a rewarding and enriching experience. You will have the satisfaction of creating something beautiful, but you’ll also have the assurance that your artwork is of the highest quality.
And working with glass is a precise craft that requires concentration and skill, and with the right materials, the guidance of a professional, and a little bit of patience, you can create something distinct.

4. Cut the glass to the desired shape
Once you’ve prepared your glass pieces, it’s time to start creating your glass art at home. The fourth step is to cut the glass to the desired shape or size. You can use a glass cutter to make small precise cuts, or a heavy-duty grinder if you need to cut larger pieces.
When cutting the glass, be sure to wear protective eye gear and use a cutting oil to help the glass cutter glide smoothly. To make clean and precise cuts, place the glass on a flat surface and draw a line with your marker before cutting. This will help ensure that your piece will be perfect.
5. Glue the pieces together
Once you have all the pieces cut, it’s time to put them all together. To do this, you’ll need to use a strong adhesive such as glass glue, epoxy, hot glue, or even super glue. Begin by evenly spreading glue on both pieces that you want to connect, then press them together.
Make sure to hold them in place for a few seconds so that the pieces can really bond. You likely need to use more glue in some areas if the pieces don’t seem to fit together perfectly. Glass art can be fun and a creative way to add some personality to your home. And you can take pride in the knowledge that you’ve created unique and beautiful glass art at home!

6. Grout the pieces of glass
Once you have cut and placed the pieces of glass together, it is time to grout them. Grouting is the process of filling in the gaps between the glass pieces with a cement-like material. The grout will hold the pieces together and give your glass art at home a uniform look.
To begin, choose your grouting material and add water to it according to the product’s instructions. Then, use a grout float or a putty knife to spread the mixture into the gaps between the glass pieces. And, use a damp sponge to wipe away any excess grout. After it has dried, you can display your artwork proudly!
7. Allow the glass art to dry
After you have finished painting on the glass, it is important to allow the artwork to dry. This usually takes anywhere from 24-48 hours to dry, depending on the amount of paint used and the humidity of the environment. If you are in a hurry, you can use a hairdryer on the lowest setting to speed up the drying process and make your masterpiece ready to display.
Once your glass artwork has dried and is ready to be shared with the world, it’s time to think about the perfect place to proudly display it! Home decor can be tricky, so here are some tips on where to best display glass art at home:
- Let the natural light be your guide. Glass art looks absolutely stunning with natural lighting, so consider hanging it up next to a window.
- Don’t be afraid to be bold. Glass art at home can be a great way to add a pop of color or texture to a space. Hang it up in a place where it will fit and make a statement.
- Alternatively, you can place it in a hallway or entranceway, as a beautiful and unique decoration to welcome guests.
- For the more daring, you can even use glass art as a centerpiece on your dining room table, or as a statement piece in your bedroom.
Making glass art at home is a rewarding project that can add uniqueness to any living space. Glass art can bring a distinct and vibrant look to any home.
8. Add a finishing touch to your glass art
Once you have created your glass art masterpiece, it’s time to add a finishing touch to give it the perfect look. Depending on the project, you can choose between several types of finishes. Use a spray-on finish to seal in the color of your glass art and protect it from scratches and UV rays.
For a glossy look, apply an acrylic-based sealer. And for a more subtle look, you can use a matte finish. You can also add glitter, gems, or other decorative elements to give your glass art a special touch.
Safety Precautions and Best Practices
Creating beautiful pieces of art with glass is an exciting and rewarding hobby. However, working with glass requires careful handling to ensure safety. This section provides essential safety tips and best practices for anyone embarking on this artistic journey.
Wear Proper Protective Gear
Always wear safety glasses to protect your eyes from glass shards. Use gloves to handle glass pieces and prevent cuts. Wear a dust mask when sanding or grinding glass to avoid inhaling fine particles.
Create a Safe Workspace
Set up your workspace in a well-ventilated area to disperse fumes from adhesives and soldering. Keep your work area organized and free of clutter to minimize the risk of accidents. Ensure that your workspace has good lighting to clearly see what you are working on.
Handle Glass with Care
Always move slowly and deliberately when handling glass. Avoid rushing as this increases the chance of accidents. When cutting glass, apply gentle pressure to prevent the glass from shattering. Store glass sheets vertically and in a stable position to avoid breakage.
Proper Tool Maintenance
Keep your glass-cutting tools sharp and in good condition. Regularly inspect your equipment for any signs of wear and tear. Replace any damaged tools immediately to maintain safety and efficiency.
First Aid and Emergency Preparedness
Keep a first aid kit close to your workspace. This kit should include bandages, antiseptic wipes, and tweezers for removing small glass shards. Know the basics of first aid for cuts and minor injuries. In case of a serious injury, seek medical attention immediately.
By following these safety precautions and best practices, you can enjoy the art of glass making while keeping yourself and others around you safe.
Incorporating Recycled Glass next
Incorporating recycled glass into your art projects is not only an eco-friendly choice but also adds unique character to your creations. This section explores how to use recycled glass effectively and creatively in your glass art.
Sourcing Recycled Glass
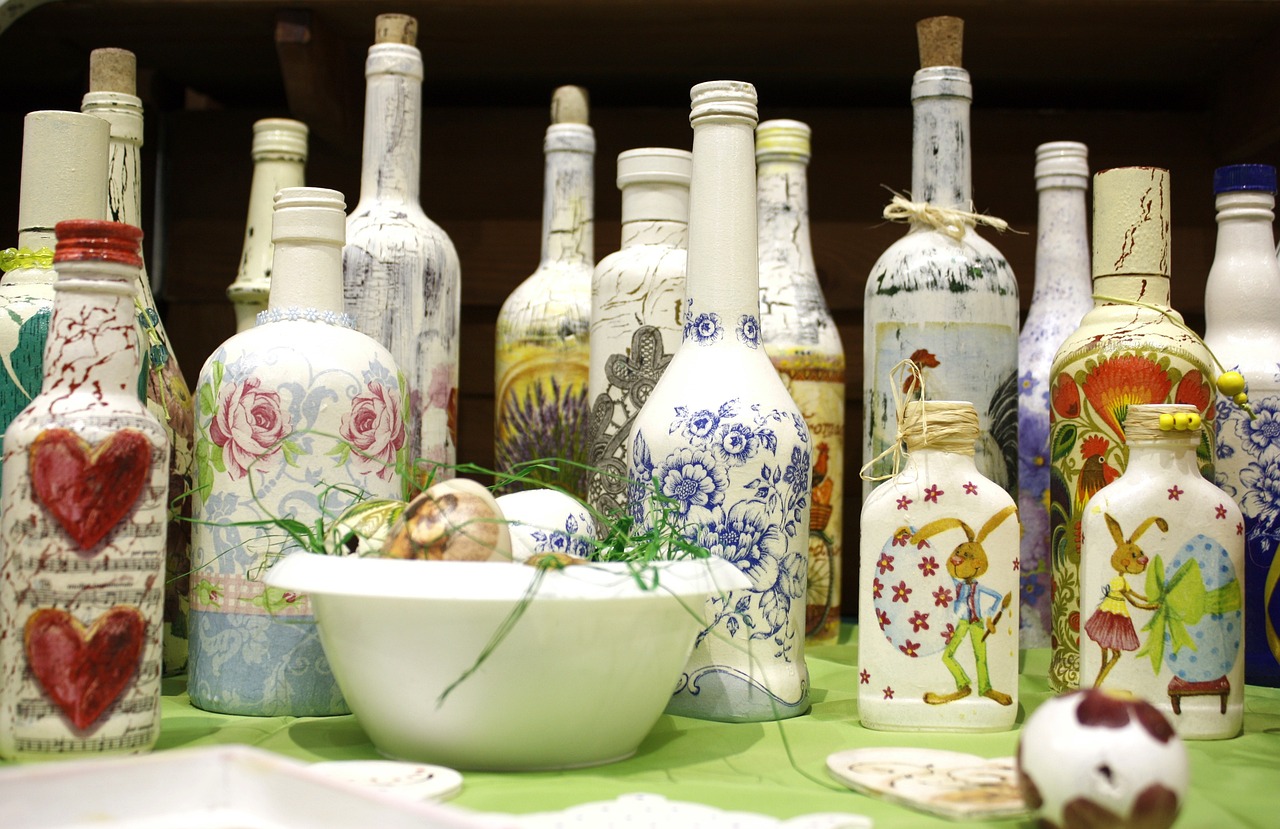
Look for recycled glass sources like old bottles, jars, or even discarded window panes. Thrift stores, recycling centers, and community groups can be great places to find these materials. Ensure the glass is clean and free from contaminants before use.
Preparing Recycled Glass
Before using recycled glass, it needs proper preparation. Remove labels, adhesives, and any residue. If necessary, sterilize the glass. When cutting or reshaping, follow standard safety procedures as you would with new glass.
Creative Uses of Recycled Glass
Recycled glass can be transformed into a variety of art pieces. Consider creating mosaic art, decorative panels, or even small sculptures. The unique shapes and colors of recycled glass can lend a distinctive look to your artwork.
Combining with Other Materials
Recycled glass pairs well with other materials like metal, wood, or ceramics. Experiment with combining these to create mixed-media art. This approach not only adds depth to your artwork but also contributes to sustainable art practices.
Kids and Glass Art: Fun and Safe Ideas
Introducing children to the world of glass art can be both fun and educational. It’s crucial to choose safe and suitable activities for kids. This section provides ideas for child-friendly glass art projects that spark creativity while ensuring safety.
Glass Painting
Glass painting is a great way for kids to start. Use non-toxic, washable glass paints. Children can paint on glass items like vases, jars, or window panes to create colorful designs. It’s safe, easy, and allows for a lot of creative expression.
Making Faux Stained Glass
Create the look of stained glass using safe materials. Kids can use tissue paper, cellophane, or colored plastic sheets on clear plastic or glass frames. This activity is not only safe but also teaches color blending and design skills.
Glass Mosaics with Pre-Cut Pieces
Use pre-cut glass pieces to avoid sharp edges. Kids can arrange these pieces on a safe surface like a wooden board or a thick cardboard sheet. They can glue the pieces to create mosaic art. This project enhances their pattern recognition and motor skills.
Bead Stringing
Stringing glass beads is another excellent activity. Provide children with a variety of colorful, child-safe glass beads and let them create necklaces or bracelets. This activity is great for developing fine motor skills and pattern creation.
Incorporating glass art activities for kids is not just about crafting. It’s also about fostering creativity, teaching new skills, and having fun in a safe environment. With the right materials and guidance, children can safely enjoy the beauty and versatility of glass art.
FAQs About Making Glass Art at Home
Is it expensive to start making glass art at home?
The initial cost can vary. Basic supplies like glass cutters and paints are affordable. However, more advanced tools like grinders and kilns are pricier. Start with simple projects to minimize initial costs.
Can I make glass art at home without a kiln?
Yes, many projects don’t require a kiln. Techniques like glass painting, mosaics, and stained glass can be done without one. For projects needing kiln work, consider local studios that offer kiln access.
How long does it take to complete a glass art project?
The time varies based on the complexity and technique. Simple projects like glass painting can take a few hours, while more intricate work like stained glass might take several days.
Is glass art safe for children?
Yes, with proper guidance and safe materials. Avoid projects involving sharp glass edges. Opt for child-friendly activities like glass painting or bead stringing.
Where can I find glass art supplies?
Supplies are available at craft stores, online retailers, and specialty glass art shops. You can also find recycled glass from thrift stores or recycling centers.
Can I use any type of glass for my projects?
Different projects require different types of glass. Research the specific type needed for your project, such as stained, tempered, or fusible glass.
Do I need special skills to start glass art?
Basic projects require minimal skills and are great for beginners. As you gain experience, you can try more complex techniques.
How do I ensure my workspace is safe for glass art?
Keep your workspace well-ventilated, organized, and free of clutter. Always wear protective gear like safety glasses and gloves.
Wrapping It Up
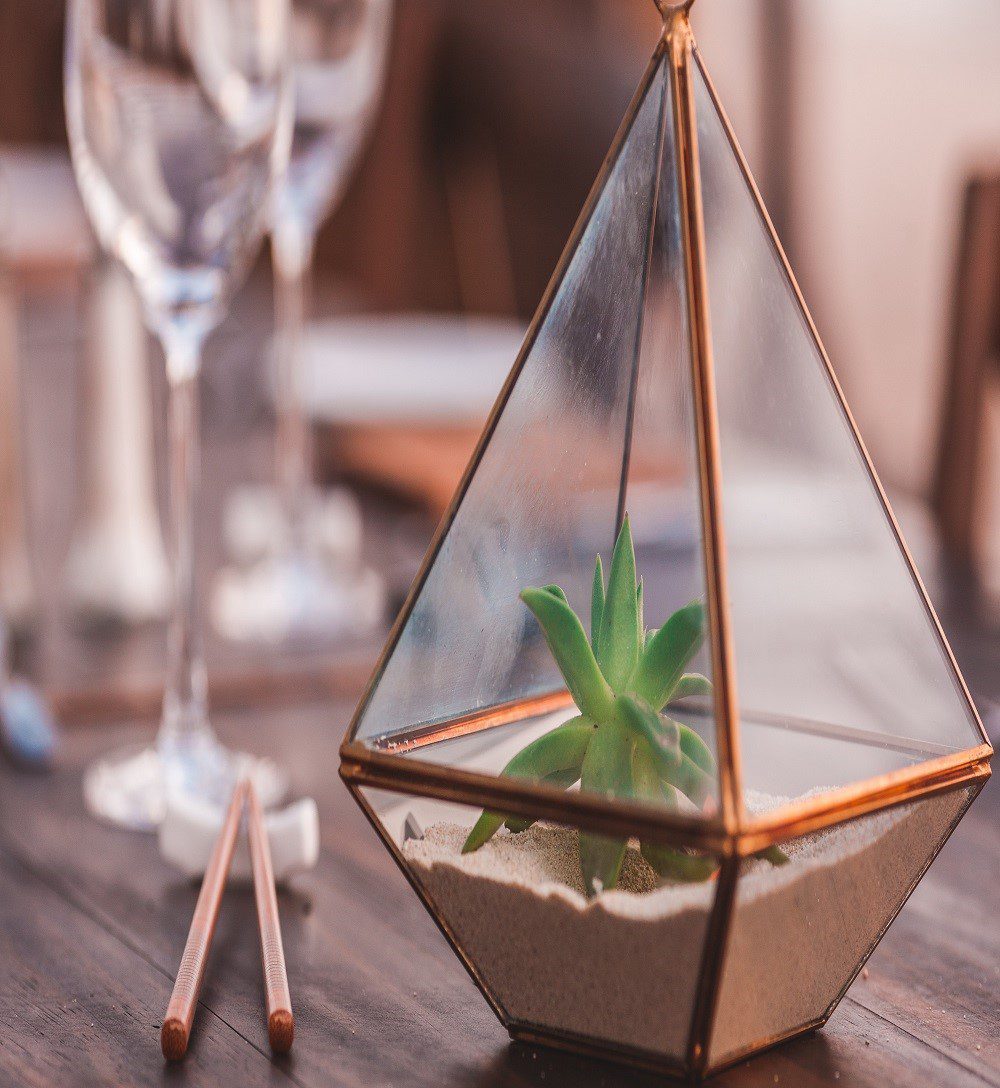
To wrap it up, you can easily glass art at home with a basic set of glass art supplies. You can craft intricate vases, stunning sculptures, and all kinds of decorative pieces. Whether you’re a beginner or a seasoned glass artist, you can never go wrong with adding a bit of glass art at home. Plus, you don’t even have to worry about an expensive studio setup — all you need is a few essential tools, some glass pieces, and your imagination.
With glass art, you can simply bring a sense of beauty and magic to your surroundings — the possibilities are truly endless. Even if you’ve never tried glass art at home before, there’s no need to worry —with the right guidance, you’ll quickly get the hang of the techniques and create amazing pieces.
Have fun experimenting with different techniques, such as cutting, sandblasting, etching, and staining. By exploring different techniques, you can create unique pieces of glass art at home that you can be proud of.
Good luck!


