Want a fun twist to your Easter eggs? Make these dragon eggs, instead!
My eldest son is such a big fan of Harry Potter. He wants all things Harry Potter – from his sheets to notebooks, to pens. In fact, his bedroom looks like a Harry Potter shrine. He argues that it isn’t just a phase; I think that it is. But I don’t tell him that, of course.

His sisters, ever-indulgent, came home one Saturday with a box of what looked like plastic eggs. When I asked them what they were going to do with them, they said they were going to make dragon eggs. Apparently, it was a DIY project that they saw online and they wanted to give the finished eggs to their brother. How sweet is that?

Because the project involved the use of a hot glue gun, I had to supervise. As with any other project, it’s safety first. They were in charge of painting the eggs and boy, they loved it! The dragon eggs are now inside my son’s bedroom, and we’re all waiting for them to hatch.
Try this project out! I’m pretty sure it’ll be a big hit for your Potterheads!
Contents
Creating Your Dragon Eggs
Materials
- Plastic eggs
- Metallic paint (different colors)
Tools
- Hot glue gun
- Paintbrush
Instructions
Step 1: Setting the Stage
Before diving into the enchanting world of dragon egg creation, take a moment to gather all your mystical materials. Pick out the metallic paints that speak to you, the ones that will breathe life into your creations. Having your colors chosen and ready is like knowing the spells you’ll cast.
Now, make your crafting space a sanctuary. Lay down newspapers or a plastic sheet like you’re preparing for a magical ritual. This not only keeps your area clean but also protects it from the potent spells of paint and glue you’ll be wielding.
Step 2: Sculpting Your Dragon’s Legacy
With your workspace prepared, it’s time to bring out your hot glue gun, the wand of modern crafting. Plug it in and give it time to awaken fully; its magic needs to be ready to flow freely. When it’s warmed up, hold your plastic egg, your soon-to-be dragon egg, in your hand and begin to cast your spells with the glue gun.
Draw upon it scales that could protect it from the fiercest spells, spirals that tell of ancient magics, or any design that your heart believes could come from a world where dragons soar. Looking for a muse? The realm of “majestic dragon egg design ideas” is vast and filled with inspiration. Once your spell is cast, let the magic of the glue set. It takes only a few moments for it to become as solid as the enchantments protecting ancient treasures.
Step 3: Weaving Colors into Spells
Now, the transformation truly begins. Select the first color of your metallic paint—this is the base of your dragon egg’s magic, the foundation of its aura. Metallic hues are chosen for they echo the mystical sheen of dragon lore, the shimmer of treasures untold. Take your paintbrush, your sorcerer’s staff, and cloak the egg in your chosen hue.
Cover every inch, every glue-crafted scale and spiral, with your magical pigment. This first coat is the spell that brings your dragon egg out of the shadows, making the textures you’ve created with glue stand out as if touched by dragon fire. Patience, young wizard, for this spell needs time to dry, to set into the very essence of what you’re creating. This usually takes several minutes, a short wait in the grand scheme of your crafting journey.
Step 4: Bringing Your Dragon Egg to Life with Details
To give your dragon egg an enchanting, layered appearance, it’s time to introduce a secondary metallic paint color. This step is all about enhancing those beautiful textures you’ve created with the hot glue.
Here’s how you’ll do it:
- Lightly dip your brush into your chosen secondary color. You don’t need much paint for this; just a bit will do.
- Before you touch the egg, gently wipe off any excess paint on the edge of the paint container or a piece of scrap paper. The idea is to have just enough paint on the brush to highlight the raised textures without completely covering them.
- With a soft hand, lightly brush over the raised glue patterns on your egg. This technique, called dry brushing, allows the secondary color to graze the top of the textures, leaving the base color visible beneath. It’s a simple method but adds incredible depth and detail to your dragon egg.
- After you’ve added these highlights, let the egg sit until the paint is completely dry. This might take a little while, but it ensures that all your hard work doesn’t smudge or blend together.
Step 5: Sealing the Magic
Once your dragon egg is dry and you’re happy with how it looks, you might want to add a protective layer. This is especially useful if your dragon egg will be admired and handled often.
Follow these steps for the final touch:
- Consider using a clear sealant, which can be sprayed or painted on, depending on what you have available. This sealant will lock in your colors, protect the egg’s surface from wear and tear, and can even add a bewitching glossy finish that makes your dragon egg look even more magical.
- If you decide to use a sealant, carefully apply a thin layer over the entire egg. Whether you’re spraying or brushing it on, make sure to cover every nook and cranny for the best protection.
- Now, patience is key. Let the sealant dry completely. Depending on the type you use, this could vary, so check the instructions for an accurate drying time.
Step 6: Display
Once your dragon eggs are completely dry, find the perfect spot to display them. Whether it’s in a decorative nest, atop a bookshelf among fantasy novels, or as a centerpiece for a themed event, these eggs are sure to attract attention and admiration.
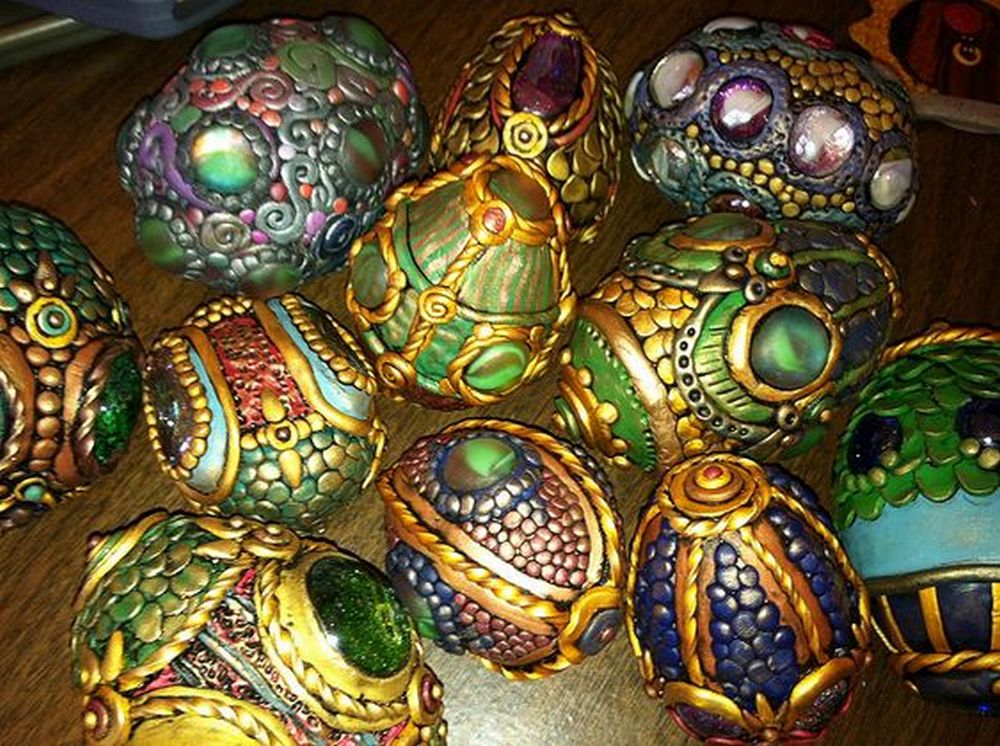
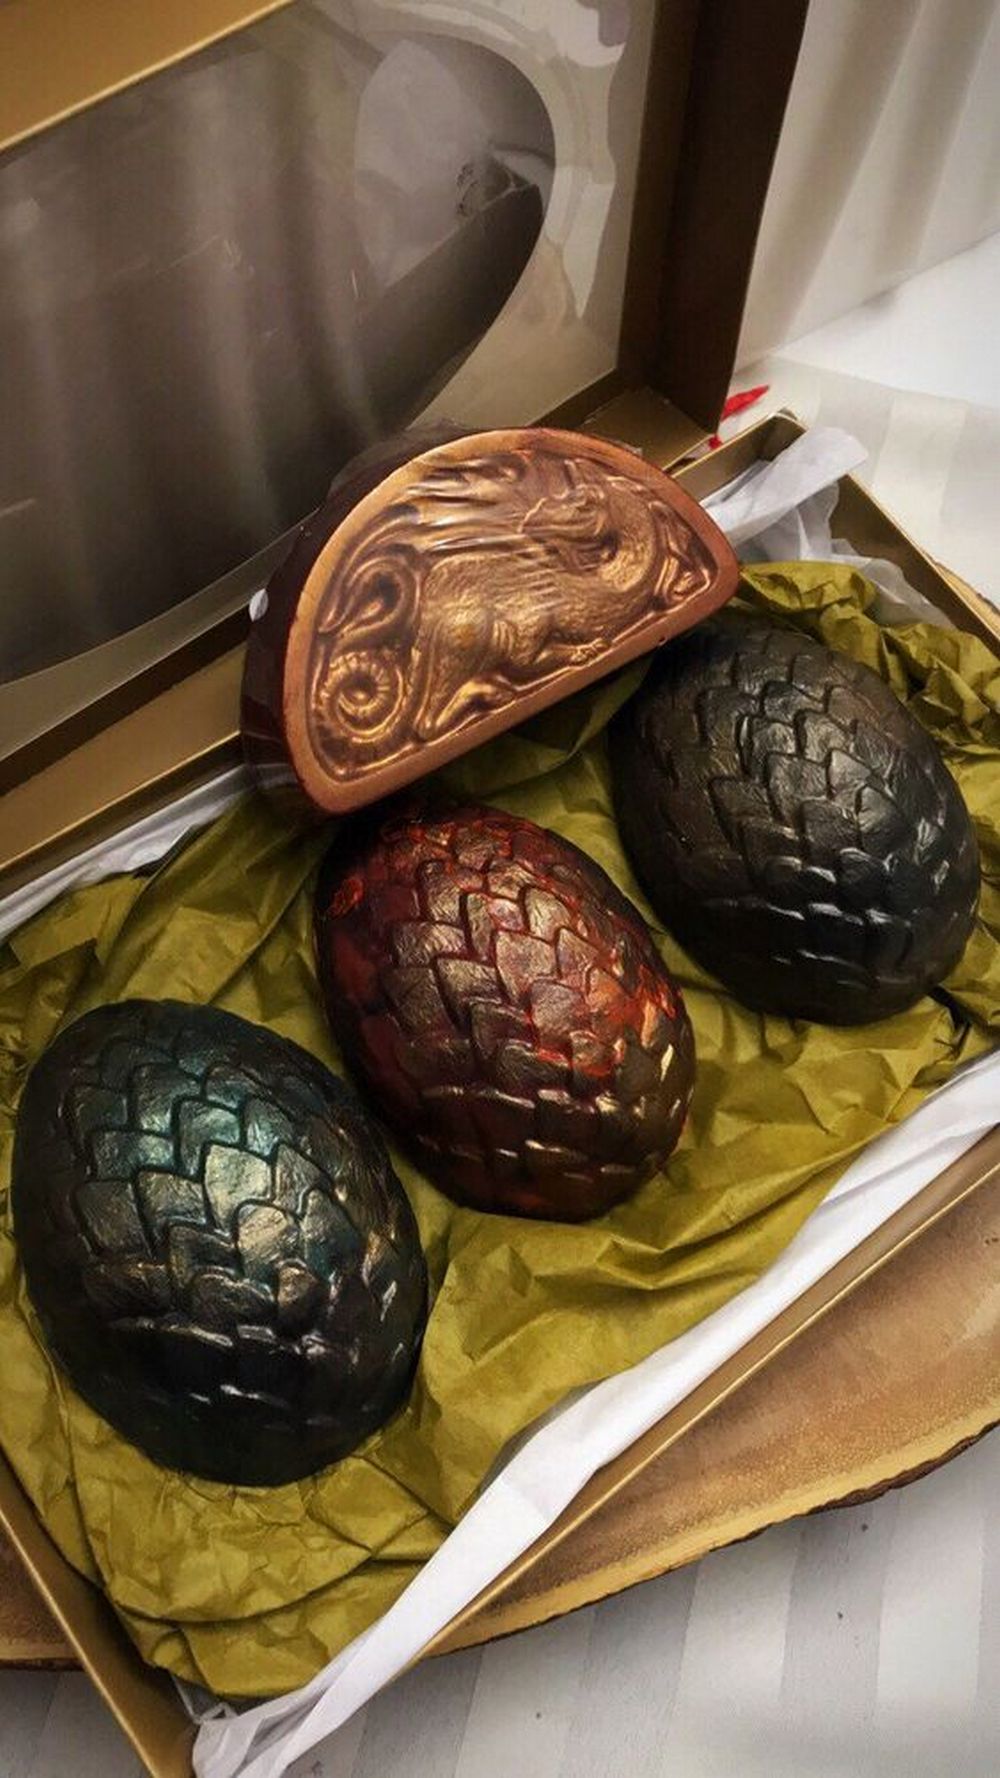
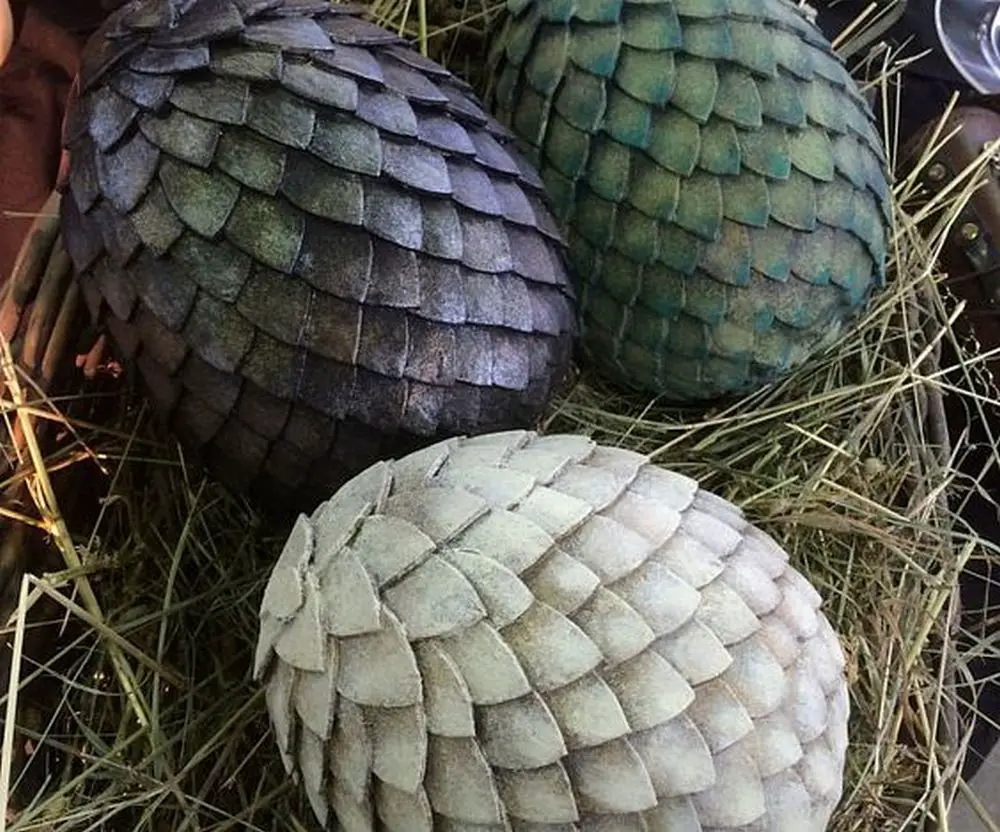
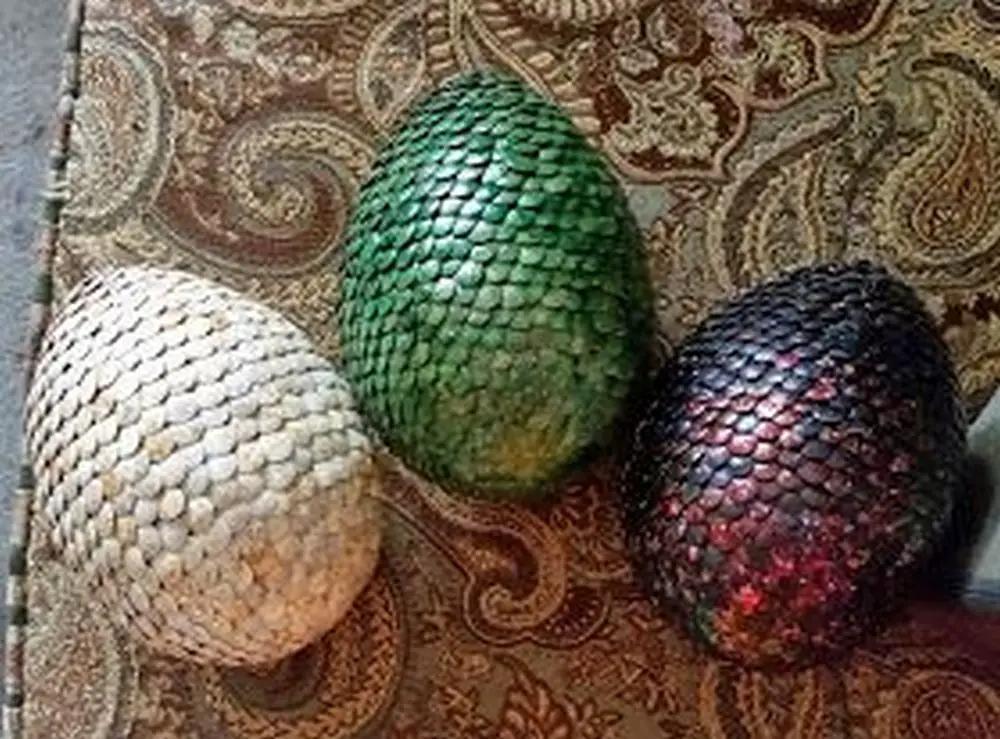
Majestic dragon egg design ideas
Click on any image to start the lightbox display. Use your Esc key to close the lightbox.
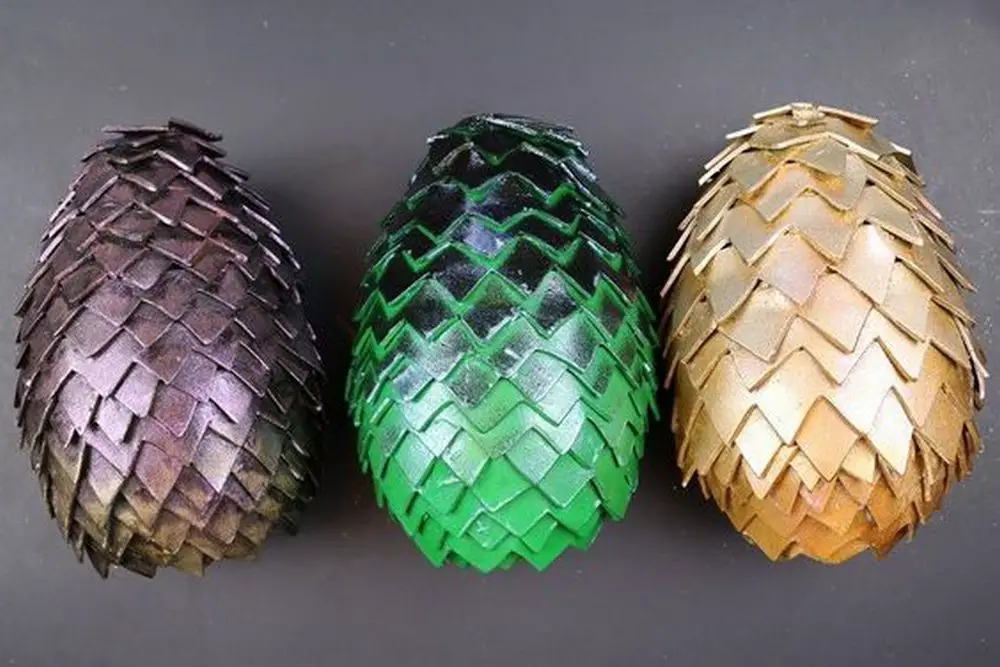
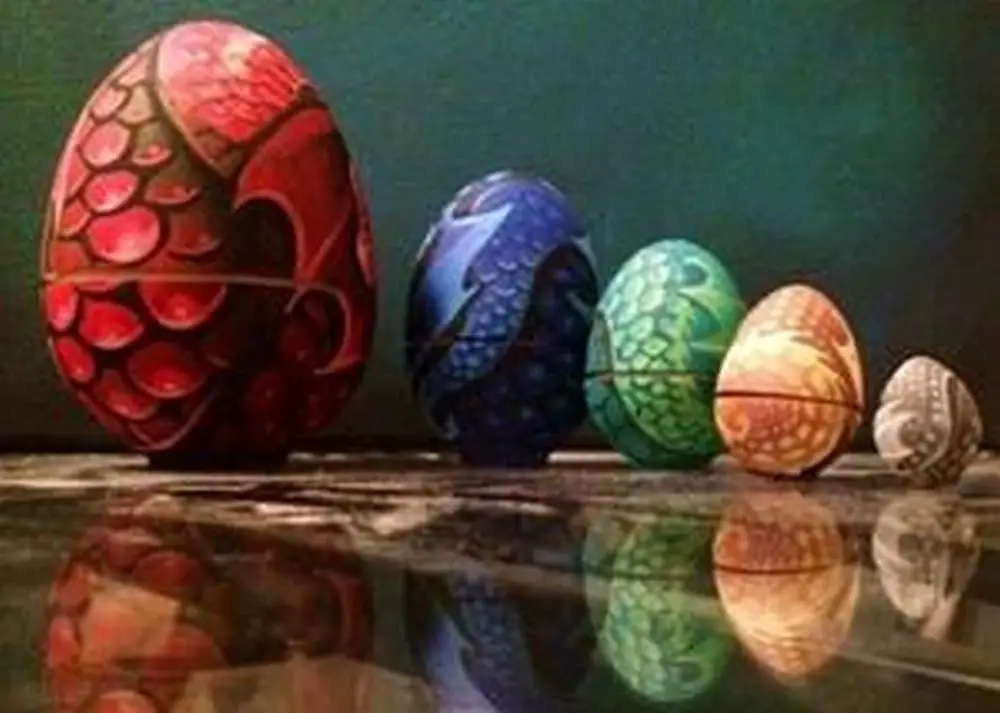
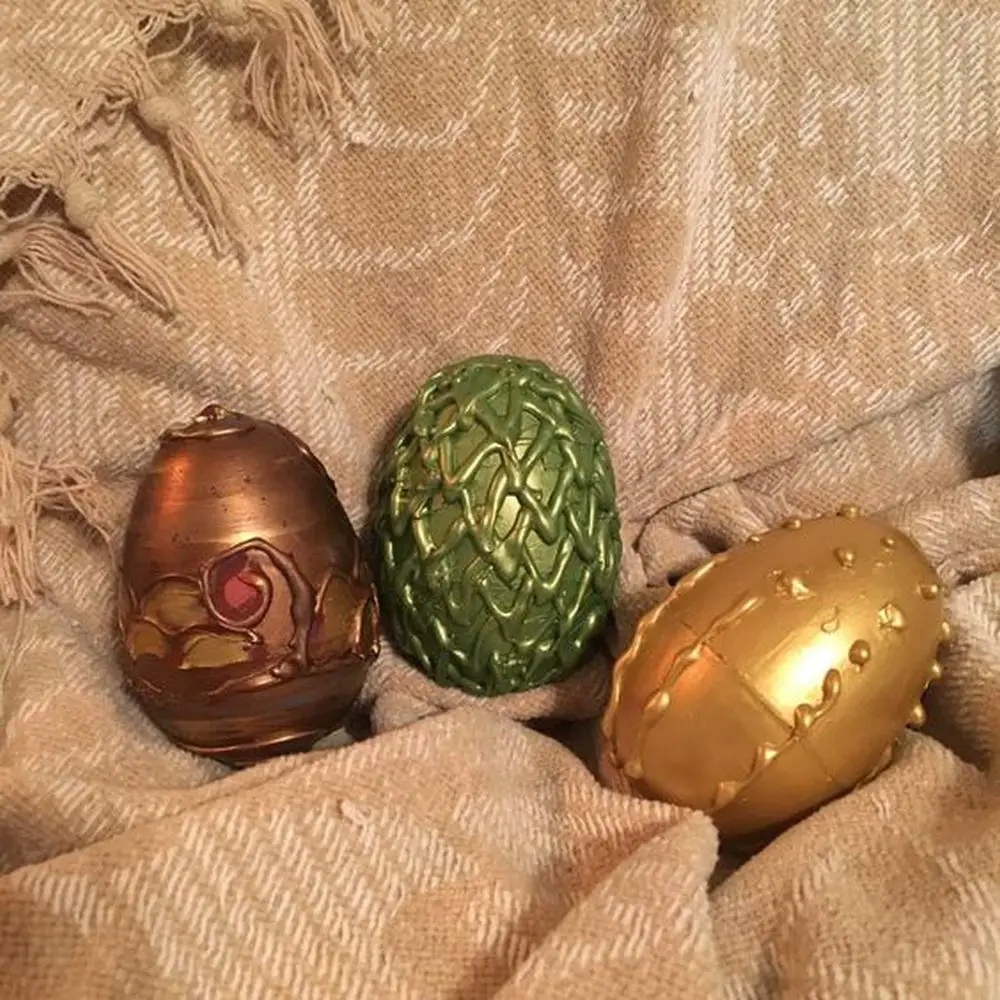
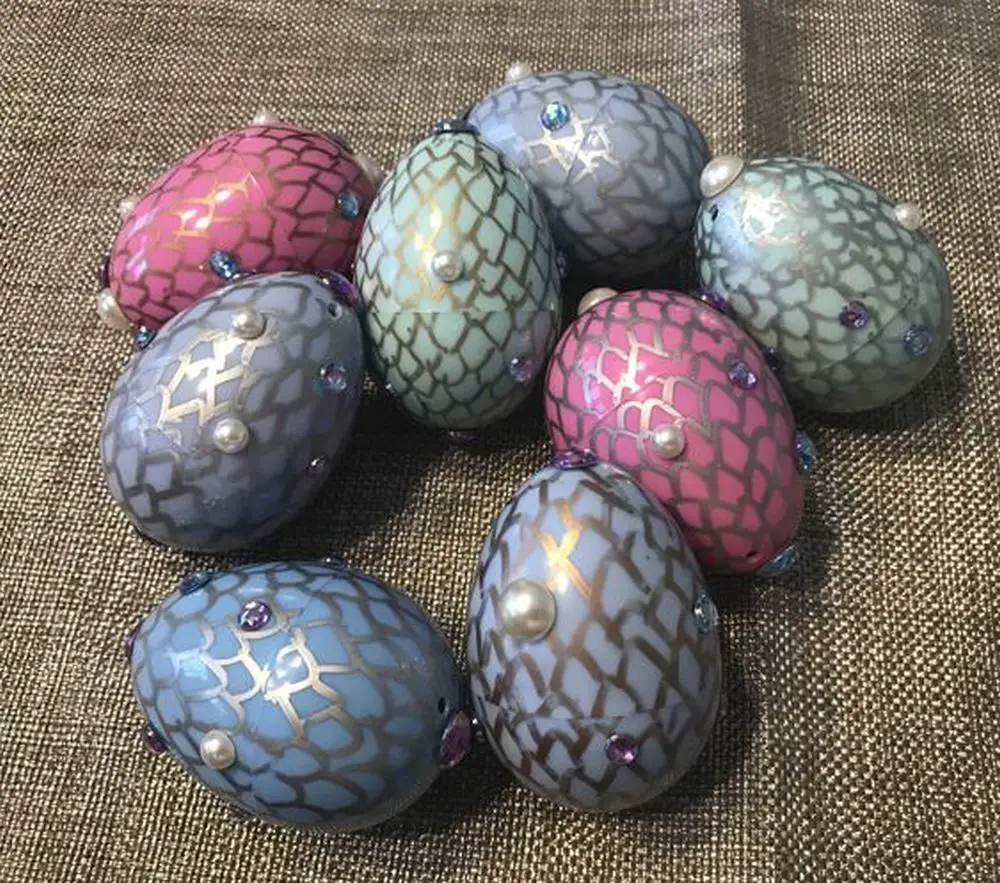
Below is a visual guide to making your dragon egg.
Safety Tips for Crafting with Children
Crafting with children is not just a fun and creative activity; it’s also a wonderful opportunity to bond and learn together. However, when embarking on projects like making dragon eggs, safety should always be the top priority. Here are some essential safety tips to ensure that your crafting experience is both enjoyable and secure.
Start with a Safe Workspace
- Clear the Area: Make sure the crafting area is free of clutter and any potential hazards. A clean workspace helps prevent accidents.
- Protect Surfaces: Use newspapers or a plastic sheet to cover the table where you’ll be working. This protects the surface and makes cleanup easier.
Use Materials Safely
- Non-Toxic Materials: Always choose paints and glues that are non-toxic, especially when crafting with younger children who might put their fingers in their mouths.
- Preparation is Key: Have all materials ready and within reach before you start. This prevents the need to leave children unattended during the project.
Hot Glue Gun Safety
- Adult Supervision: The hot glue gun is an essential tool for making dragon eggs, but it can also be dangerous. Always supervise its use and handle the glue gun yourself if the children are too young.
- Safety Gear: Consider wearing safety gloves when using the hot glue gun to prevent burns. Show older children how to use it safely and under direct supervision.
Painting and Decorating
- Aprons or Old Clothes: Wear aprons or old clothes that you don’t mind getting paint on. Crafting can get messy, and it’s best to be prepared.
- Ventilated Area: Make sure the room is well-ventilated, especially when using paint. This helps to avoid inhaling fumes that some paints might emit.
Crafting Together
- Guidance and Patience: Offer guidance and be patient. Children might not get it right the first time, and that’s okay. The goal is to have fun and learn, not to achieve perfection.
- Celebrate Creativity: Encourage creativity and let the children make their own design decisions. Making dragon eggs is about sparking the imagination.
Clean-Up and Storage
- Proper Clean-Up: Teach children how to clean up properly after crafting. This includes washing brushes, sealing paint containers, and safely disposing of any waste.
- Store Safely: Store all crafting materials out of reach of young children, especially sharp tools or toxic materials.
By following these safety tips, you and your little ones can enjoy making magical dragon eggs and other craft projects safely and happily. Remember, the journey of crafting together is just as important as the beautiful creations you end up with.
Conclusion
Creating dragon eggs is a magical journey that combines creativity, imagination, and a touch of mythical wonder. It’s an engaging activity that not only brings stories to life but also fosters a hands-on crafting experience that can be shared across generations. Through careful preparation and mindful safety practices, families can enjoy bringing the enchantment of dragon lore into their homes, one sparkling egg at a time.
For more Easter projects, check out our woven paper basket project!


