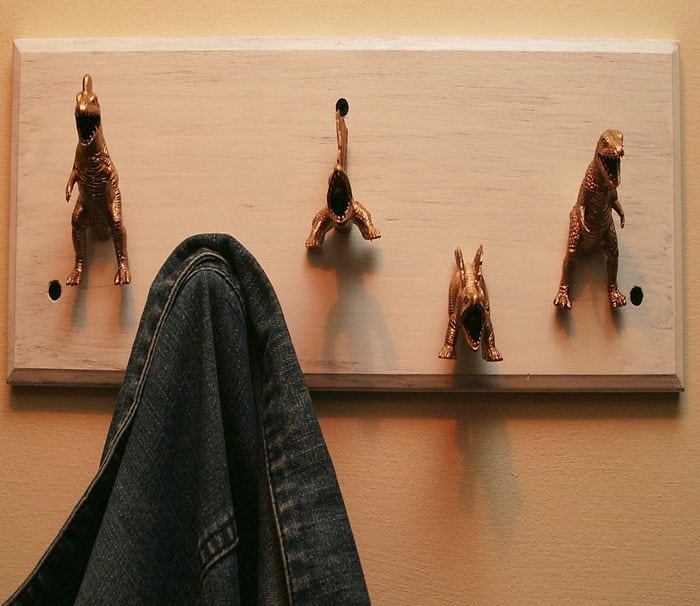
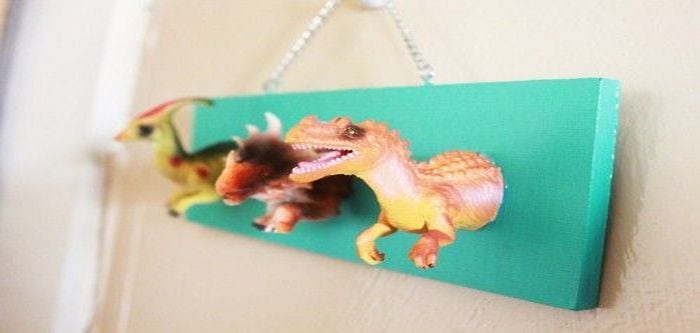
Dinosaur coat hooks – what a way to greet your guests!
We all have old things around the house or the garage either collecting dust or put to one side ready to be thrown out. But before you get rid of any of it, you might want to recycle – or upcycle – some of those things yourself.
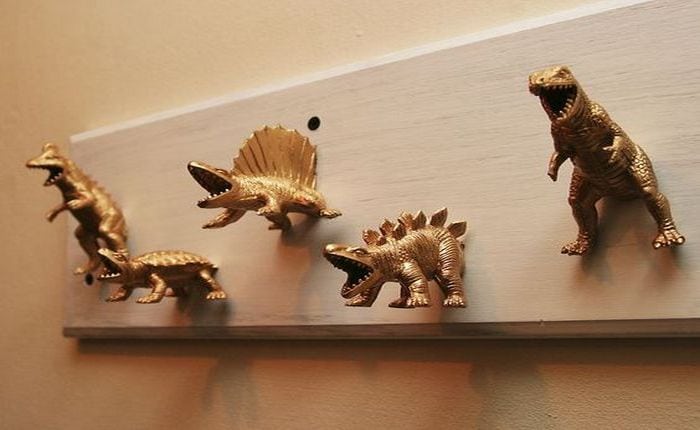
It’s amazing how some people can come up with the most amazing DIY ideas. They seem to have a knack for turning an otherwise ordinary accessory into something extraordinary. Like this DIY coat hook project, example. I mean, who’d ever think of making coat hooks out of toy dinosaurs? It’s absurd but brilliant at the same time.

Dinosaur lovers would love this. And mind you, this project isn’t just for kids – grown-ups enjoyed this, too. This is a fun project for people of all ages – and this would make for an interesting conversation piece.
Making DIY dinosaur coat hooks is a simple and easy project. The instructions are very easy to follow, too so you won’t have a hard time. Remember to keep the hot glue gun, drill, and knife out of your children’s reach. As with any project, safety first.
If you don’t have available toy dinosaurs, go hunt for some.
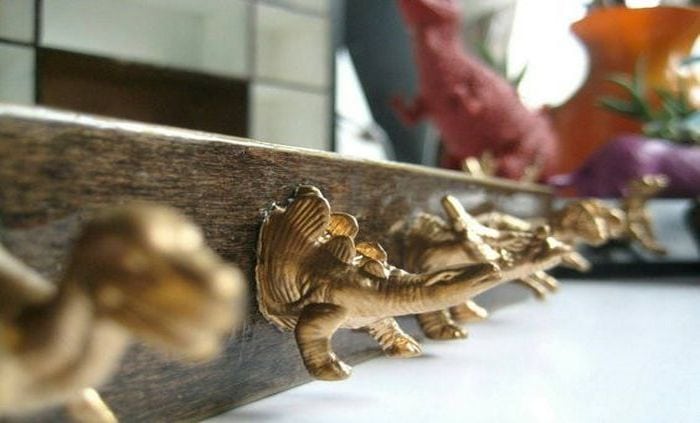
DIY dinosaur coat hook designs ideas
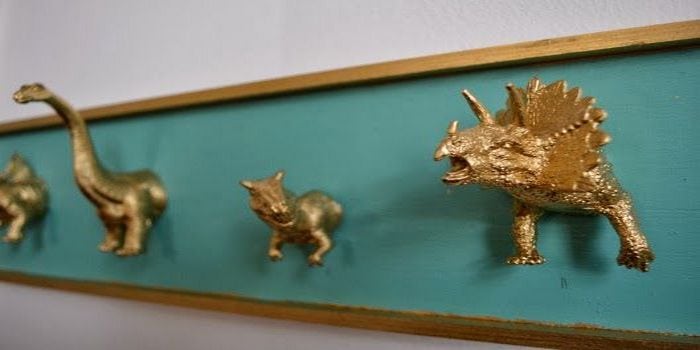
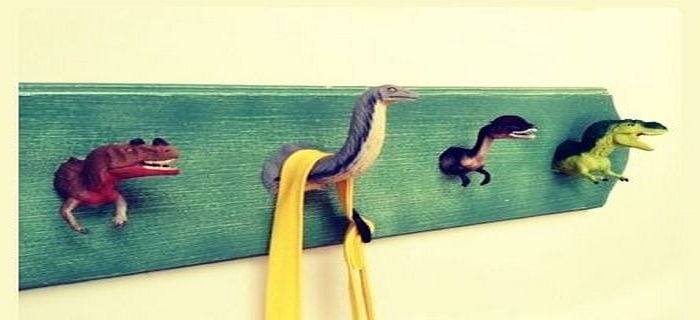
We’ve rounded up some of the best designs out there to help inspire you. Whether you’re looking for something simple and cute or something a bit more impressive, we’ve got you covered.
So what are you waiting for? Get started on your own DIY dinosaur coat hook project today!
Click on any image to start the lightbox display. Use your Esc key to close the lightbox.

Dinosaurs are a popular theme for kids’ bedrooms, and these DIY dinosaur coat hooks are a fun and easy way to add a touch of dino-themed décor. All you need is a few supplies from your local craft store and some basic woodworking skills.
First, gather your supplies. You’ll need some basic woodworking and here’s the list you’ll need to get started:
- Toy dinosaurs
- Backing plate
- Various screws
- Paint
- Lacquer
- Glue Gun
- Paint Brush (optional))
- Drill and bits (depends on your screw choices)
- Knife
- Hammer
How to make DIY dinosaur coat hooks
This project is perfect for anyone who loves dinosaurs (or just wants to add a touch of whimsy to their decor), and it’s surprisingly not difficult to do! Here’s how:
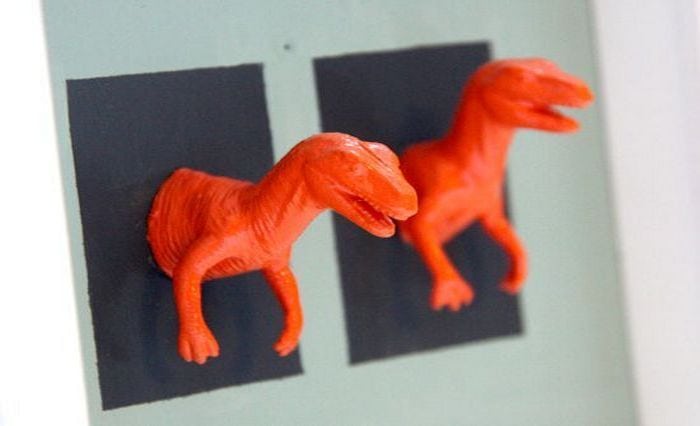
1. Prepare your old dinosaur toys
Collect your old dinosaur toys and wash them. Remove the dinosaur’s tail using a cutter or knife.
2. Fill in your dinosaur toys
Using a glue gun, fill in the dinosaur toys with glue, to make them hard and unbendable.
3. Drill a hole into your dinosaur’s back
Using a drill, make a hole into the dinosaur’s back, near the tails. The hole must be just enough to fit in your drywall screw.
4. Paint your dinosaur toys
Paint your dinosaurs with any color you want. You can have your kids do the fun painting part! Remember to spread them on a newspaper or any carton box to avoid any mess on your table or floor. Then let them dry.
5. Prepare your backing plate
Cut a piece of wood for your backing plate.
Drill holes in your backing plate. The size of the backing plate and the number of holes you need to make for this will depend on how many dinosaurs you have.
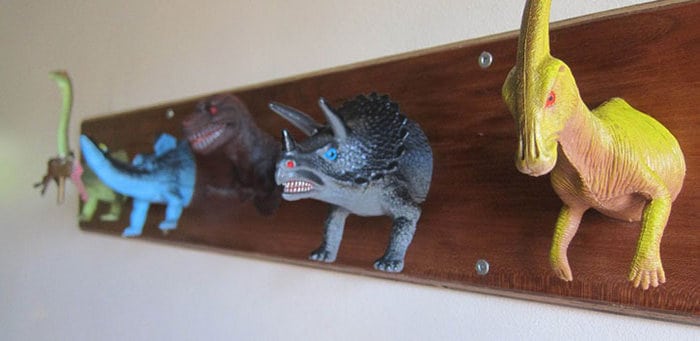
6. Attach the dinosaurs
Once your backing plate is ready, you can now attach your dinosaur toys.
7. Mount your dinosaur coat hooks
Finally, you can mount your dinosaur coat hooks on your wall using a hammer and drywall screws.
Thanks to RiffRaffMakes for this great project. You can watch their video tutorial here…


