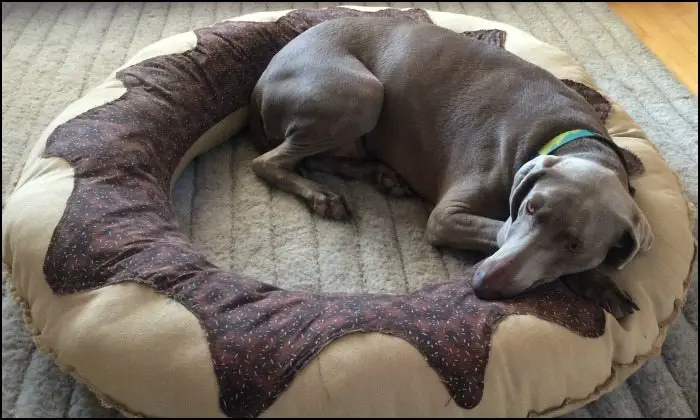
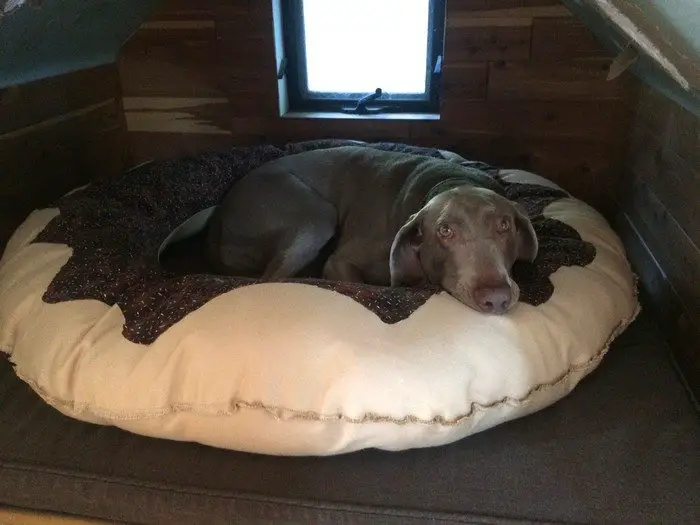
Donuts are generally not good for dogs, but this one is! If you’re looking for a new bed for your pet dog, this DIY donut dog bed is one awesome gift you can give your fur baby!
It’s a unique dog bed that brings the ultimate comfort to your pooch! It provides a good place for pets to rest their heads. It also creates the feeling that they are being cuddled while sleeping as dogs love to curl their bodies against something, whether it’s their human, the wall, or a pillow!
This DIY dog bed brings comfort all year round, no matter what the weather is. If it’s too hot in the summer, you can place it on the tiled floor so that your pet can stay cool and still be comfortable. Then simply move it to a carpeted floor in winter to keep your dog warm. If you want, you can even put it on your bed – of course after cleaning it in the washing machine ;)
You can also bring it with you in the back of the car for road trips!

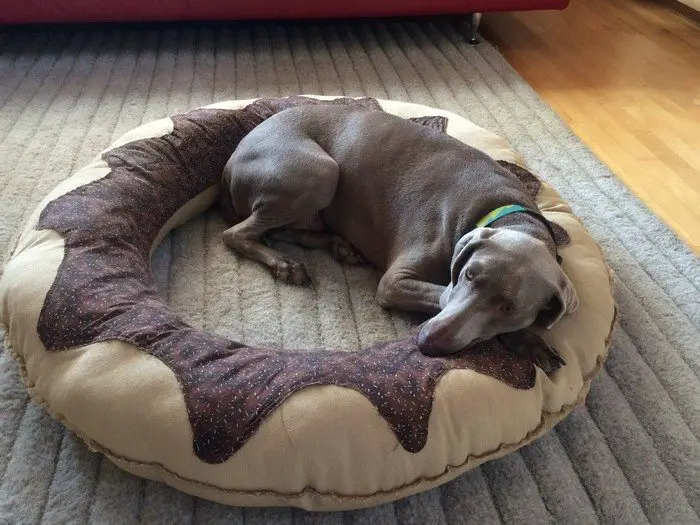
The donut dog bed is definitely one of the most clever dog bed designs we’ve ever seen.
Do you need one for your fur baby? Learn how to make one now by following the step-by-step tutorial below!
Materials:
- 2 pcs 4’x4′ Heavy Canvas Material
- 1 pc 4’x4′ Playful Fabric (for the ‘icing’)
- 5 1-lb Bags of Polyester Fiberfill Fluff
- String
Tools:
- Marker
- Tape Measure
- Scissors
- Sewing Machine
Contents
How to make a donut dog bed
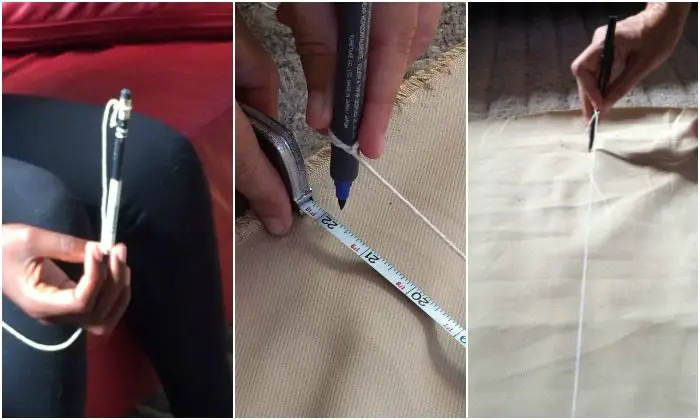
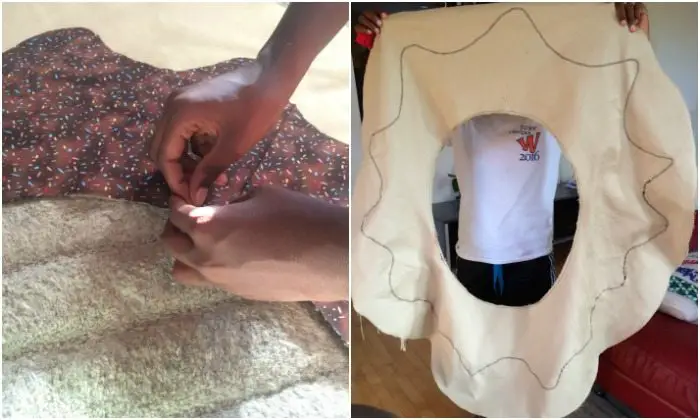
1. Trace your first circle
Stack your two canvas fabric squares on top of one another, with the good side down. Tie a pencil to one end of a string. Place the pencil at the centre of your fabric square and stretch the string out to the desired outer radius of the donut. Attach a pen or marker to the string at the desired length. For a large dog, we used 22″ radius (44″ diameter). Hold the pencil in the centre, and draw a line with the pen all the way around to make a circle. The marks will end up on the inside of the donut, so you don’t have to be too careful.
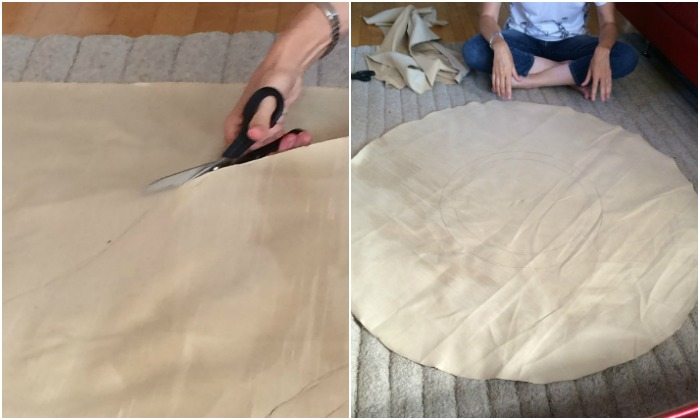
2. Cut out your first circles
You have two layers of fabric, so carefully cut along the marked line, ending up with two identical 44″ circles of fabric. (You could also cut one out, use it to trace the shape on the second, then cut that one.)
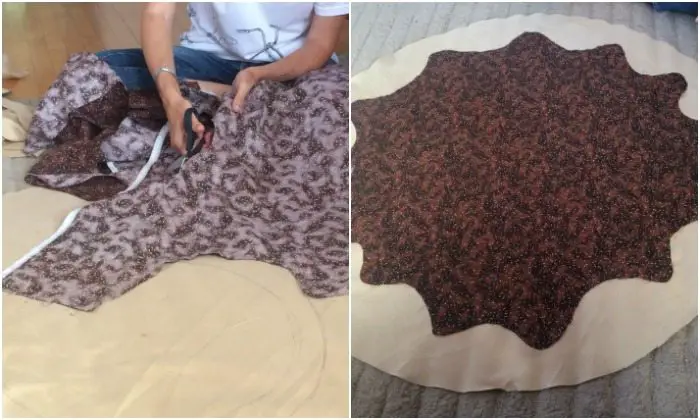
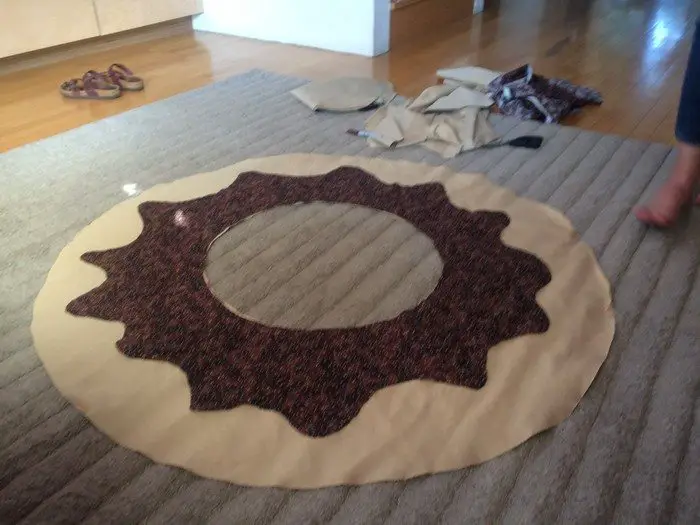
3. Create the ‘icing’
Spread out your ‘icing’ fabric, with the good side down. Using the same pencil and pen on a string technique, measure out from the centre of the fabric square, and mark a 19″ reference circle all the way around. Cut a free-form wavy line all the way around the reference circle, meandering back and forth over the reference line, to create the dripping icing effect. Make this as uniform or as free form as you would like.
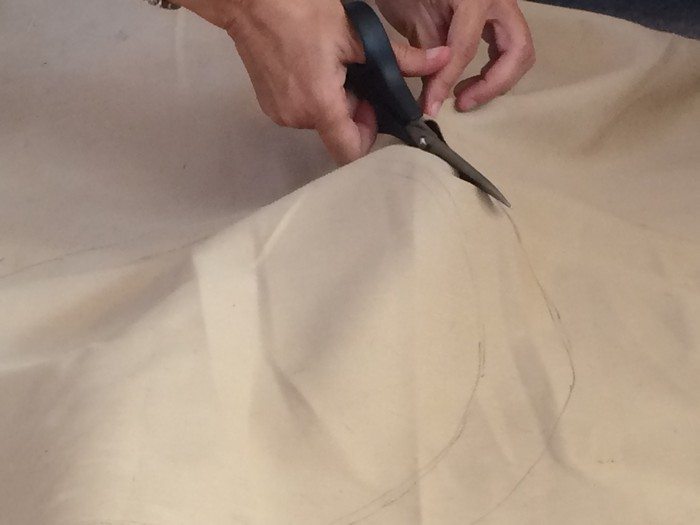
4. Create the donut hole
Set aside the ‘icing’ for now. Stack up your two layers of ‘donuts’. Measure a radius of 10″ (22″ diameter) from the centre and trace the donut hole. Cut out the centre circle from both layers.
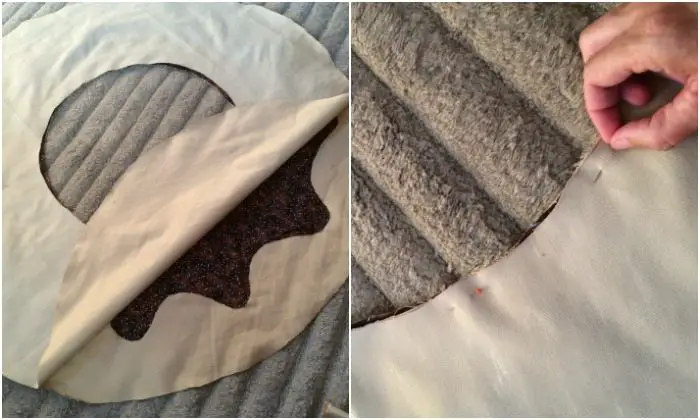
Then use one of the cut-out circles as a template to trace a circle on the back side of the ‘icing’ circle. Cut the hole out of the ‘icing’. Looking good!
(Save all 3 circles that you just cut out, to make a donut hole throw pillow for yourself!)
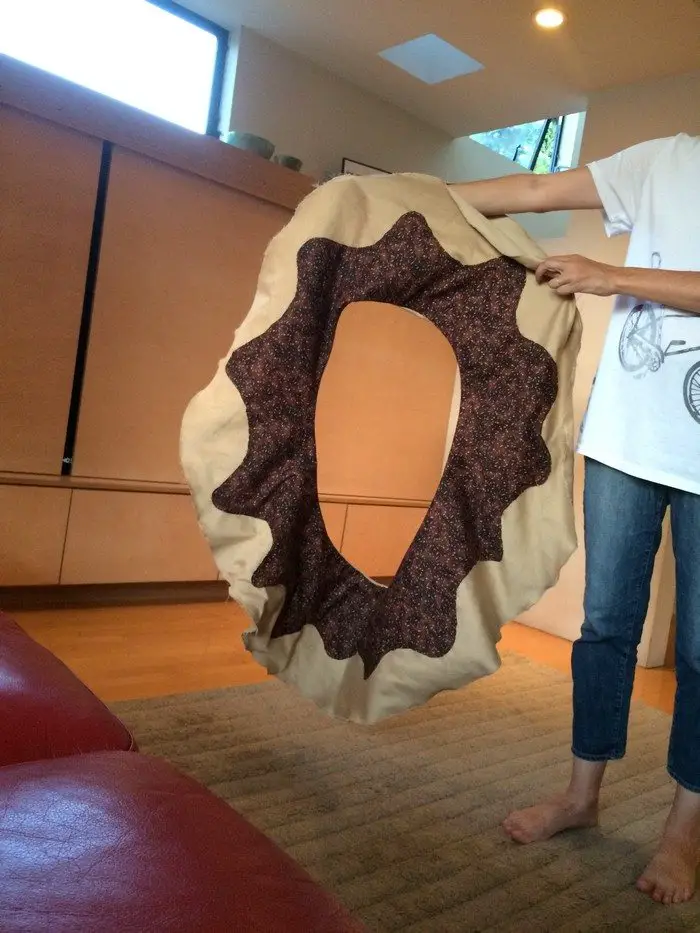
5. Sew on the ‘icing’
Set aside one of the donut layers. Lay out one layer of donut with the good side up. Place ‘icing’, good side up, on top with the centre holes lined up. Pin the ‘icing’ in place. Sew the inner circle and the wavy circle in place on the sewing machine. I used the zigzag stitch setting on the machine for the entire project. Remember, just sew the ‘icing’ to one layer of donut, not both!
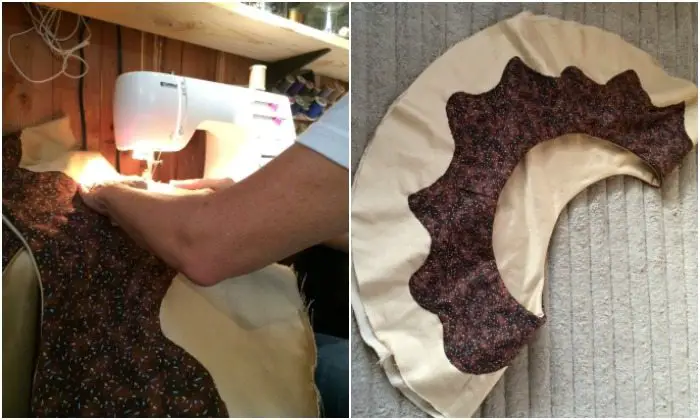
6. Assemble the donut
Now that you have the top of the donut stitched to the icing, lay that top layer, good side up on the floor. Place the second layer of donut good side down, on top of the other layer. Line up the edges, and pin the center circles together.
Sew the inner circles together. Once the inner circles are sewn up, turn the donut right side out. Sew the outer edges of the circles together, almost all the way. Leave about 12″ length of the edges unsewn, to allow for stuffing. Now we are in business!
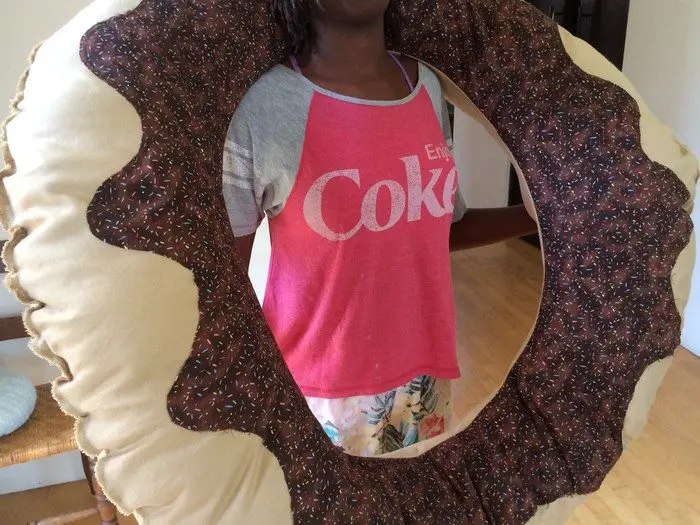
7. Stuff that baby
Stuff as much fluff as you can into the donut. Try to make the fill density as even as possible all the way around.
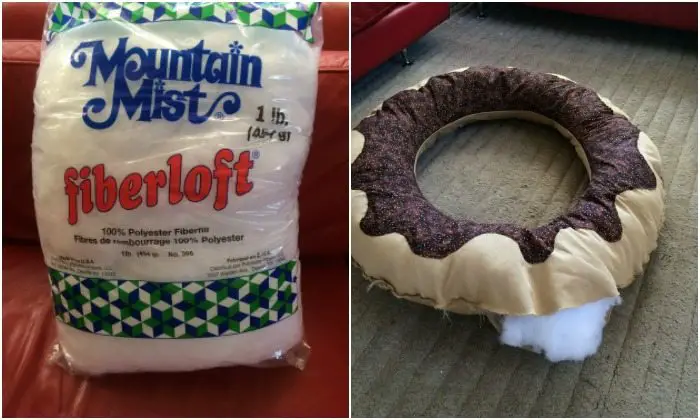
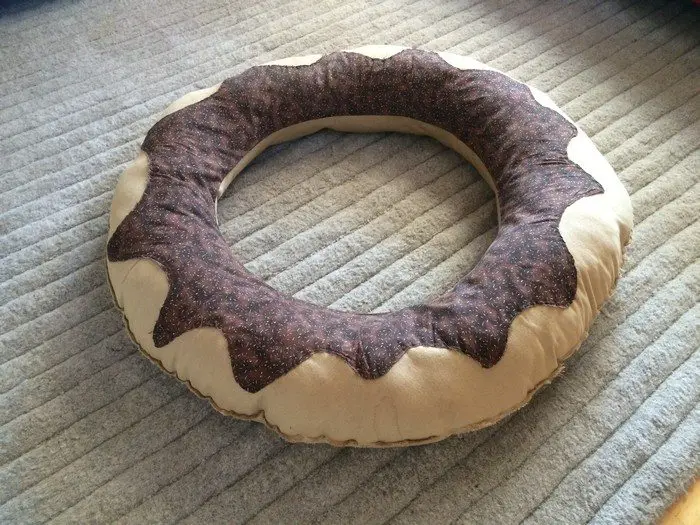
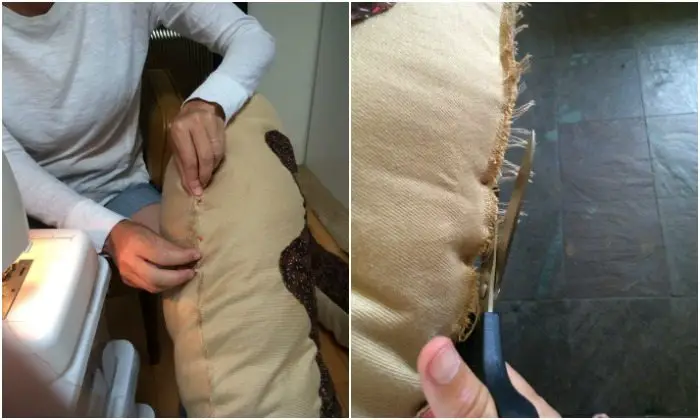
8. Finishing touch
Now that the donut is stuffed, pin together that last bit of the edge, and sew it closed, either on the machine or by hand. Working with fat and awkward donut is not easy on the machine, but we prevailed! Trim all the way around the seam to neaten up the edges.
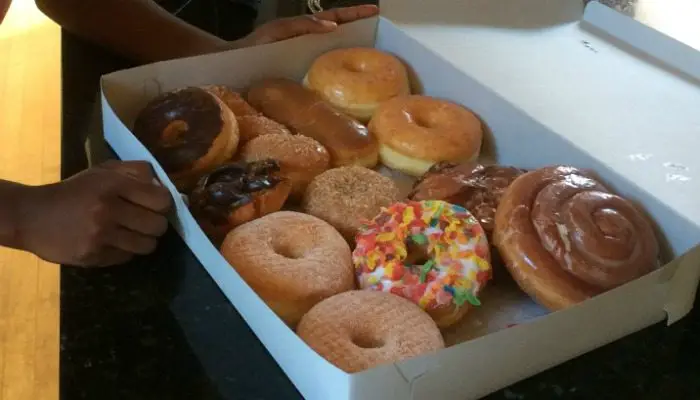
Time for a donut party: Your best friend gets a good night’s rest, and you earned a donut party!
Click on any image to start the lightbox display. Use your Esc key to close the lightbox. ?
Thanks to Joey Ozone for this great project!
If you liked this project, you might also like to view How to make a “lap” dog bed…


