Hey! Think your home needs to be a little more inviting and child-friendly? Adding a pompom rug will definitely help!

Pompom rugs can be homey gifts for your feet and eyes. I remember seeing this fluffy decor in a friend’s living room. I could not help but make one for the kids. To my amazement, this home decor is definitely easy to make! It’s also a relief for the feet after a long day.

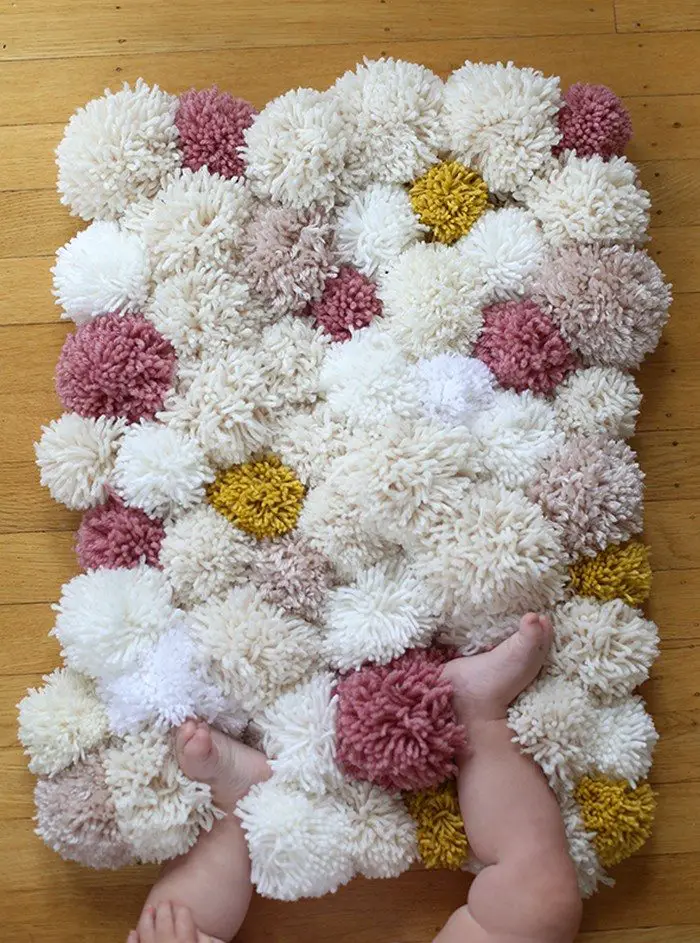
It’s a great decorative rug you can add to any room, especially if you have kids. They will surely love the beautiful colours and the soft and relaxing texture of a pompom rug!
Want one? Go ahead and choose your colour combination and start making your own pompom rug! :)
You’ll need the following tools and materials to make a Pompom Rug.
- Non-slip Rug Mat
- Wool Yarn (various sizes, colours, textures)
- 2 Toilet Paper Rolls
- Scissors
Contents
How to make your own Pompom Rug
1. Determine the measurement
To begin with, the rug must be cut to the desired size. You can either measure it or eyeball it if you wish. If it is already the right size, the cutting may not be necessary. The store offers several sizes.
Place the flat portions of the toilet paper rolls on top of each other after flattening them. You only need a little space between them, they don’t have to be completely flat.
2. Cover the toilet paper rolls
Starting with the selected color of yarn, wrap it around the toilet paper rolls vertically, avoiding covering the holes. Approximately 120 times around the toilet roll will make them very full. Similarly, paper towel rolls can be made larger by doing this.
3. Tie a knot and remove the yarn from the rolls
After covering the yarn, cut it. When the smaller piece of yarn is wrapped (horizontally) over the other yarn, tie it in a tight knot, and as the knot is being tied, remove the yarn from the toilet paper rolls. Then, you should tie a knot on the tail of the yarn.
4. Cut the loops and fill the rug
As soon as the yarn makes loops, cut the loops in half with the scissors. Pom-poms can be fluffed out with a brush if desired. Fill the rug pad with pom-poms until the surface is filled.
5. Repeat the previous steps to make several pom-poms
Lay the non-slip pad flat on the floor. Decide how many pom-poms you need and make a design if desired by laying them out on the rug. In order to look back on the situation, it helps to take a picture.
6. Trim the ends
Once the pom-poms are removed, pass both sides of the yarn through the holes in the rug, turn the rug around and tie knots on the other side, and trim the ends so they’re not too long, about an inch.
You will need to repeat this step until the rug is to your satisfaction.
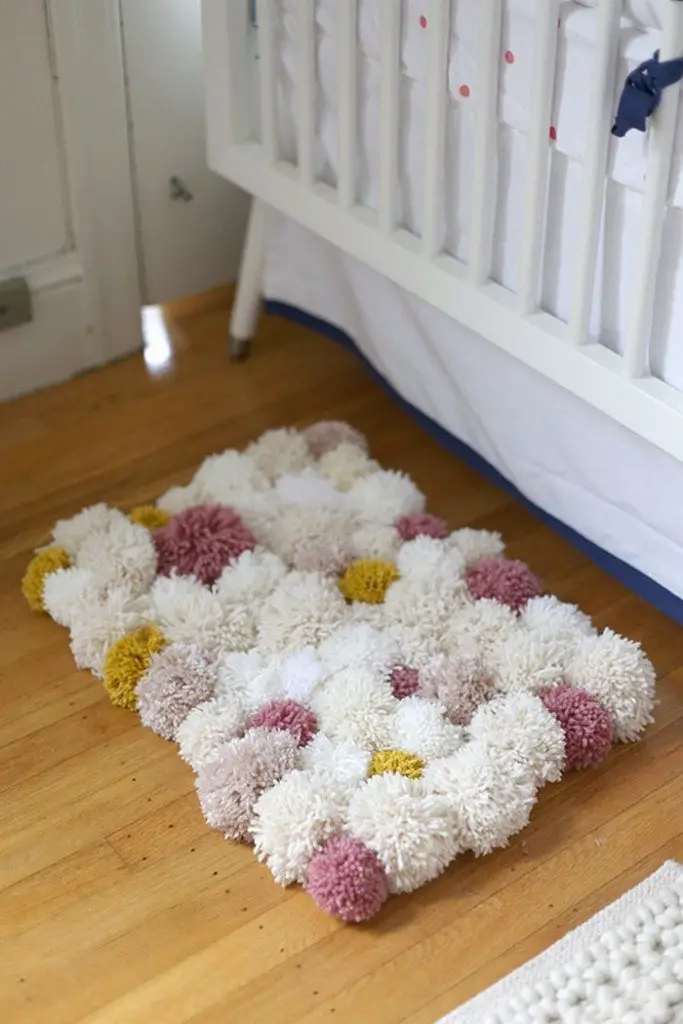
Then, you can have your adorable DIY pompom rugs placed in your living room, bathroom, kitchen and anywhere you want!
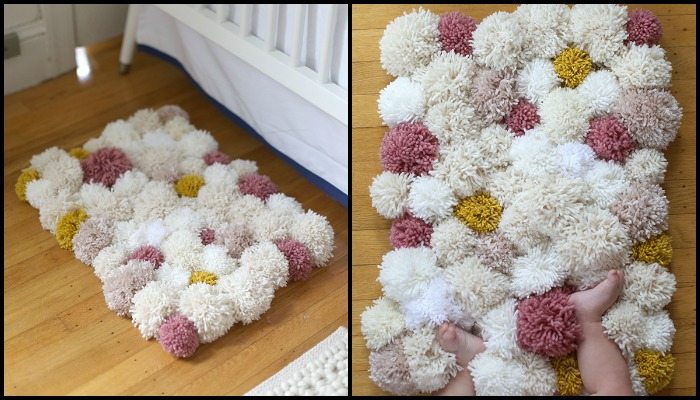
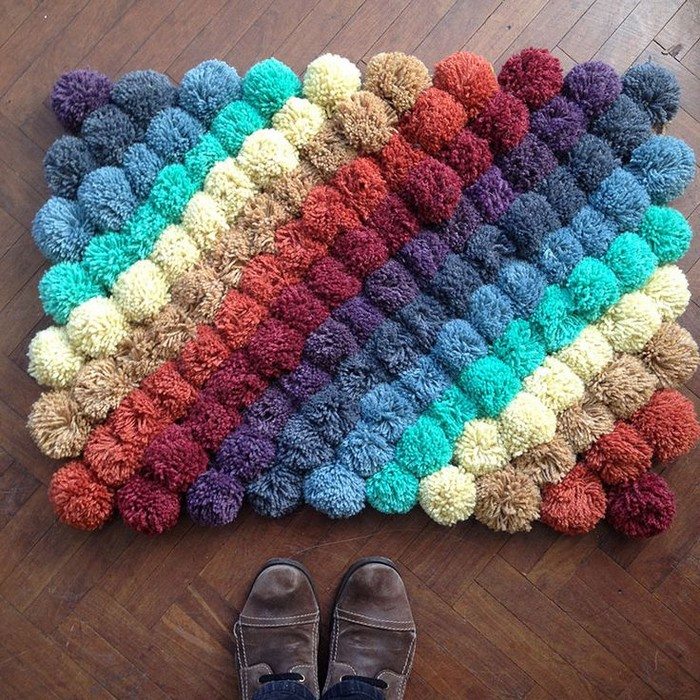
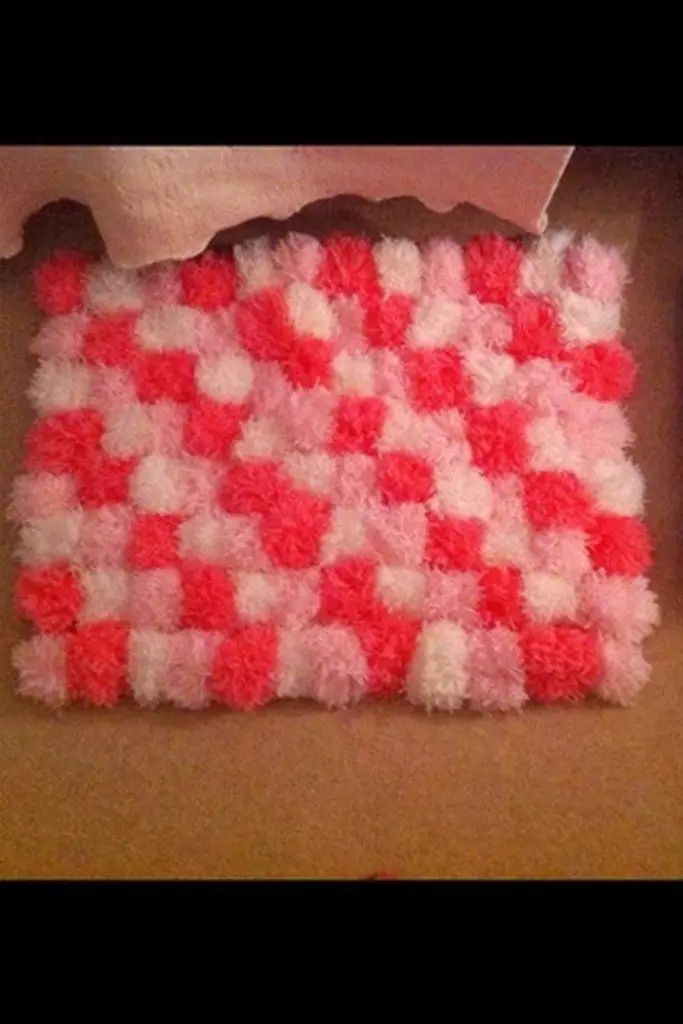
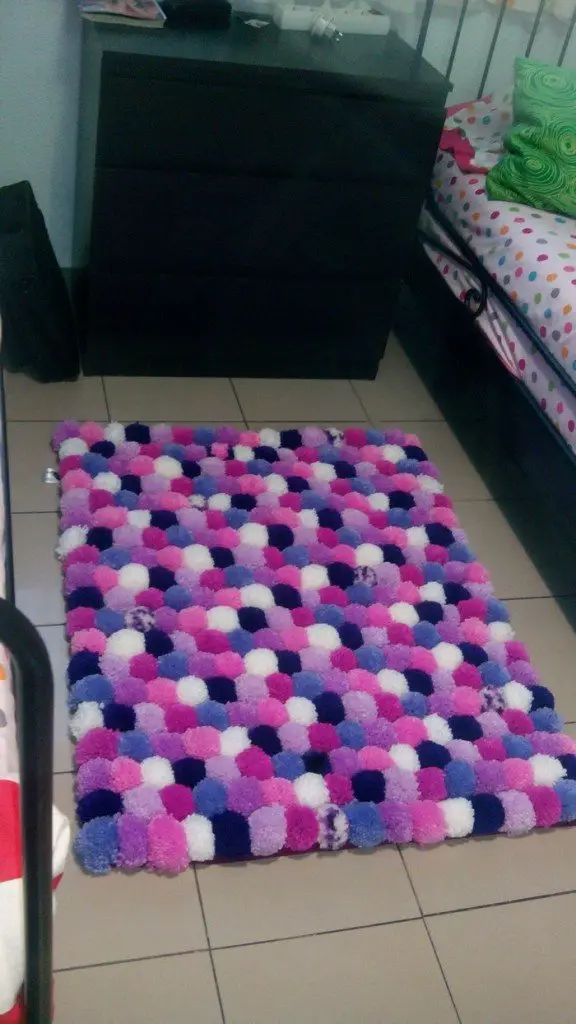
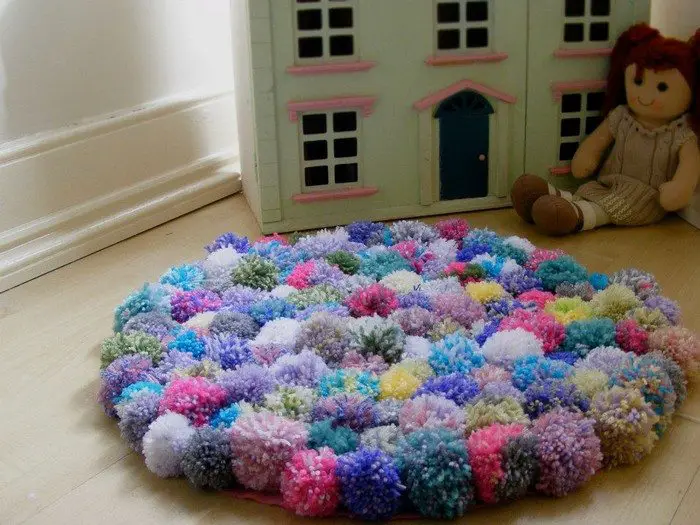
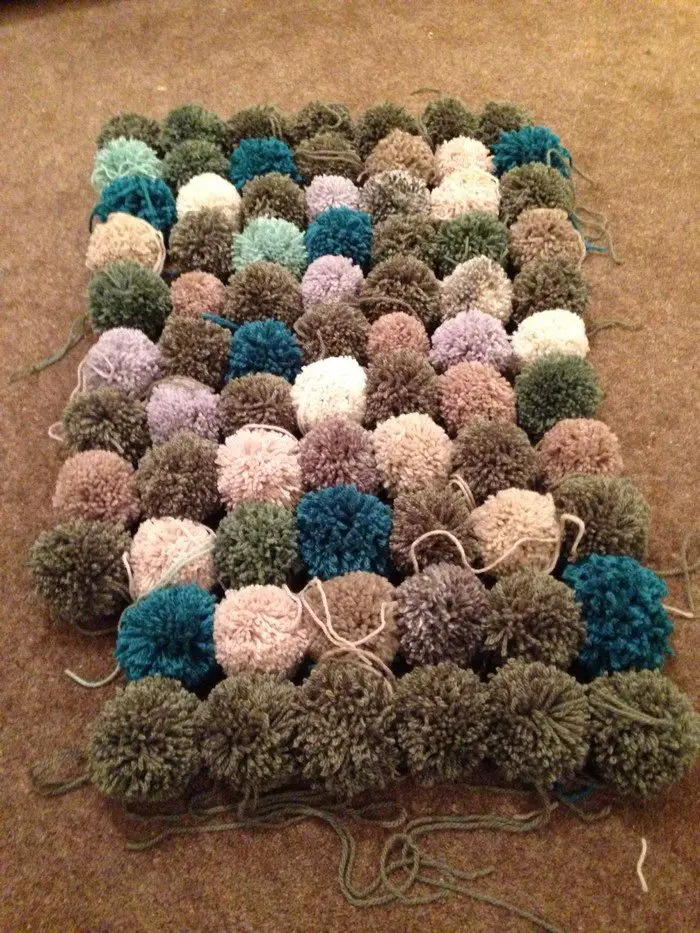
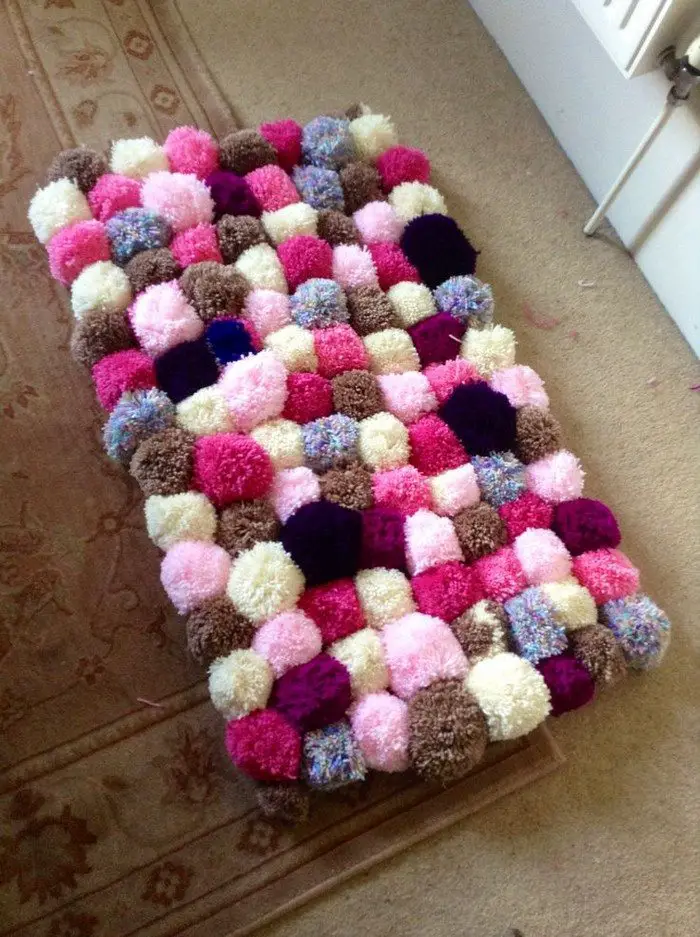
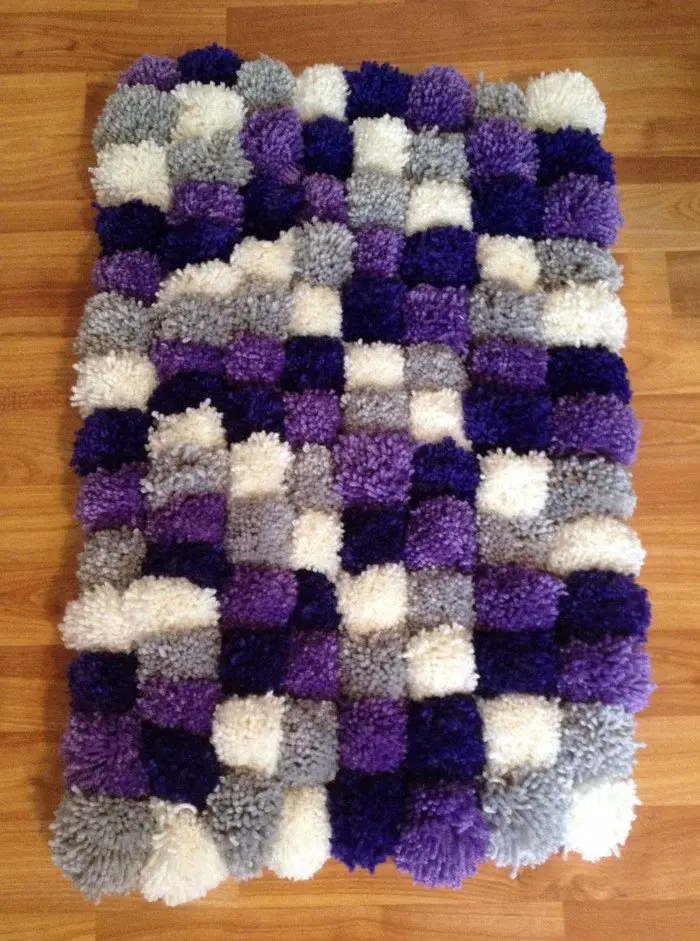
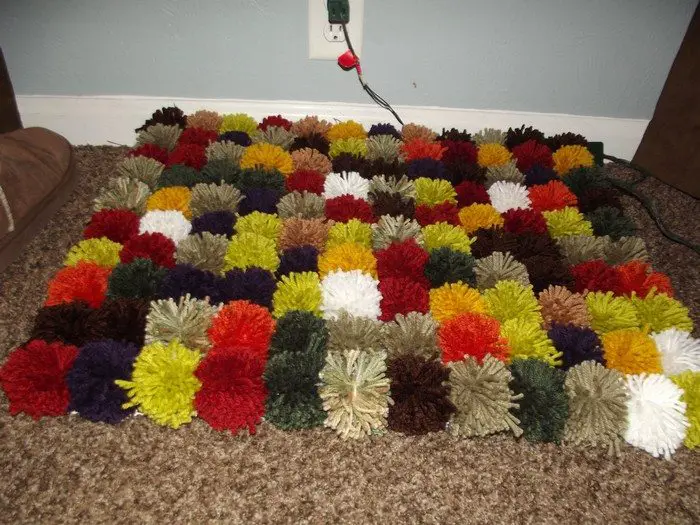
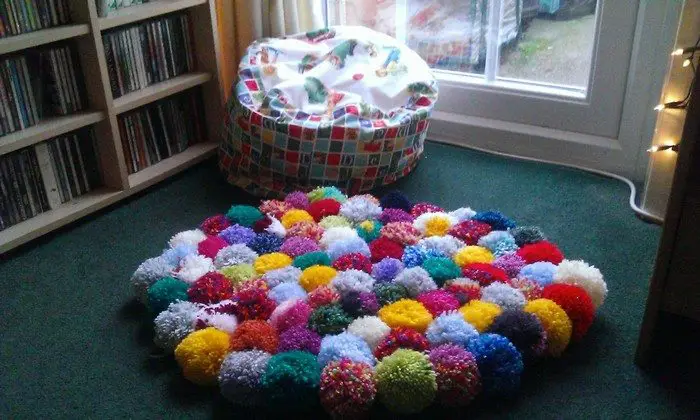
Awesome pompom rug designs
We’ve got an album of pompom rug samples for you below to help you with your colours.
Click on any image to start the lightbox display. Use your Esc key to close the lightbox.![]()
Thanks to Instructables for this great project. You can get step-by-step instructions here…
If you liked this project, you might also like to view Make beautiful rugs from old T-shirts…


