
Some people love making their own, unique dresses and clothes. If you’re one of those crafty people, then you should have a DIY sewing mannequin that is the size and shape of your body! And this is how you can make one…

Use duct tape! Believe it or not, in the right hands, duct tape is enough to create a masterpiece or solve some of the most common housekeeping challenges. You’ll have no trouble finding this staple in your house or at the grocery store, too.
This DIY dress form can be of great help when making your own clothes, particularly during hemming and fitting.
And if you have friends or family that you plan on making clothes for, you can make their own duct tape dress form so that you have a better look at how the dress is going as you finish it!
Though it’s not an easy project to make, we’re confident that it will make your dress-making projects even more enjoyable and easier! You just need a patient helper to wrap duct tape around you. :)
Do you know someone who will love this sewing mannequin from duct tape idea?
Materials:
- Old T-Shirt (which you don’t mind being cut up and destroyed)
- Small piece of Discardable Cloth
- 2 rolls of Duct Tape
- Cardboard and Cardboard Tubing
- Stuffing – foam, polyfill or clothes
Tools:
- Sharp Scissors
- Marker
Click on any image to start the lightbox display. Use your Esc key to close the lightbox.![]()
Contents
How to Make a Sewing Mannequin from Duct Tape
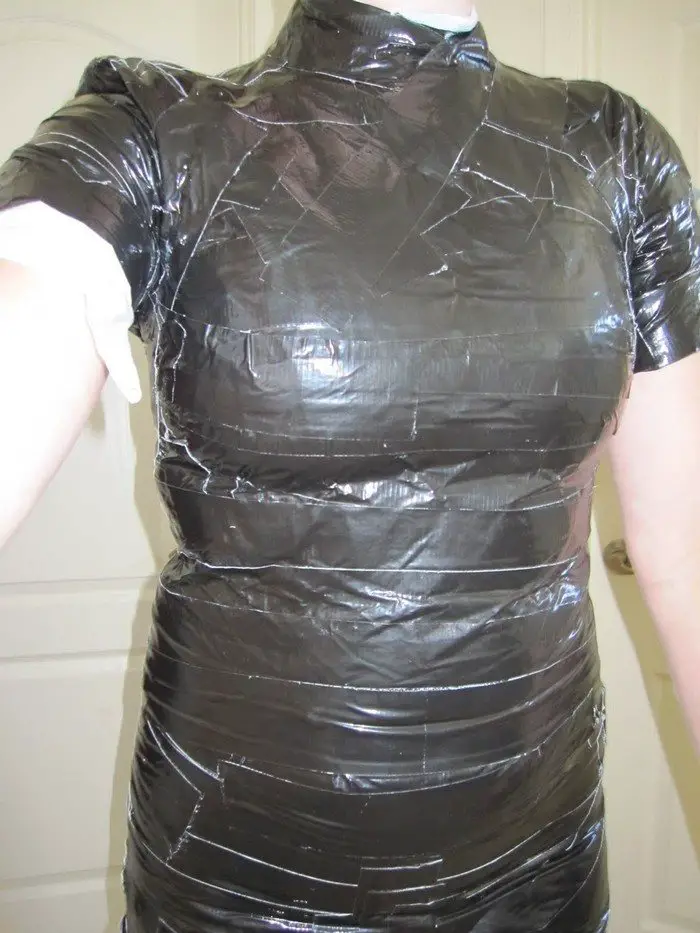
1. Wear an old fitted shirt
Note that this shirt must fit your body shape to form the DIY sewing mannequin. This old shirt will be cut afterwards. Make sure that this is an old shirt and doesn’t need to be worn again. We recommend a turtle neck shirt to protect your skin from the tape, otherwise, you can use a film or a plastic around your chest to the neck (any skin that may be taped).
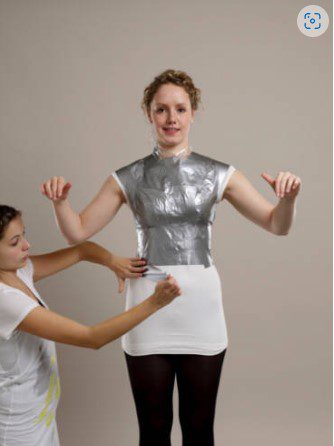
2. Apply the duct tape
Under the chest, around the body, the first adhesive strip is applied. It should be glued on so that it fits like a second skin and therefore reflects the precise measurements of the body.
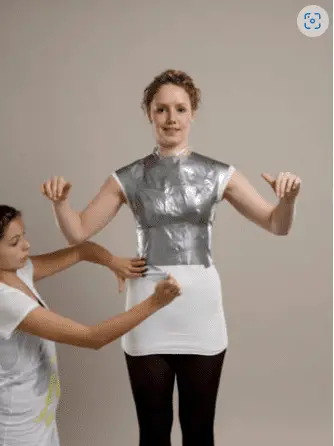
3. Define the breast area
Apply the tape crosswise but evenly, still showing the breast area. This is very important for a DIY sewing mannequin to portray a human figure. Start the duct tape below the left breast, pull a strip inside the chest then to the right shoulder, and then do the same to the other side.
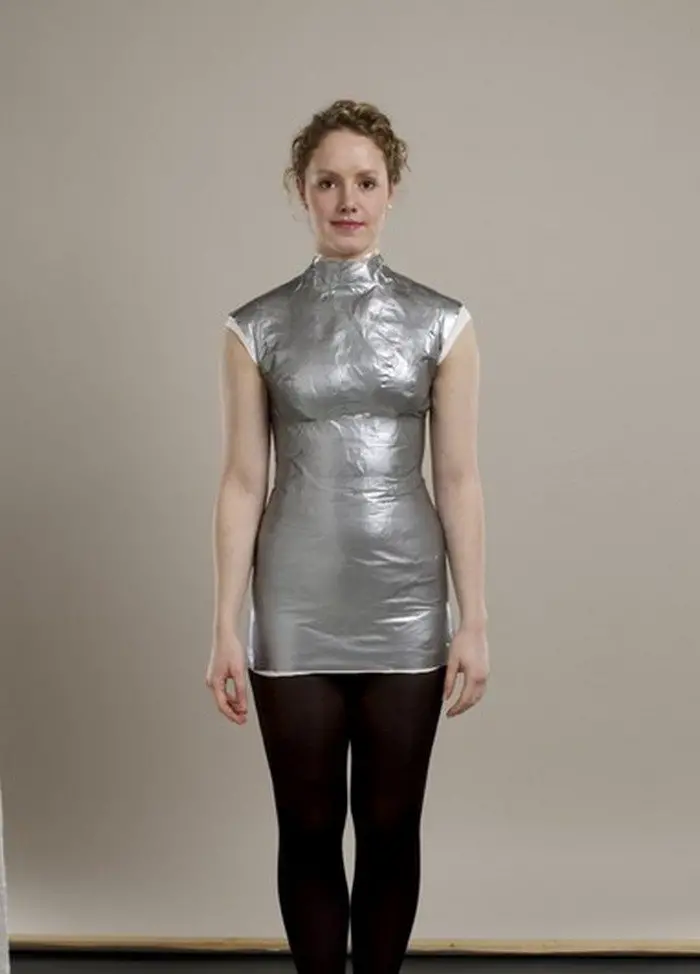
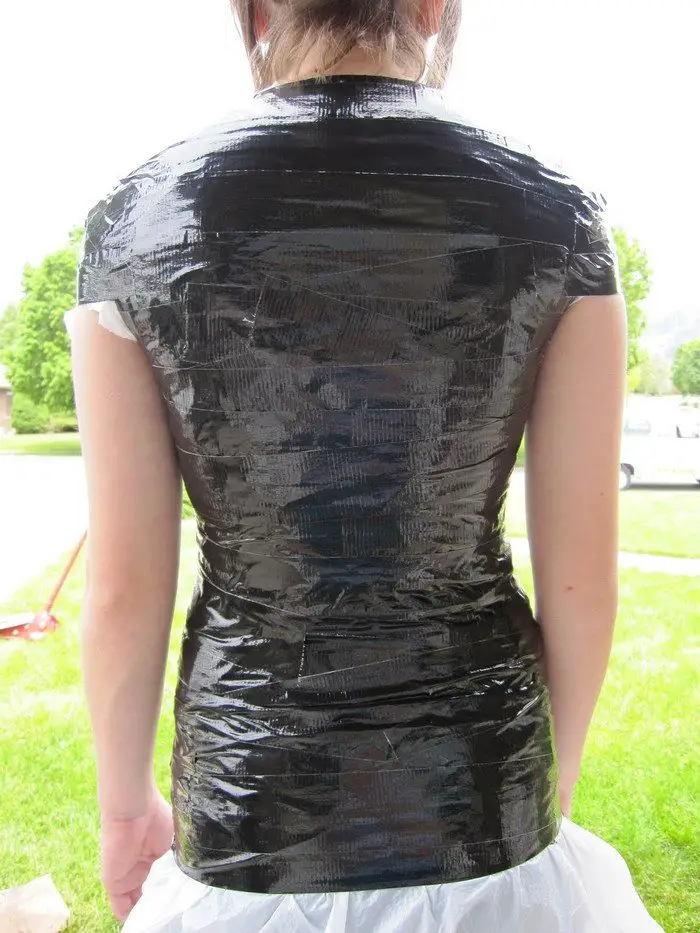
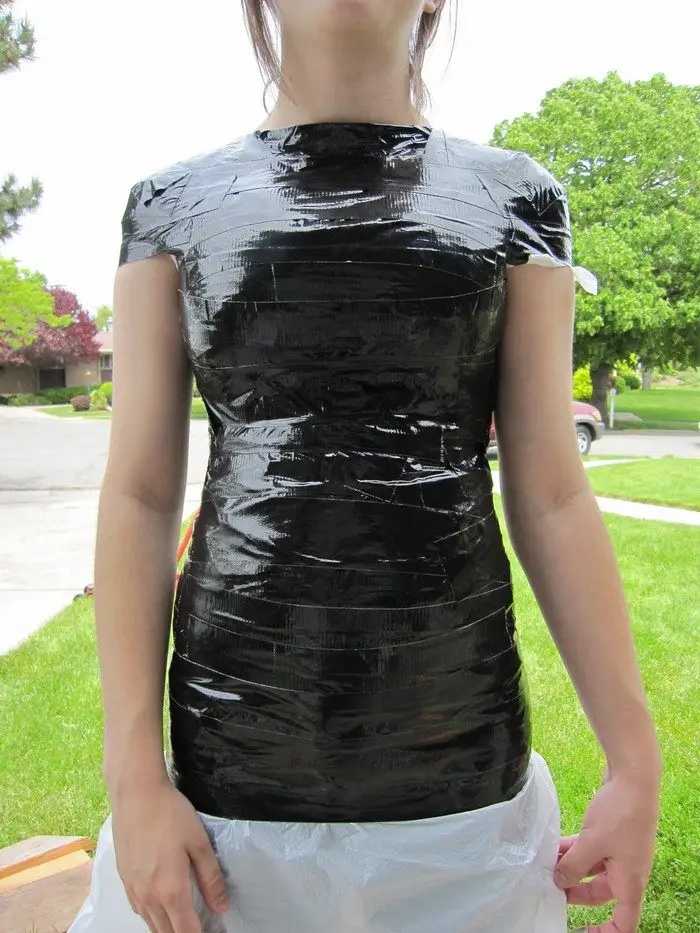
4. Cover the upper body with the duct tape
Starting with the chest area, do horizontal and parallel stripes to cover all parts of the upper body. From shoulders on the top, until the waist or hips area below. Apply two to three layers of duct tape to ensure its stability. For the neck part, tape it all around by avoiding the skin part. Add a plastic film around the neck to secure the skin.
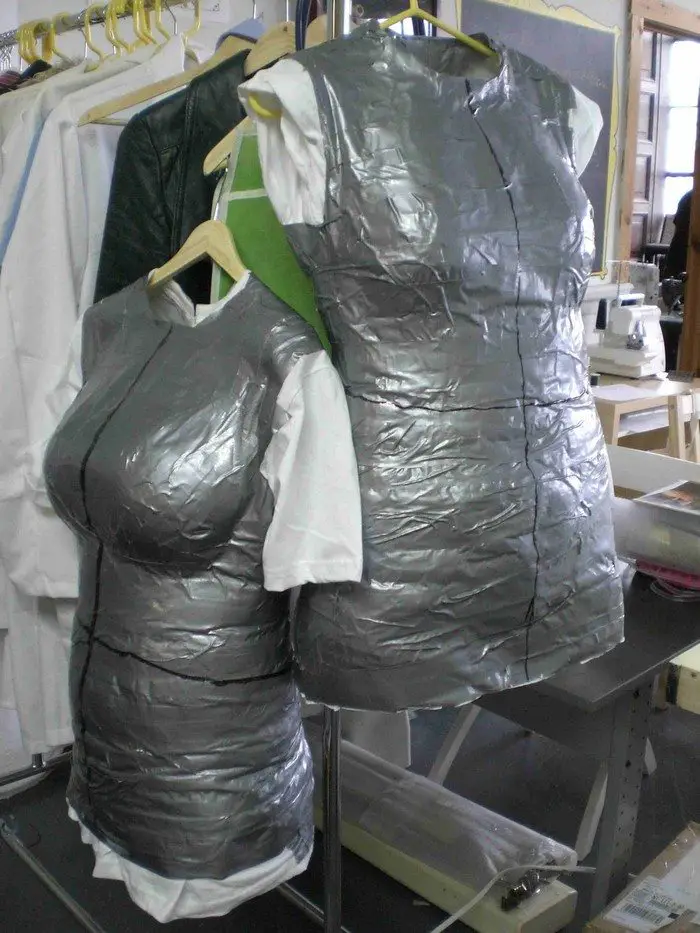
5. Mark the waist
Mark the waist around with a pen. Later this can be tailored.
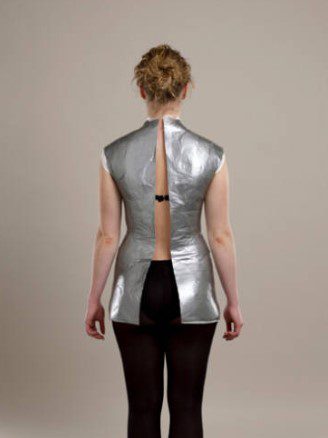
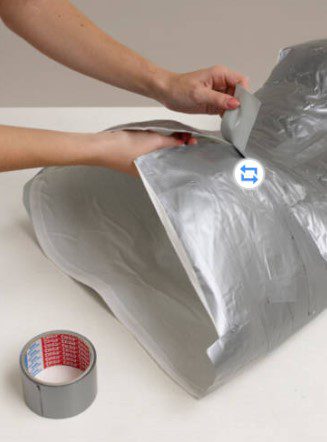
6. Cut the tape
Cut the duct tape at the centre back, including the shirt. The shirt needs to stay stuck with the duct tape, to preserve its shape. Make sure that the scissors’ tip is not sharp, to avoid any injury to the body’s skin. Then gently remove it from the body.
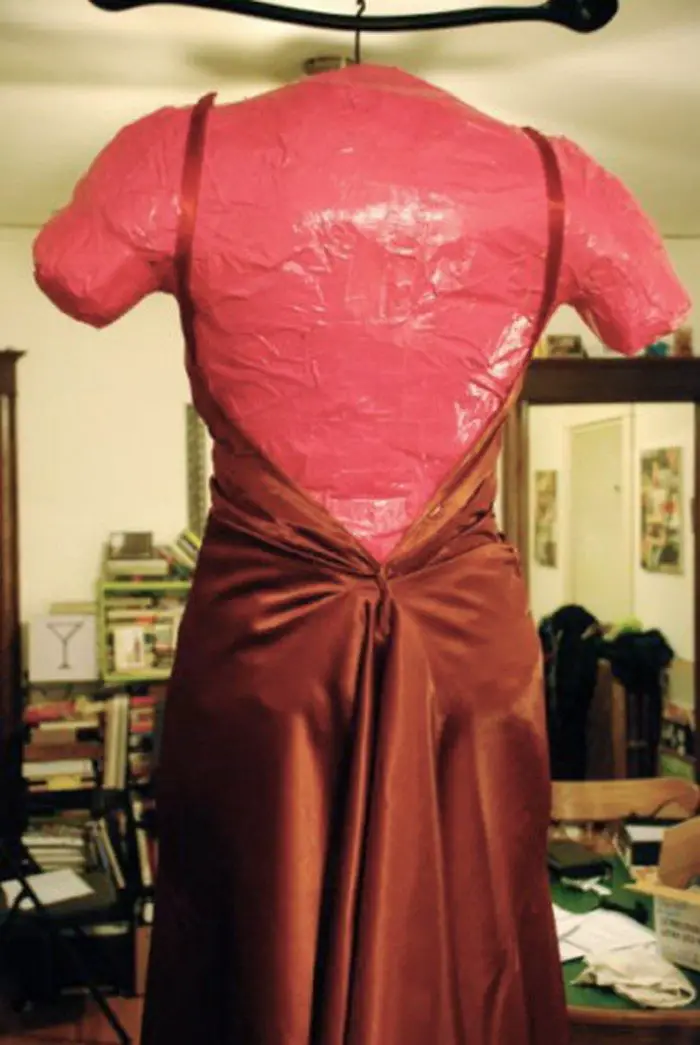
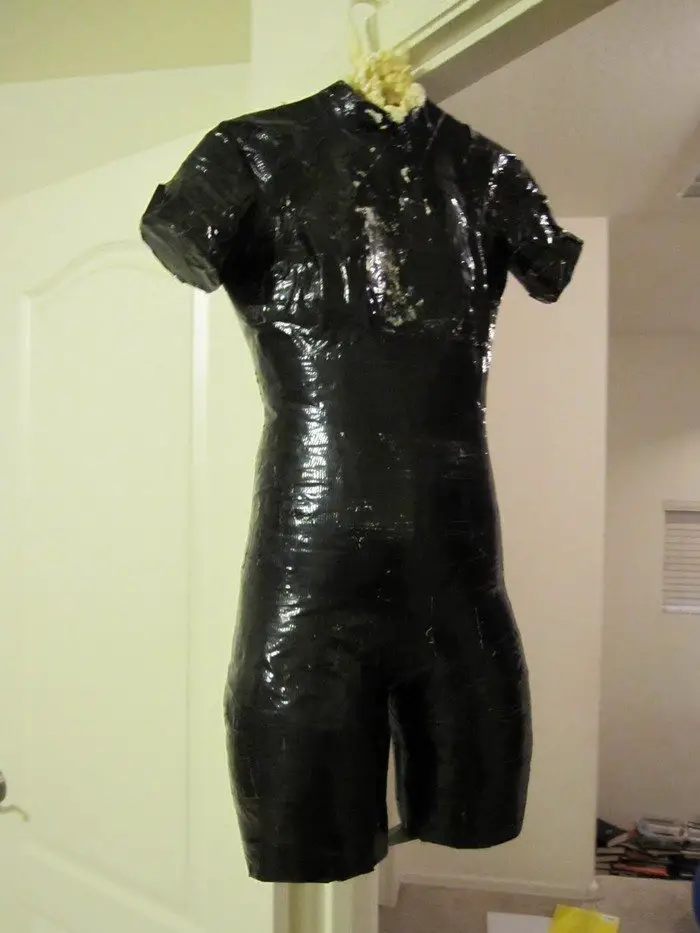
7. Re-attach the DIY sewing mannequin
Re-attach the DIY sewing mannequin by using duct tape.
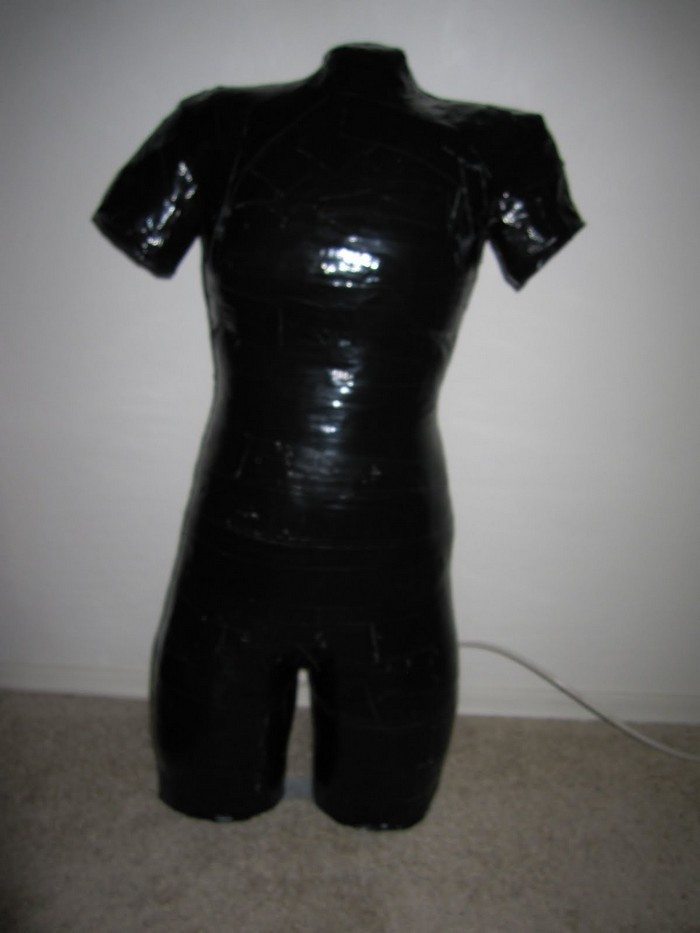
8. Close all openings
Close all openings with duct tape. This includes the neck and arm openings.
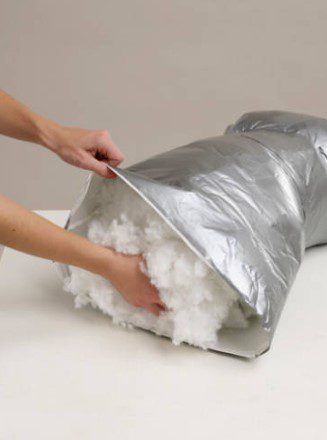
9. Stuff the DIY sewing mannequin
Stuff some filling inside the DIY sewing mannequin, this can be a plastic cushion, thick kinds of cotton, or anything compact to allow needles and fabric to easily attach to the bust afterwards.
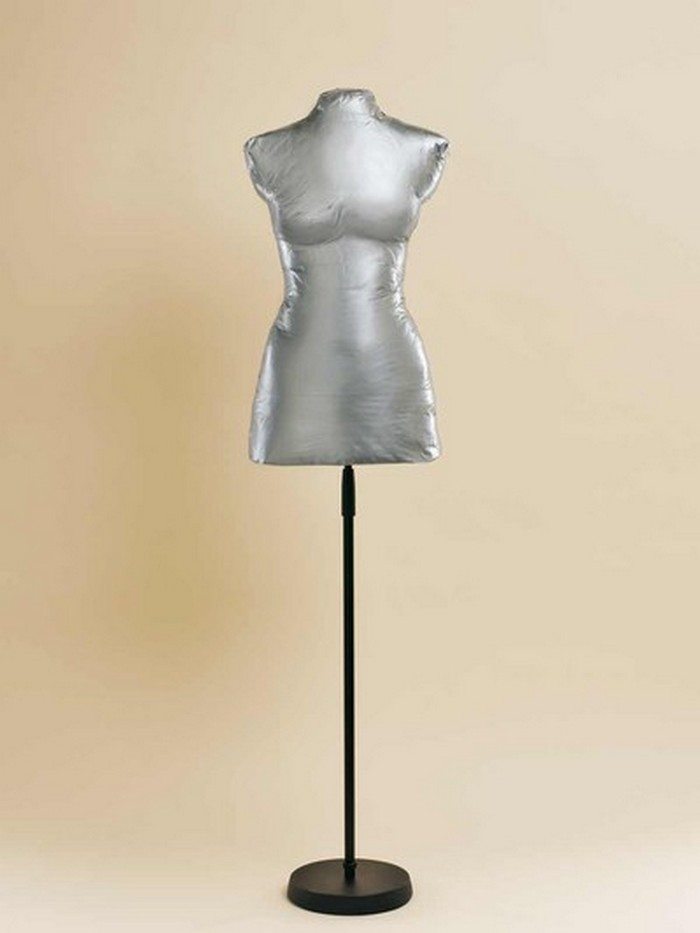
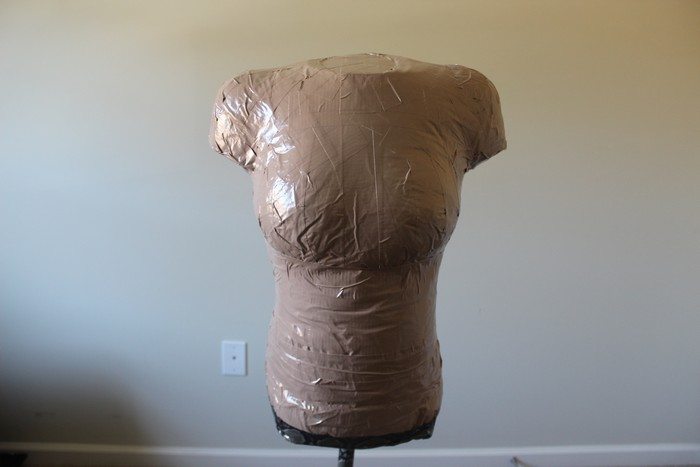
10. Close the DIY sewing mannequin
Take a piece of cardboard, place the bust on it, and trace and cut the outline of the floor. Make a cross in the middle of the floor to serve as the stand. Attach the stand through the cross into the bust and glue the cardboard to it, and attach the cross if necessary.
Thanks to Burda Style for sharing tips on how to make a sewing mannequin from duct tape.
If you liked this project, you might also like to view the duct tape wallet…
Mastering Your Craft: Pro Strategies for Creating Your DIY Sewing Mannequin from Duct Tape
Embarking on the journey of creating your sewing mannequin from duct tape is not only a practical endeavour but also an opportunity to unleash your creativity and elevate your sewing projects. In this comprehensive guide, we’ll delve into pro strategies that will help you master this DIY project with ease.
From preparation and materials selection to step-by-step instructions and advanced techniques, you’ll learn how to create a customized sewing mannequin that perfectly fits your unique measurements and sewing needs.
Preparing Your Work Area
Set up a spacious and well-lit work area where you can comfortably maneuver around your mannequin. Clear any clutter and ensure you have easy access to all your materials and tools. This will help streamline the process and minimize distractions as you work.
Creating Support Structures
To reinforce the duct tape form and maintain its shape, consider adding support structures such as cardboard or PVC pipes inside the torso and limbs. These structures will help prevent the mannequin from collapsing under its own weight and provide stability during the sewing process.
Customizing Your Mannequin
Once the basic form is complete, use a marker to outline key reference points on the mannequin, such as the bust line, waistline, and hip line. This will serve as a guide for adjusting and customizing the mannequin to match your specific measurements and proportions.
Fine-Tuning the Fit
With the outline in place, carefully cut along the marked lines to remove excess duct tape and refine the shape of the mannequin. Take your time to ensure a precise and accurate fit, making any necessary adjustments as you go.
Stuff and Seal the Mannequin
Once you’re satisfied with the fit, fill the interior of the sewing mannequin from duct tape with stuffing material to give it a firm and realistic shape. Be sure to distribute the stuffing evenly to avoid lumps or bulges. Once the mannequin is fully stuffed, seal any openings or seams with additional layers of duct tape to ensure durability and stability.
Add Details and Features
With the basic form complete, you can now add details and features to customize your sewing mannequin from duct tape. Consider adding features such as arms, legs, and a neck to create a more lifelike appearance. You can also embellish the mannequin with additional layers of duct tape or decorative elements to enhance its aesthetic appeal.
So, you can create a customized DIY sewing mannequin from duct tape that will revolutionize your sewing experience. With careful planning, attention to detail, and a touch of creativity, you’ll have a versatile and reliable tool that will elevate your sewing projects to new heights.
Wrapping It Up
Crafting your own DIY sewing mannequin from duct tape is not just about creating a functional tool—it’s about empowering yourself to pursue your passion for sewing with confidence and precision. Through ten easy steps, you’ve embarked on a journey of creativity and craftsmanship, transforming basic materials into a customized sewing aid that perfectly fits your unique measurements and sewing needs.
As you’ve followed each step, from gathering materials to fine-tuning the fit and adding personalized details, you’ve gained valuable skills and insights into the art of garment construction. You’ve learned how to create a sturdy and reliable form that provides the support and stability necessary for accurate fitting and draping.
By customizing your mannequin to match your body shape and proportions, you’ve created a valuable tool that will streamline your sewing process and enhance your ability to create garments that fit and flatter. With your DIY sewing mannequin from duct tape by your side, you can confidently tackle even the most challenging sewing projects, knowing that you have a reliable reference point to guide you every step of the way.
But beyond its practical utility, your DIY sewing mannequin from duct tape is also a testament to your creativity, resourcefulness, and commitment to self-expression. It’s a reflection of your ability to turn ordinary materials into something extraordinary—a personalized sewing aid that embodies your unique style and personality.
So, as you admire your handiwork and prepare to put your DIY sewing mannequin from duct tape to use, take pride in the knowledge that you’ve achieved something truly remarkable. You’ve not only created a functional tool but also a work of art—one that will inspire and empower you on your sewing journey for years to come.
Now, armed with your new sewing companion, go forth and unleash your creativity, experiment with new designs and techniques, and continue to explore the boundless possibilities of garment construction. With your DIY sewing mannequin from duct tape as your trusted ally, the world of sewing is yours to conquer.
Frequently Asked Questions
1. Is duct tape a suitable material for making a sewing mannequin?
Yes, duct tape is an excellent material for creating a DIY sewing mannequin. It is sturdy, flexible, and easily moldable to fit your body shape, making it an ideal choice for this project.
2. Do you need any special skills or experience to make a sewing mannequin from duct tape?
No special skills or prior experience are required to make a sewing mannequin from duct tape. The step-by-step instructions provided in the guide make the process easy to follow, even for beginners. However, attention to detail and patience are essential for achieving the best results.
3. Is the finished sewing mannequin durable and long-lasting?
With proper care and maintenance, a sewing mannequin from duct tape can be durable and long-lasting. However, it is essential to avoid exposing it to extreme temperatures or excessive moisture, as this can cause the duct tape to degrade over time.


