
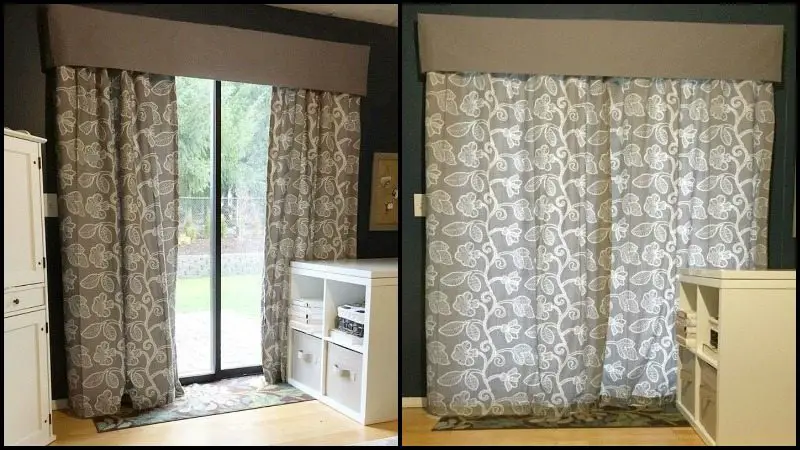
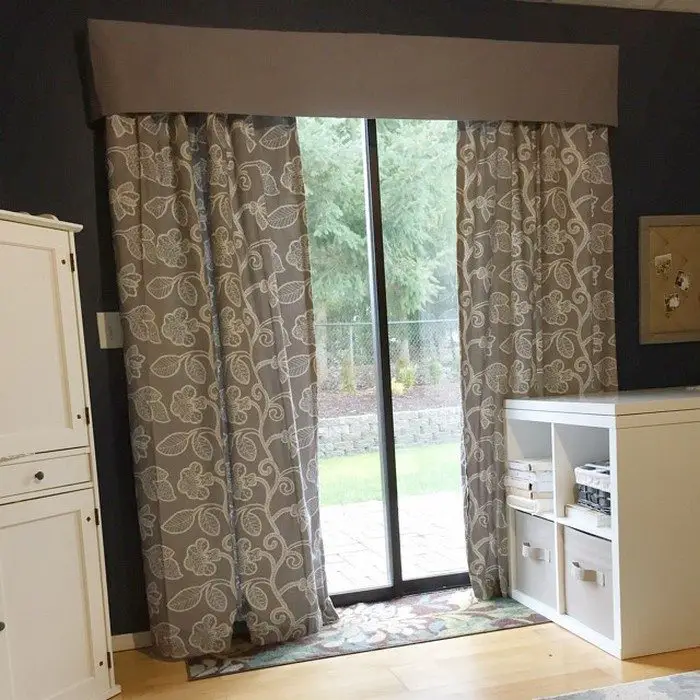
This idea is one that you should do to have better control of your room temperature. Some of you live in places that can get unbearably cold, so we suggest these DIY insulated curtains to help maintain heat.
Few people are born with real money management skills. Like driving a car or playing an instrument, the skill of managing money must be learned.
But budgeting money seems to get more and more difficult each year for most, if not all of us. We have our daily expenses plus a handful of bills to pay every month – some of them getting higher!
One of which is our electricity bill. It might be due to climate change – cold places get colder and warm places get warmer – or the energy charges getting more expensive. At least in some countries, both are the case.
It’s a good thing that electronics companies can improve their products which are now more energy efficient. But aside from replacing old appliances with modern ones, it would also be wise to help lessen the work of your home equipment for even lower energy consumption.
Think you could use some of these insulated curtains? :)
Materials:
- 2 sets of Curtains
- Curtain Rods and Mounts
- 4 yards of Velcro (industrial strength)
- 2 1/2 yards of Fabric (valence)
- 2 pcs of 1″ wide, 73″ long Wood Stakes
- 4″ wide, 79″ long Wood
- Batting
- Staples and Screws
- Thread
Tools:
- Sewing Machine
- Hammer
- Staple Gun
- Power Drill
Click on any image to start the lightbox display. Use your Esc key to close the lightbox. 8-)

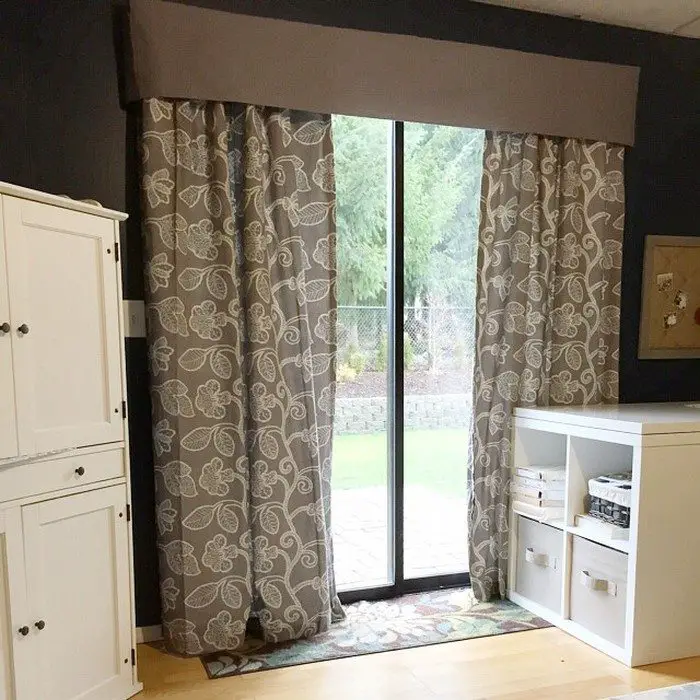
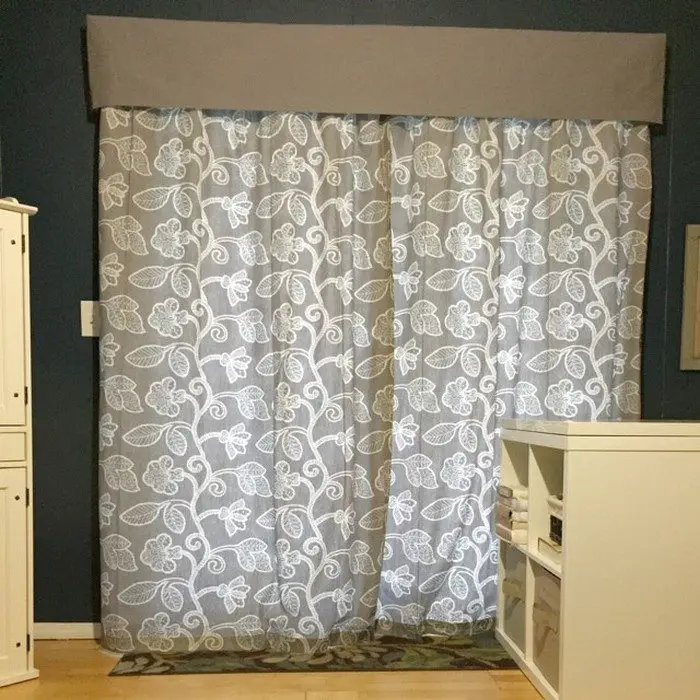
How to Make a DIY Insulated Curtain
1. Adding Velcro
Adding Velcro to the curtains is the very first step. This Velcro is what will seal the edges to the wall.
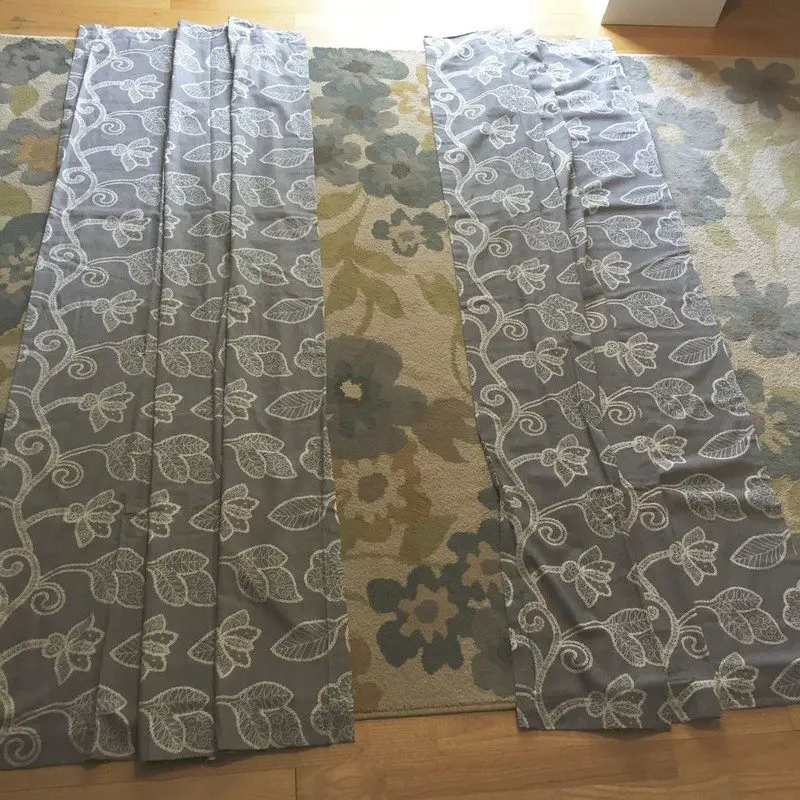
2. Layout the curtains
First, lay out your curtains exactly how they will look when hanging. Separate the velcro pieces. You will be using the rough side of the Velcro. Place the soft Velcro pieces on the side for later.
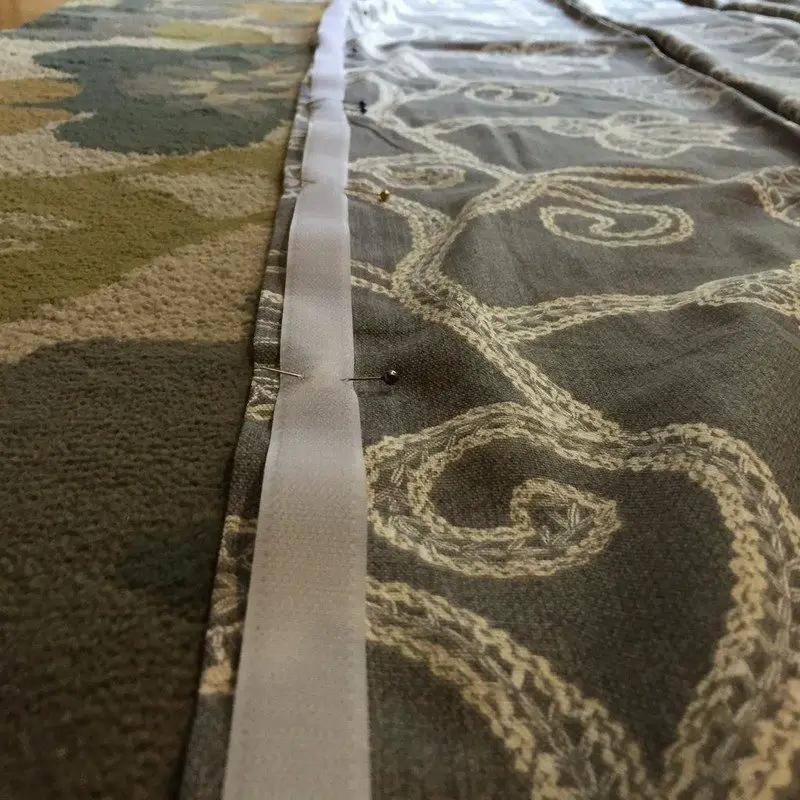
3. Attach the velcro
Now center and pin the two yards of the rough Velcro pieces to the left panel’s outer edge and one on the right panel’s outer edge of the curtains. You are attaching the Velcro to the sides of the curtains that will touch the wall.
*Make sure that you are pinning the Velcro to the right side/front side of the insulated curtain.
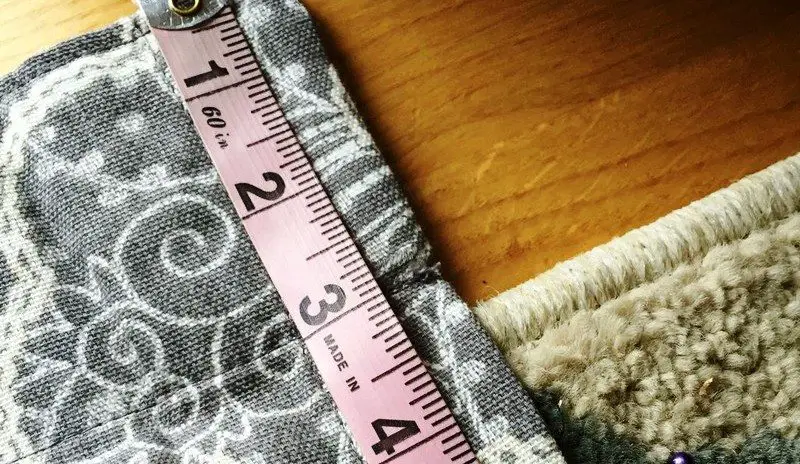
Apply them 3/8″ away from the edge.
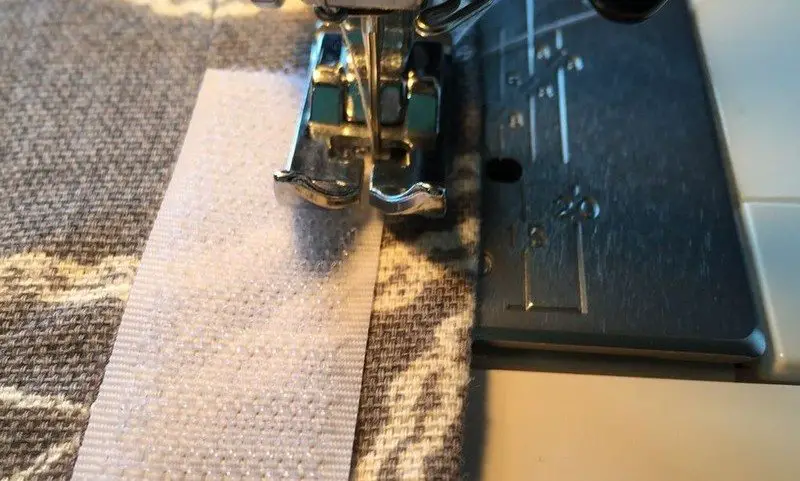
Once it is in place sew along all four edges of the Velcro strips.
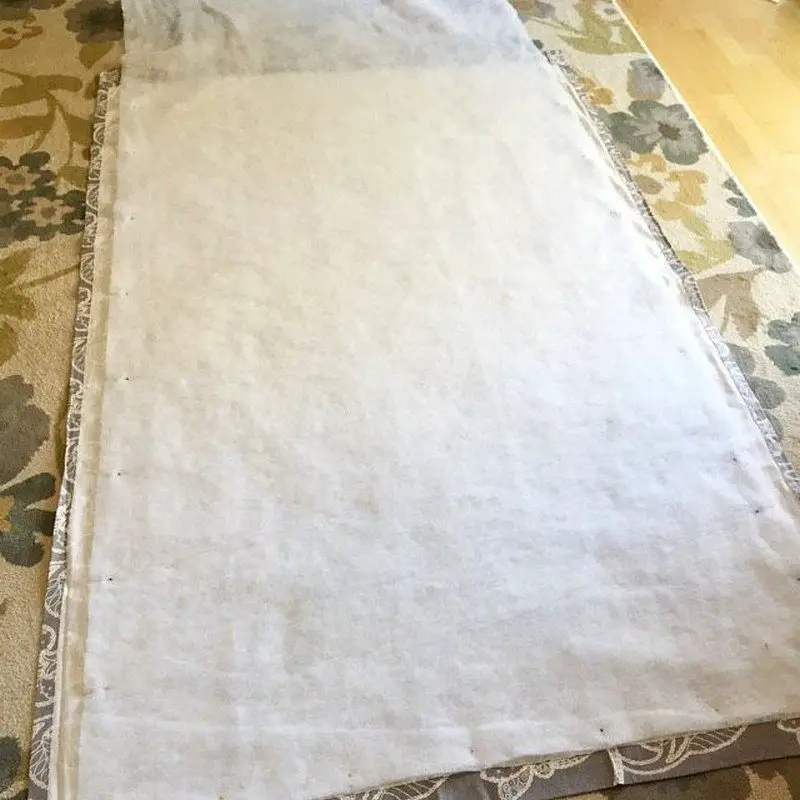
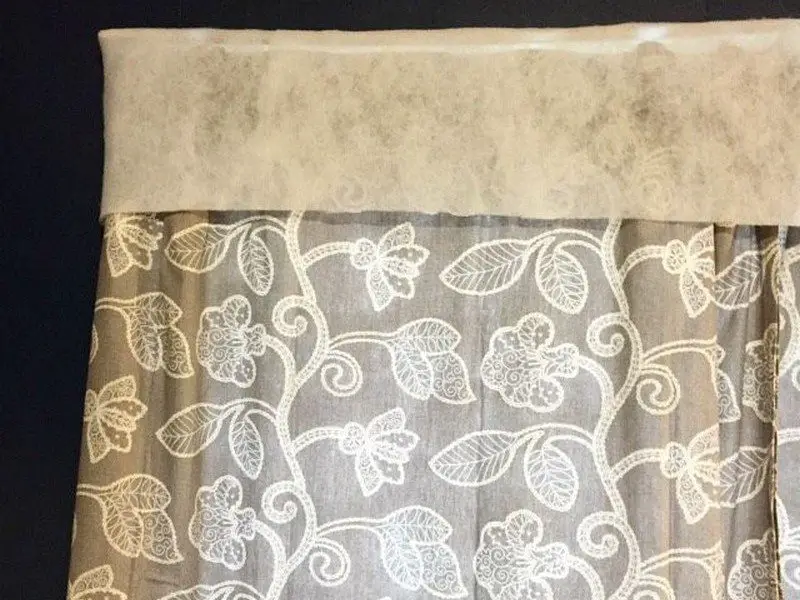
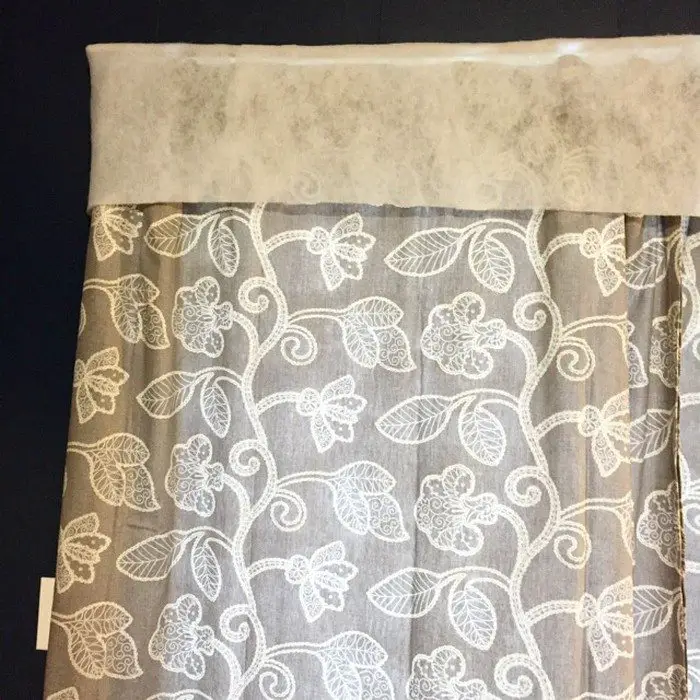
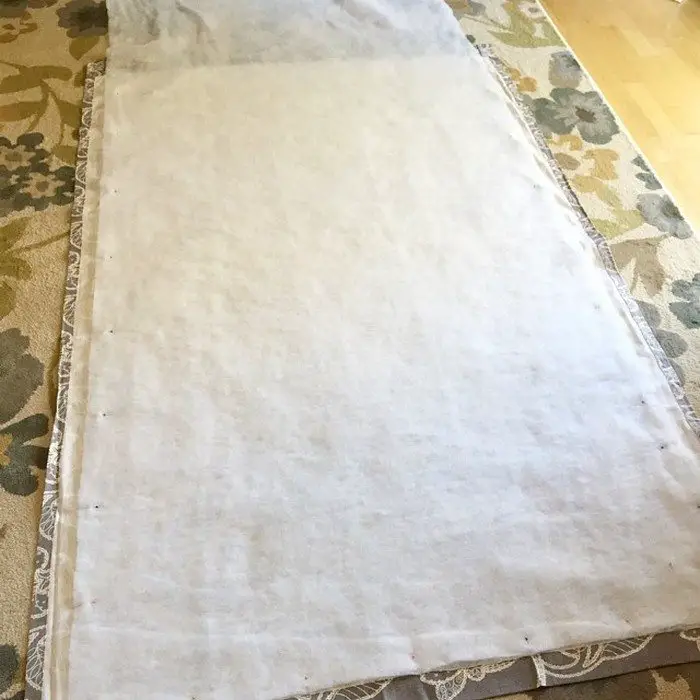
4. Add the batting
After the velcro is attached to the outer edges of the curtain panels you are ready to add the batting. The batting will act as a sort of honeycomb effect to trap air and slow down the heat transfer.
Turn one of the curtain panels that have the velcro on it face down and lay it out flat. Roll the batting onto the fabric and center it within the Curtain.

Pin it down on all four edges. Make sure the batting only goes about 1/2 inch past the loophole area(where the curtain rod goes). You can end the batting 3 inches from the bottom of the curtain.
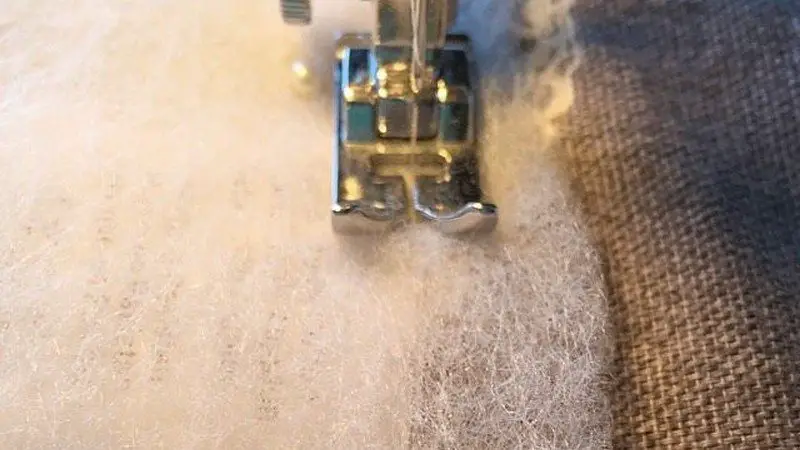
Sew the batting down on all four edges.
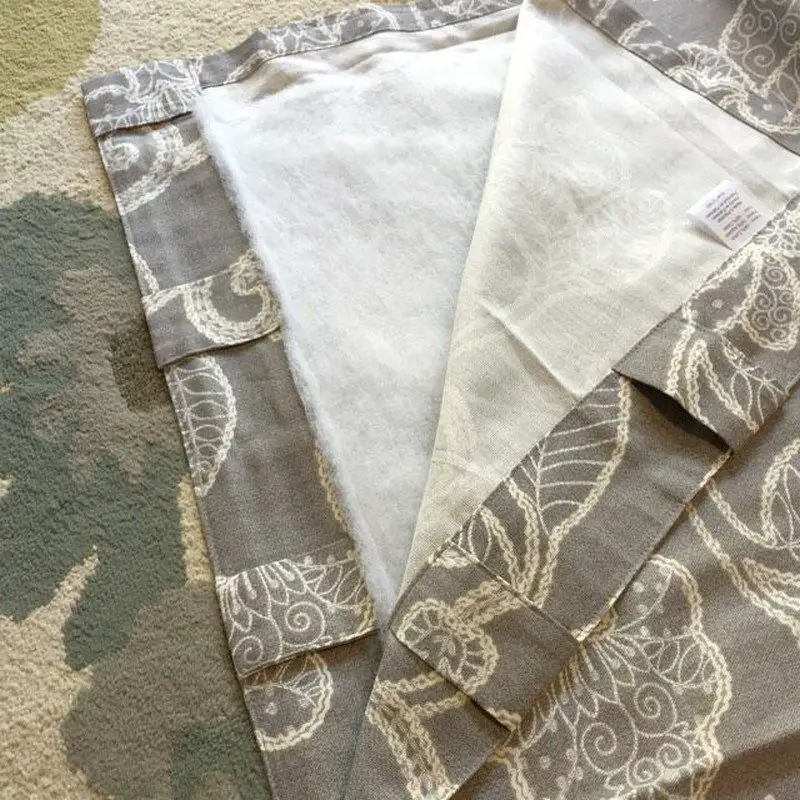
After the batting is attached you will grab your other curtain panel that mirrors this one and does NOT have velcro on it. Place the curtain panel on top of the batting with the wrong side touching the batting. Line up the seams and edges and pin the left side, top, and right side.
Continued Page 2…


