2. Add a magnetic bit holder
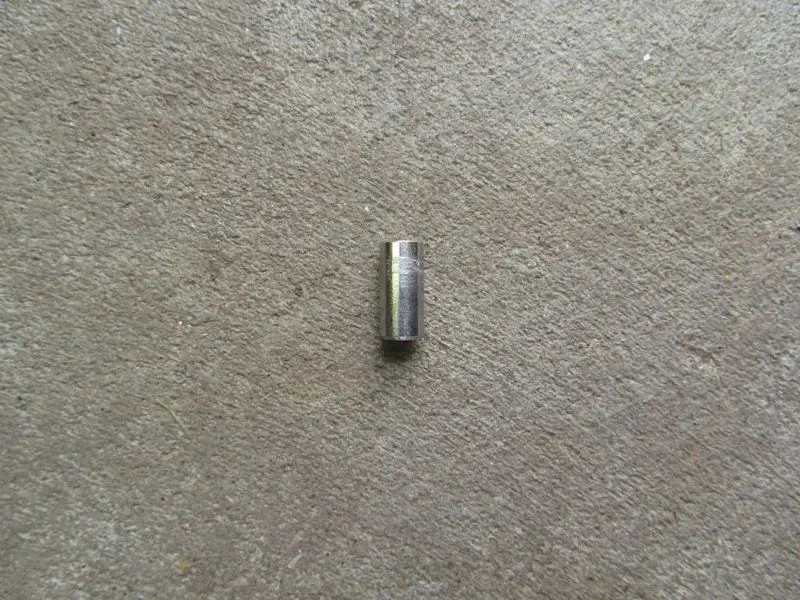
Next – is the magnetic bit holder. It is a tube that has a magnet on one end and the bit you insert into the drill on the other. Cut about 1/4″ below the magnet using a hacksaw and keep the one with the bit.
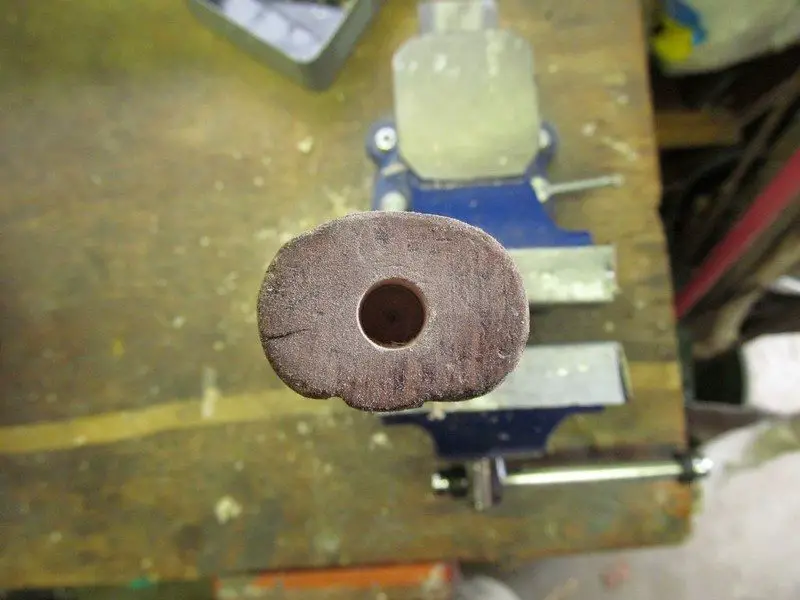
Drill a hole at the bottom of the hammer about 1/4″ more shallow than the bit holder. Use a drill bit that has roughly the same diameter as the bit holder you are about to attach. Make sure the hole is at the center.
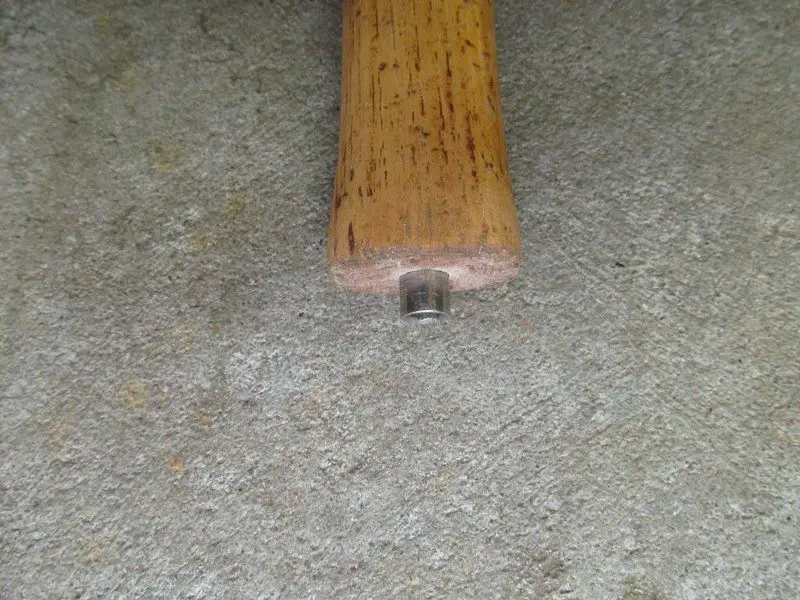
Insert the bit holder. Apply epoxy if needed.
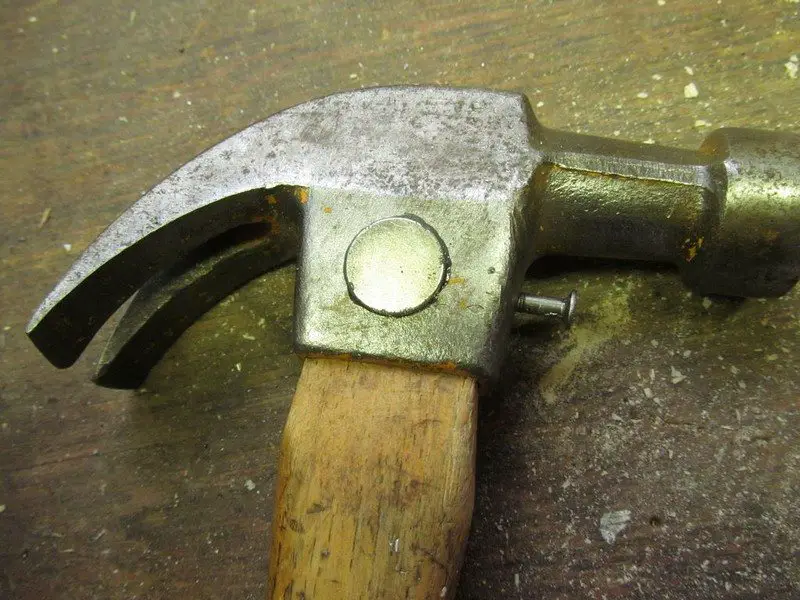
3. Add a nail holder
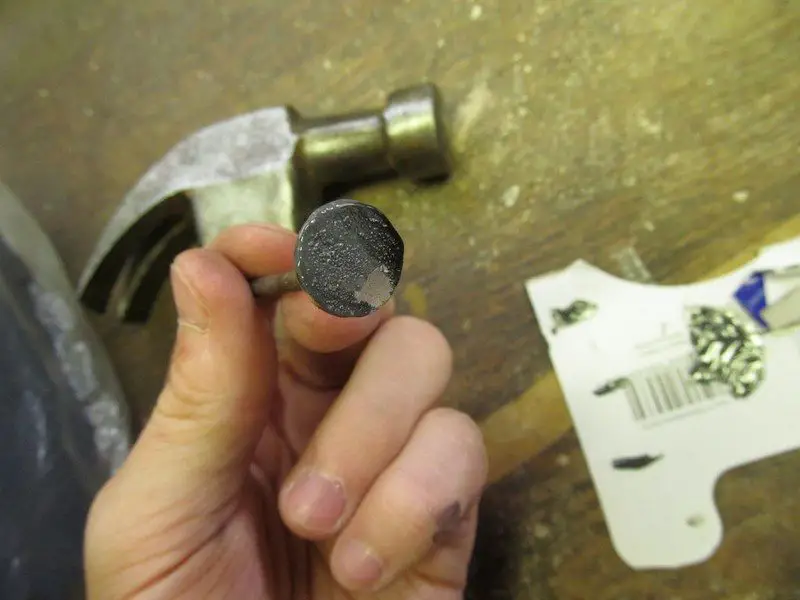
For the nail holder, simply epoxy the magnet on one side of the hammer.
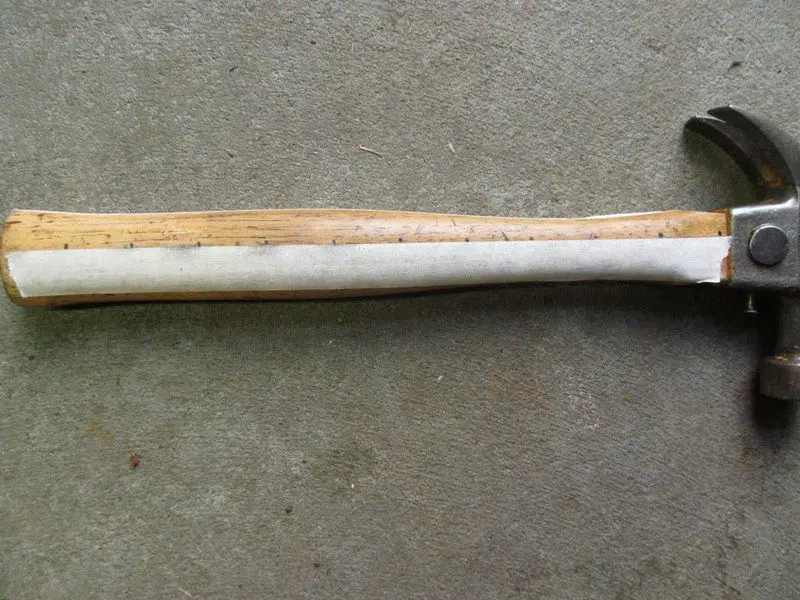
4. Add a ruler
Lastly, to add a ruler feature to your hammer simply put two strips of masking tape along the handle perpendicular to the base…
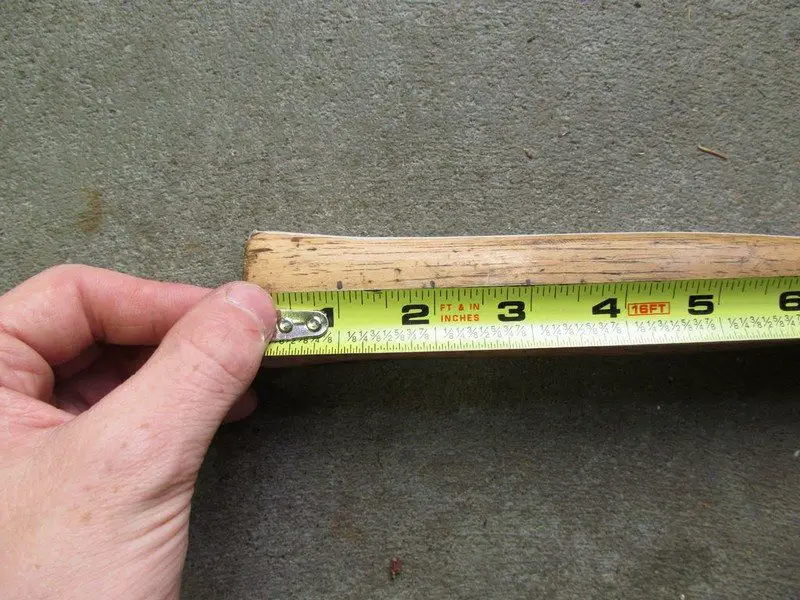
Then draw a straight line between the strips of tape to mark every inch. Put another strip of masking tape along with the handle, between the first two strips as your guide to marking the half inches.
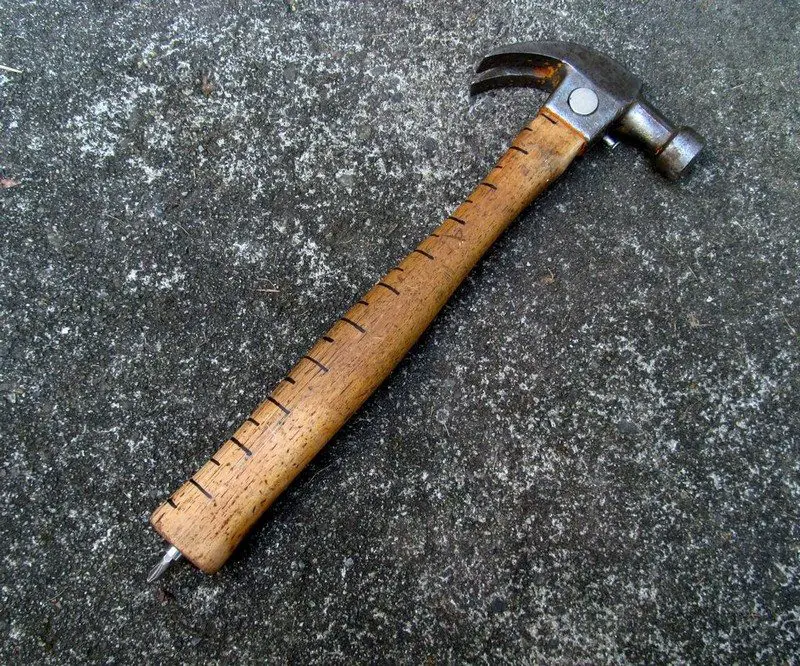
Coat the handle with clear varnish to protect the lines. And that’s it!
Thanks to M3G for this great project.
If you liked this project, you might also want to view the DIY branding iron…


