Making DIY projects is so much fun and rewarding especially when you can’t stop looking at your beautiful work after. There are times when the project is so perfect we want to put our signature on it.
If you are like me who loves making beautiful things out of wood (or leather for some), then you will love this branding iron project. A year ago I made a box for my shirt business which was perfect, except for the name on it. Since I didn’t want to spend any more on spray paint just for that small detail I used markers. It was ugly. :(

Though “real” branding irons can be custom-ordered, some might not be up for spending quite a big amount of money for it – like me. This is why I got excited when I came across this DIY project. Read on to see how earz_cd made his cool branding iron!
Contents
Creating Your Own Branding Iron
Materials
- Spray Adhesive
- Paper
- Brass Cabinet Knob
Tools
- Dremel Style Tool with small carving/engraving bits
- File/Sandpaper
- Locking Pliers
- Vise
- Computer and Printer
- Scissors, Utility Knife, X-acto Knife, etc
- Source of heat (campfire, stove burner, propane torch)
Steps
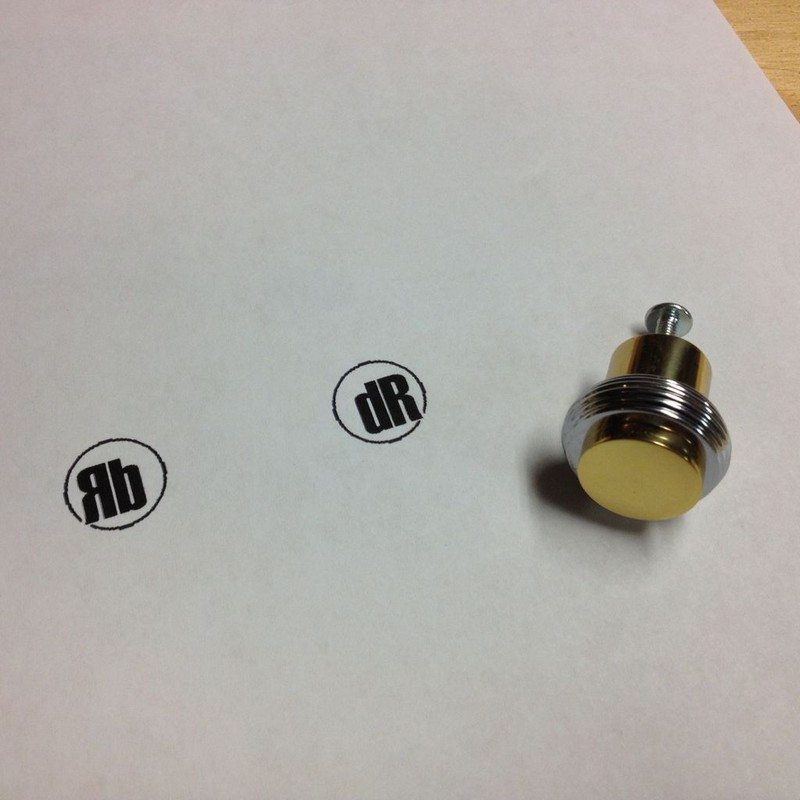
I wanted a fairly small brand with my initials. I laid it out on the computer using photo editing software. I made a mirror image of my design and printed it out.
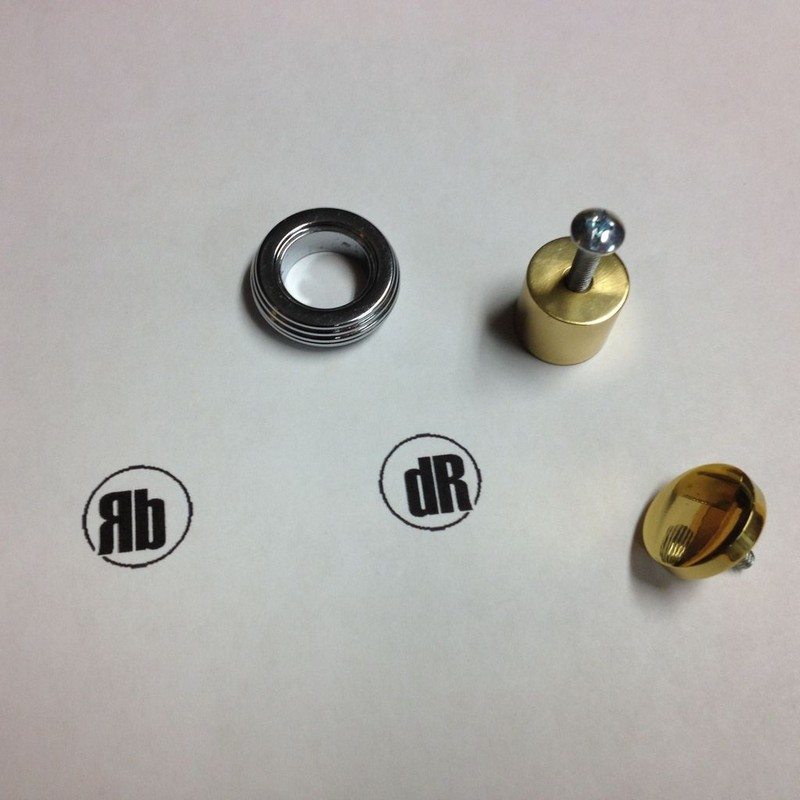
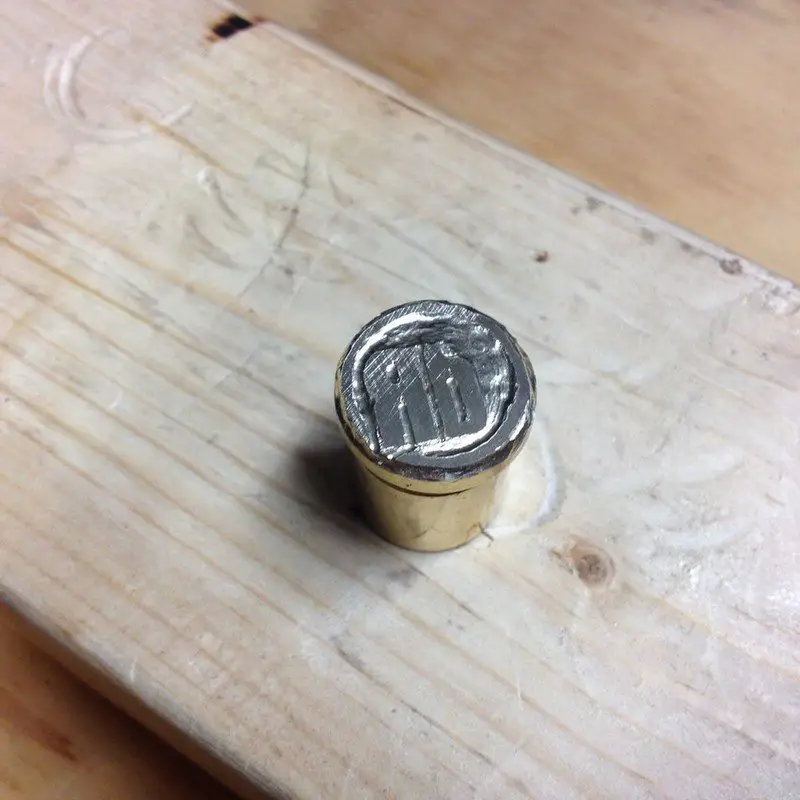
I found this little brass knob in the clearance bin at the hardware store. I wasn’t sure if it was solid brass or just brass plated, but I bought it because it was flat and round. It also had some threads cut into one end so I can eventually mount this on the end of a handle.
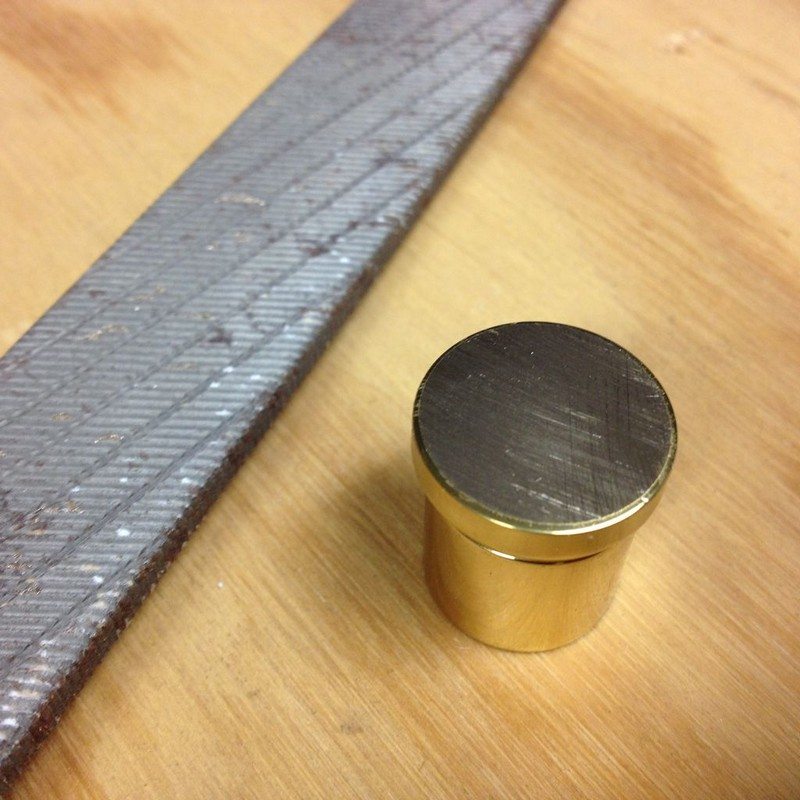
The flat end was slightly rounded, and to get an even brand mark, the brand needs to be perfectly flat. I used a flat file and flattened the top surface of the brass.
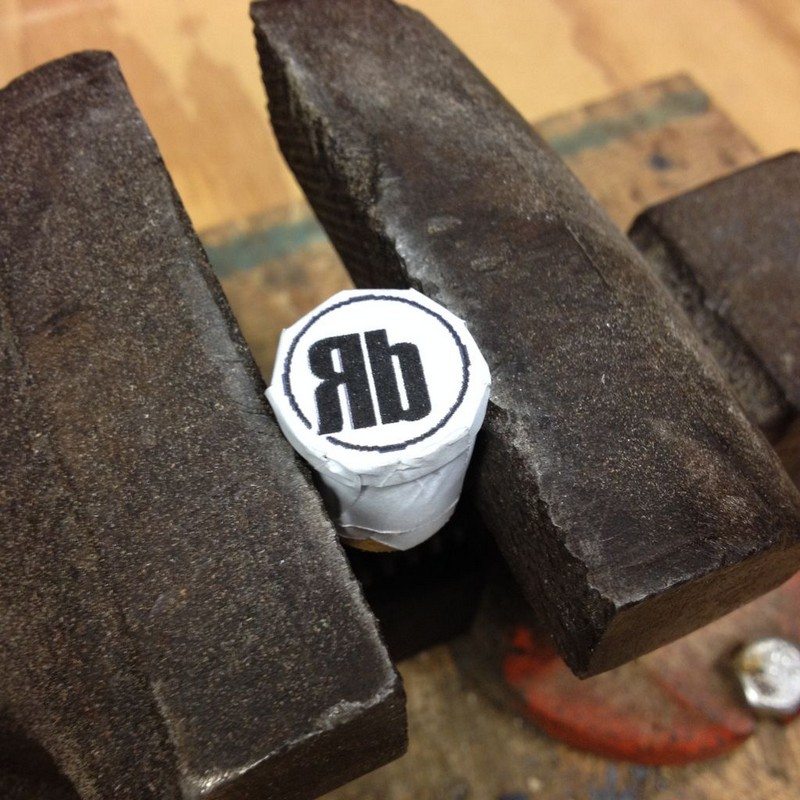
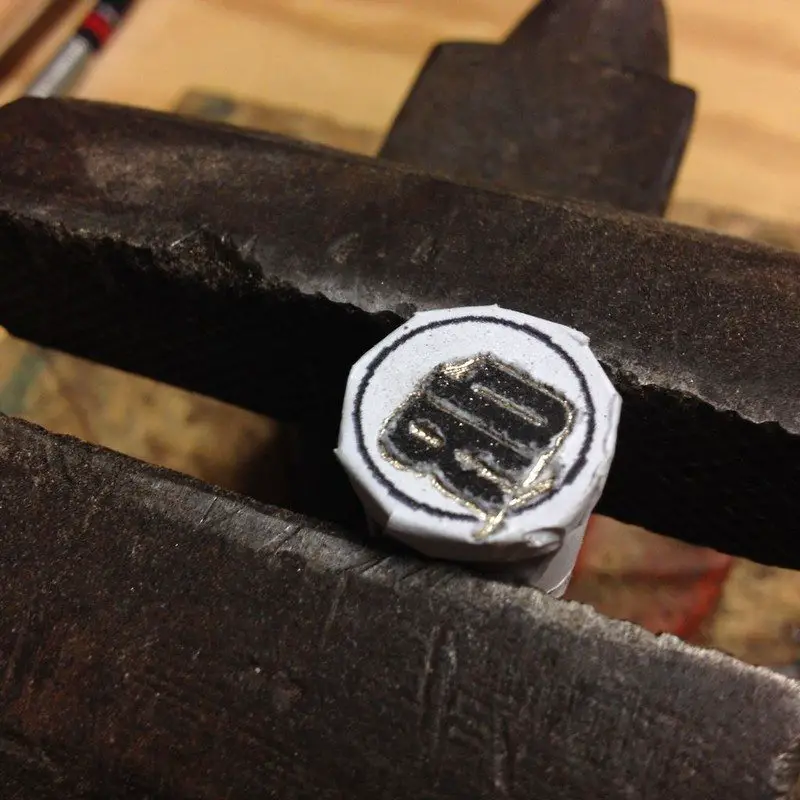
I flipped my paper template face down and placed the brass piece on top, marking it around the brass. I then used a spray adhesive and glued the brass to the template. I cut around the template leaving a little extra length and just folded the excess around the brass. I clamped the brass in a vise and used a Dremel with a flex shaft to engrave out all the white sections of the template.
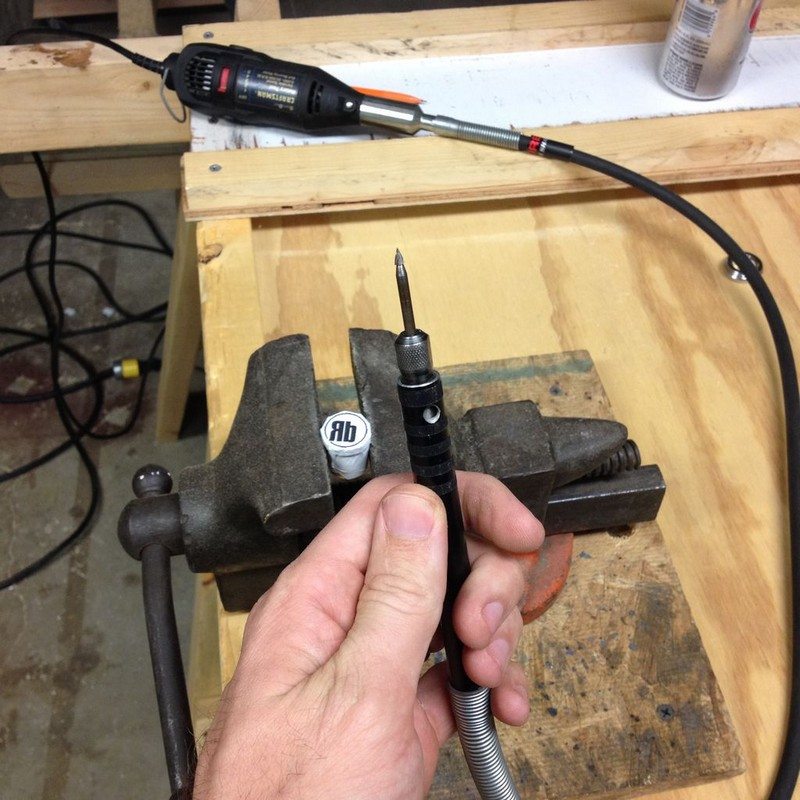
I used a pointed cutter and a round cutter.
Go slow because once you remove material, it’s really hard to add it back.
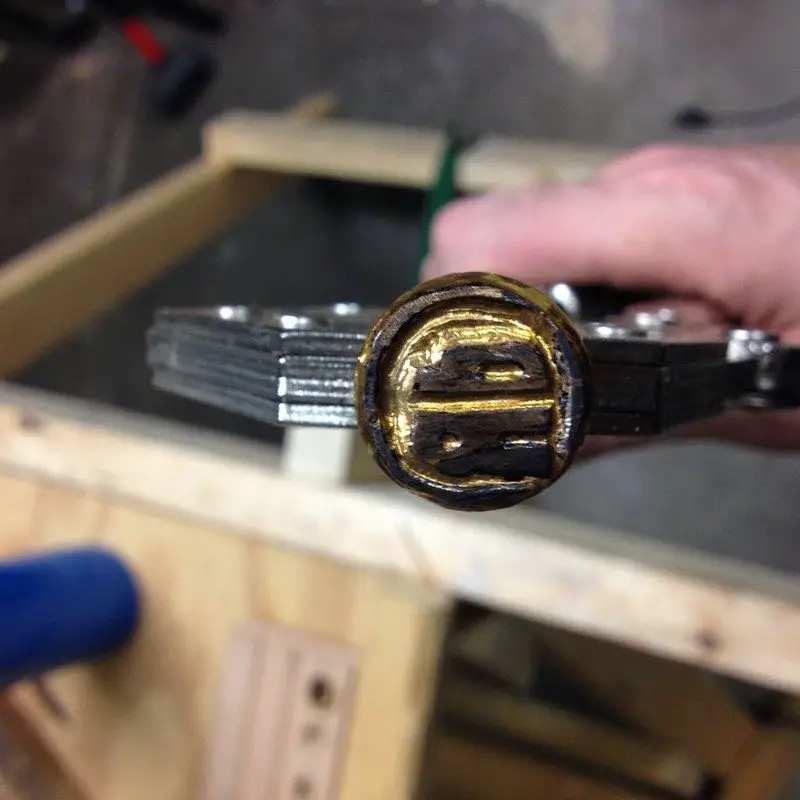
This photo shows how deep I engraved it before the first burn test.
To test it out, I just clamped it in some vise-grips.
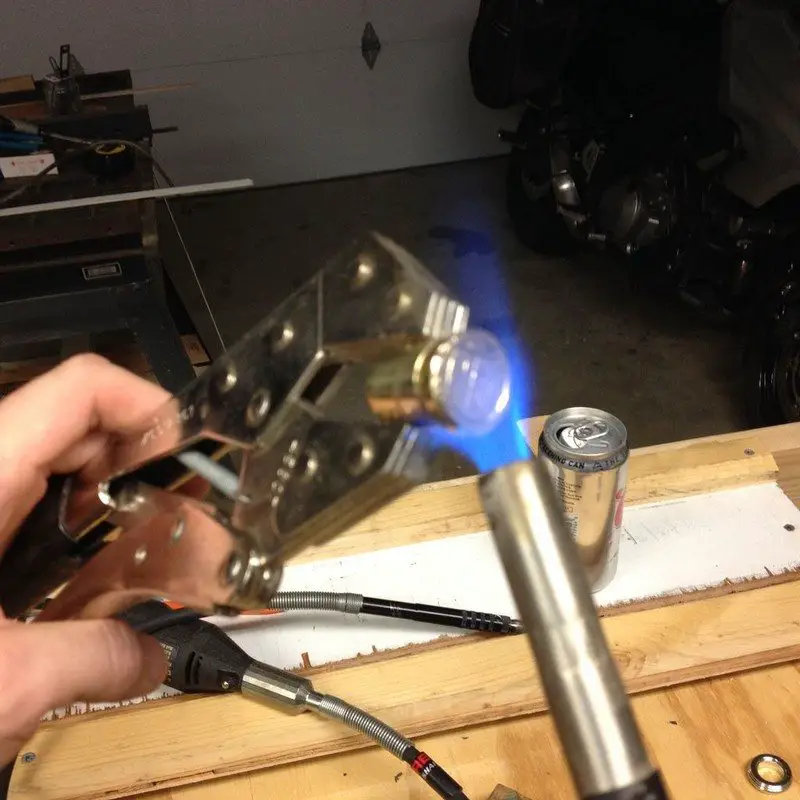
I used my propane torch to heat it up and tested it out on some scrap pine. You’ll have to practice getting the iron hot enough and putting the iron onto the piece evenly to get a good burn.
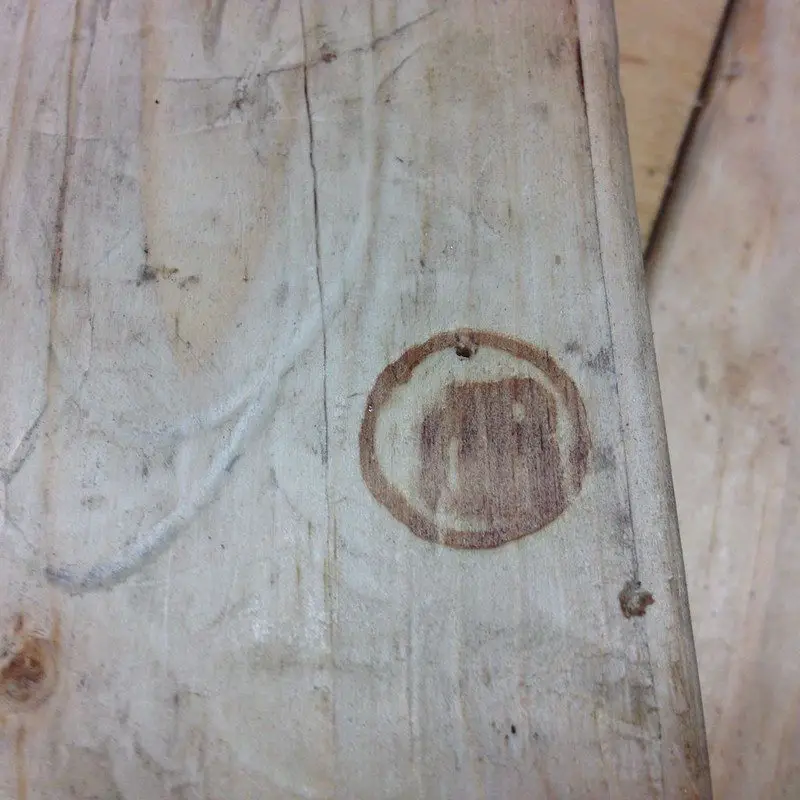
Here’s a breakdown of the first attempts:
- Not hot enough
- Uneven pressure
- Really uneven pressure & too hot/left on too long
- Slightly uneven
- Great burn – but the brand needs deeper cuts
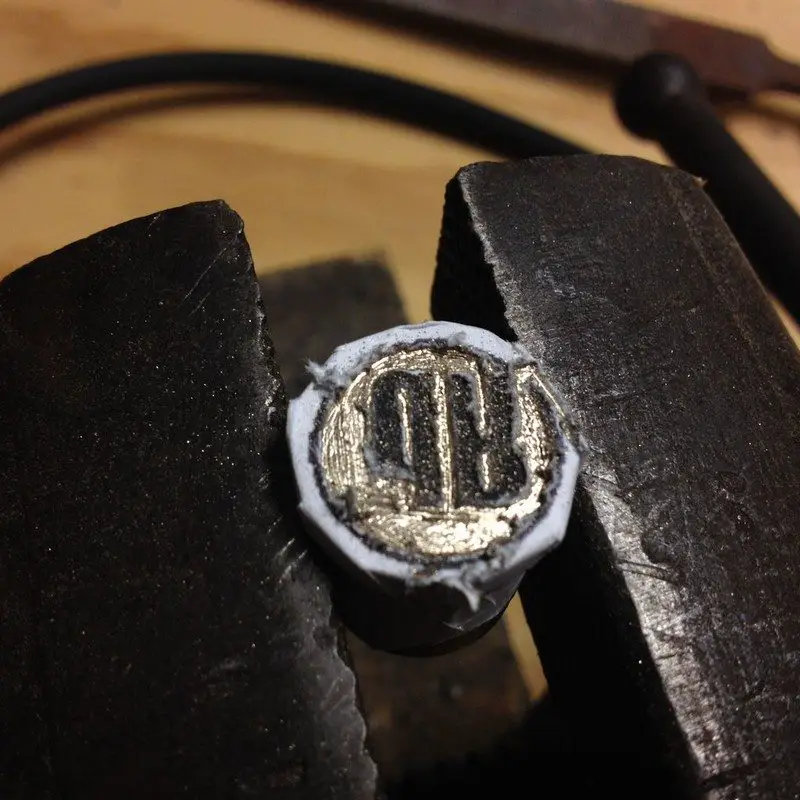
I let the brand cool down and clamped it back in the vise and made deeper cuts throughout. In the process, I also ended up making the letters narrower than I had originally wanted, but it still looks ok.
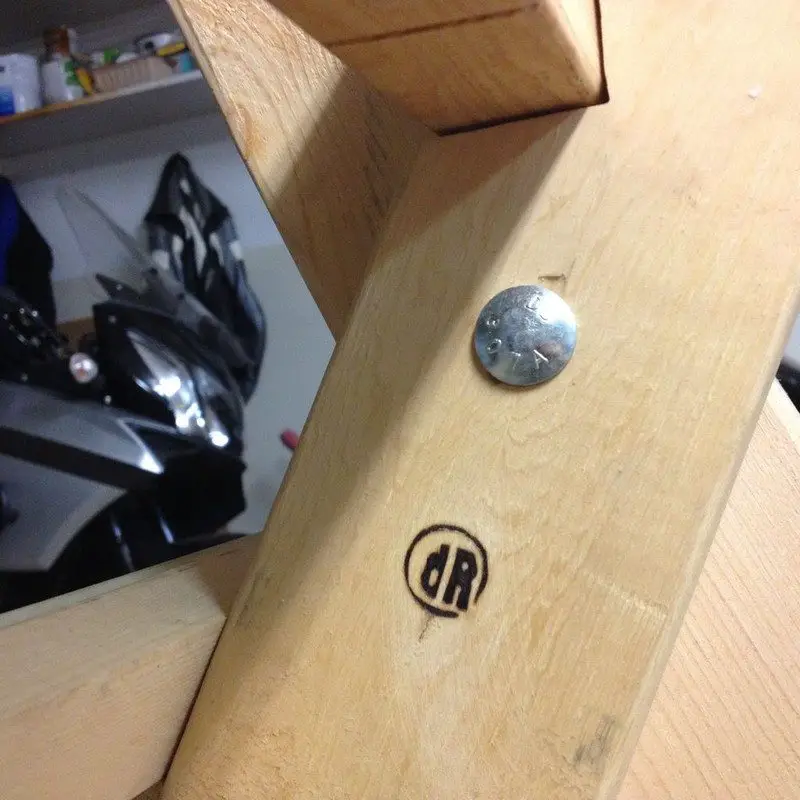
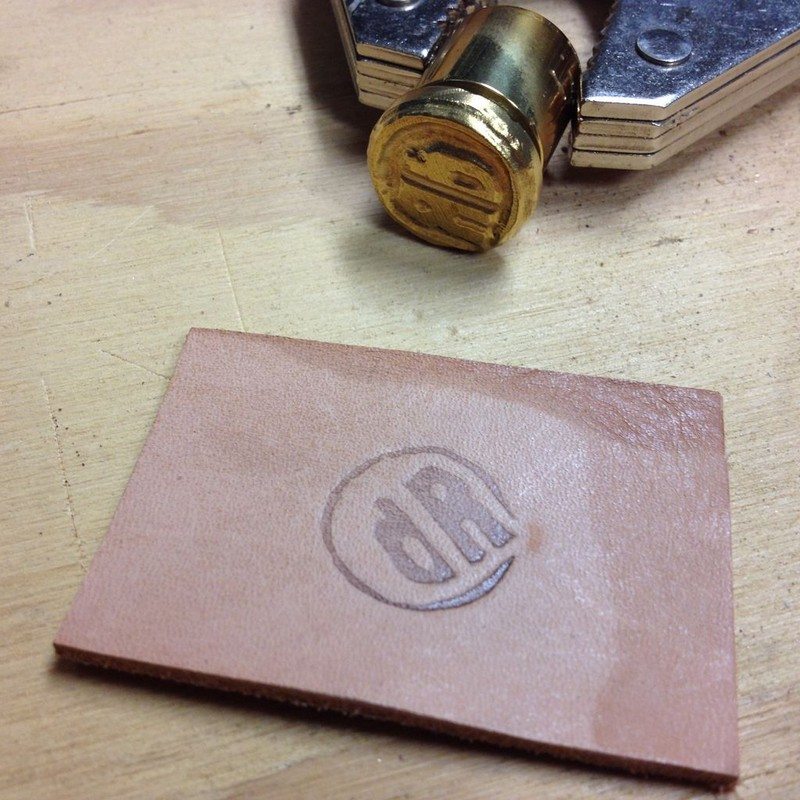
I tested the finished branding iron out on a scrap of oak flooring. The smoke from burning stains the surrounding wood on some of the darker burns. This staining can be removed by gently sanding it off with some sandpaper. Don’t sand too aggressively because you could end up sanding off your brand.
All said and done – design to final burn took me about 3 hours working at a leisurely pace. If someone would clean my garage so I could find my tools, these projects would probably take less time.
Now with just a relatively inexpensive door knob and a maximum of three hours, you can now beautifully “sign” your wood and leather projects! I can’t wait to have my DIY branding iron. How about you?
Materials Beyond Brass
When making you’re DIY branding iron, it’s essential to consider the variety of materials available beyond the traditional brass. Each material offers unique benefits and challenges, allowing for customization and innovation in your projects. Whether you’re marking wood, leather, or other materials, choosing the right substance for your branding iron can significantly affect the quality and clarity of the mark. Let’s delve into some alternative materials that can be used to make a branding iron, highlighting their distinct advantages.
Steel
Steel is a popular choice for you’re branding irons due to its durability and high heat capacity. It can withstand repeated heating cycles without degrading, making it ideal for frequent use. Steel branding irons are perfect for achieving crisp, clear brands on both wood and leather. However, they require proper maintenance to prevent rust and corrosion over time.
Aluminum
Aluminum is a lightweight alternative that heats up quickly and evenly, reducing the waiting time between brands. While not as durable as steel, aluminium branding irons are easier to handle and can be a good choice for occasional use or for those who prefer a lighter tool.
Keep in mind that aluminium easily degrades when it is exposed to constant heat. Consider different metals if you plan on regularly using your branding iron.
Stainless Steel
Stainless steel combines the best of both worlds, offering the durability of steel with added corrosion resistance. This material is excellent for creating a branding iron that will last many years without rusting, even in humid environments. Stainless steel branding irons are perfect for professionals or anyone looking for a long-term solution.
Copper
Copper is another material that heats up quickly and distributes heat evenly, making it a great choice for branding. While it’s softer than steel and may wear down faster, copper’s excellent thermal conductivity ensures consistent branding results. Copper branding irons are especially popular for detailed designs that require precision.
Titanium
For the ultimate in durability and heat resistance, titanium is unmatched. Titanium branding irons are incredibly long-lasting and resistant to corrosion, making them an investment for serious artisans. While more expensive, their longevity and consistent performance can justify the cost for those who use their branding iron extensively.
By considering the unique properties of each material, you can select the best option for your DIY branding iron project. Whether you prioritize durability, heat conductivity, or weight, there’s a material that will meet your needs and enhance your creative endeavours.
Creative Applications for Branding Irons
Branding irons are traditionally associated with marking livestock or wooden crafts, but their application extends far beyond these boundaries. Creative individuals and artisans have discovered numerous innovative ways to use branding irons, transforming ordinary objects into personalized works of art. The versatility of a branding iron allows for its use on a variety of materials, opening up endless possibilities for customization and creativity.
Here, we explore some of the most imaginative applications of branding irons, showcasing the tool’s adaptability and the creative potential it offers.
Personalizing Culinary Creations
A branding iron can become an indispensable tool in the kitchen for chefs and cooking enthusiasts alike. By using a branding iron, you can sear your initials or custom designs onto steaks, burgers, and even bread. This application adds a personal touch to meals and can be a fun way to impress guests at a dinner party or barbecue.
Customizing Leather Goods
Leather is a classic material for branding, and a branding iron can be used to add unique designs or initials to wallets, belts, and bags. This not only personalizes the item but can also serve as a marker of craftsmanship, adding value to handmade leather goods. With the precise application of a branding iron, artisans can create intricate patterns or logos on leather products.
Decorating Wooden Furniture
A branding iron isn’t just for small crafts; it can also be used to leave a lasting mark on wooden furniture. Whether it’s a signature on a handmade table or a decorative pattern on a wooden chair, a branding iron provides a way to customize furniture pieces uniquely. This technique can add character to home decor and signify ownership or artisanal quality.
Marking Homemade Crafts
Crafters can use a branding iron to mark their creations, from wooden picture frames to custom-built birdhouses. A branding iron offers a way to sign your work, similar to a painter signing a canvas. This not only identifies the creator but also adds a professional touch to homemade crafts.
Enhancing Packaging and Promotional Items
For small businesses, a branding iron can be an effective tool for branding promotional items and packaging. Wood or cardboard tags, boxes, and even paper bags can be branded with a company logo or slogan, creating a cohesive and branded customer experience. This approach can enhance brand recognition and add a rustic, personalized touch to packaging.
By exploring these creative applications, it’s clear that the potential uses for a branding iron are limited only by one’s imagination. Whether you’re a chef, artisan, furniture maker, crafter, or business owner, a branding iron offers a unique way to personalize and elevate your projects, products, and presentations.
Conclusion
Crafting a DIY branding iron opens the door to endless possibilities for personalizing and branding a wide range of projects. It’s a fulfilling endeavor that combines creativity with functionality, allowing artisans to leave their mark on their work in a literal sense. With the right materials and a bit of patience, anyone can create a custom branding iron that brings a professional touch to their crafts.
For more creative ways to express yourself, check out our paper embossing guide!


