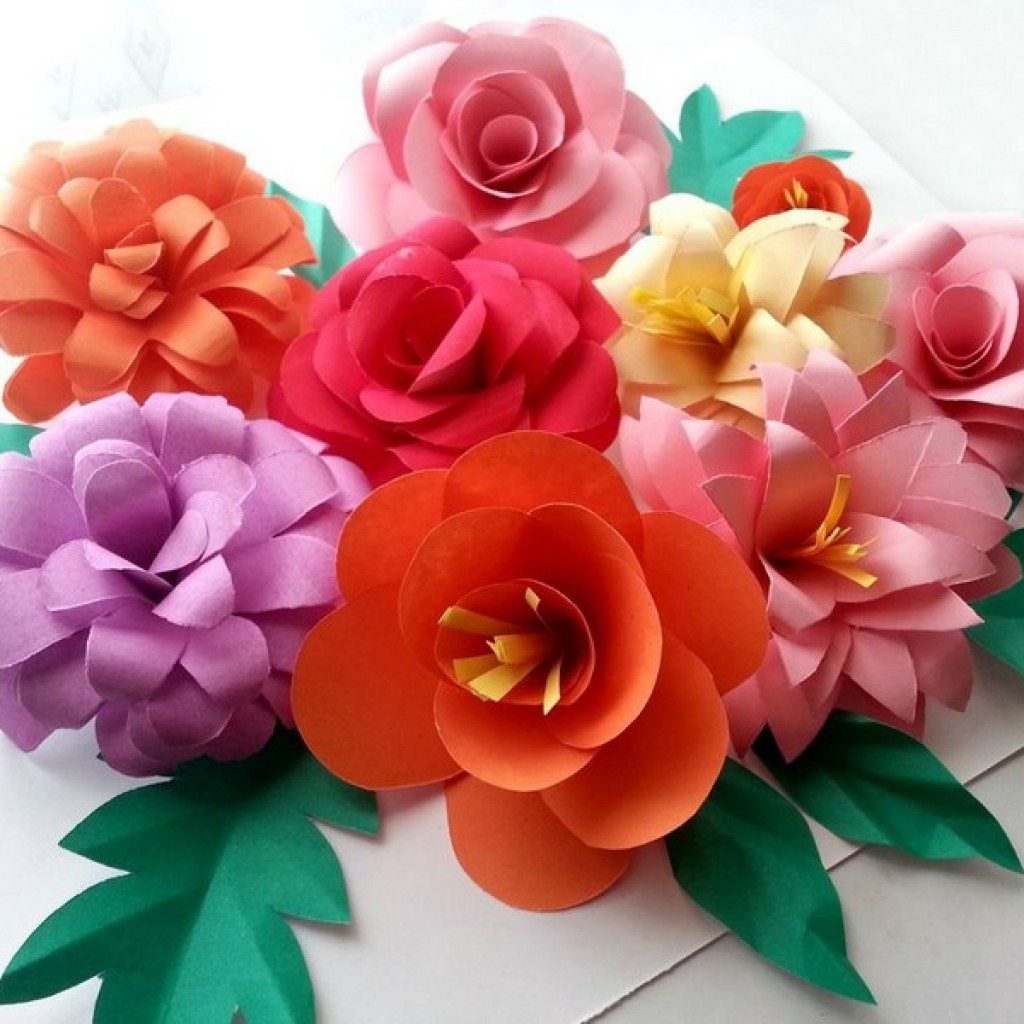
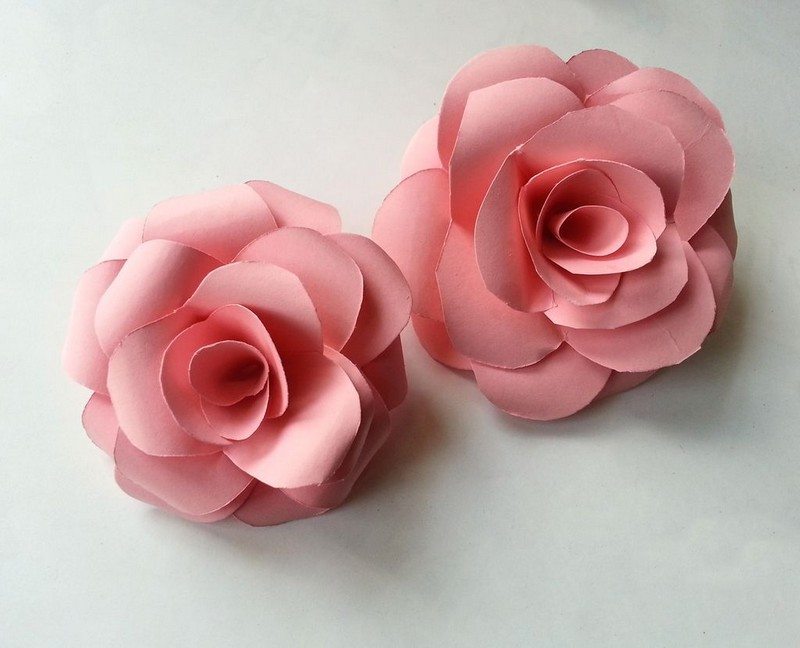
Here’s a wonderful craft exercise especially for the little (and not so little) girls! It’s perfect for rainy days as it will keep kids involved for hours! They look just like real roses, don’t they? But they’re very easy to make. Now get your materials ready, and have lots of paper on hand! We’re sure you’ll enjoy making more than enough for a bouquet!?
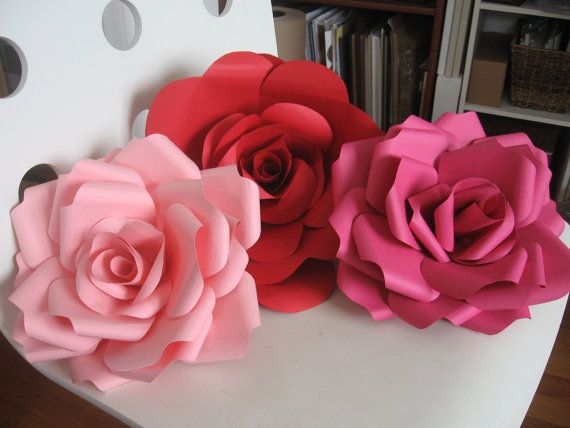
Paper flowers are a beautiful and easy way to add a splash of color to any room. You can make them yourself with just a few supplies and a little bit of time. Here’s what you’ll need:
Materials:
- Craft Paper
- Glue
- Round object – such as a small paintbrush
- Scissors
Contents
How to make DIY paper flowers
Paper flowers are a great way to add a personal touch to any space, and they make beautiful gifts. Plus, they’re super easy to make! All you need is some paper, a pair of scissors, and some glue.
Here’s a quick step-by-step guide to making your own paper flowers:
1. Prepare the craft paper
You will need 4 pieces of craft paper of the same size. I used 4 X 4 inches of craft paper.
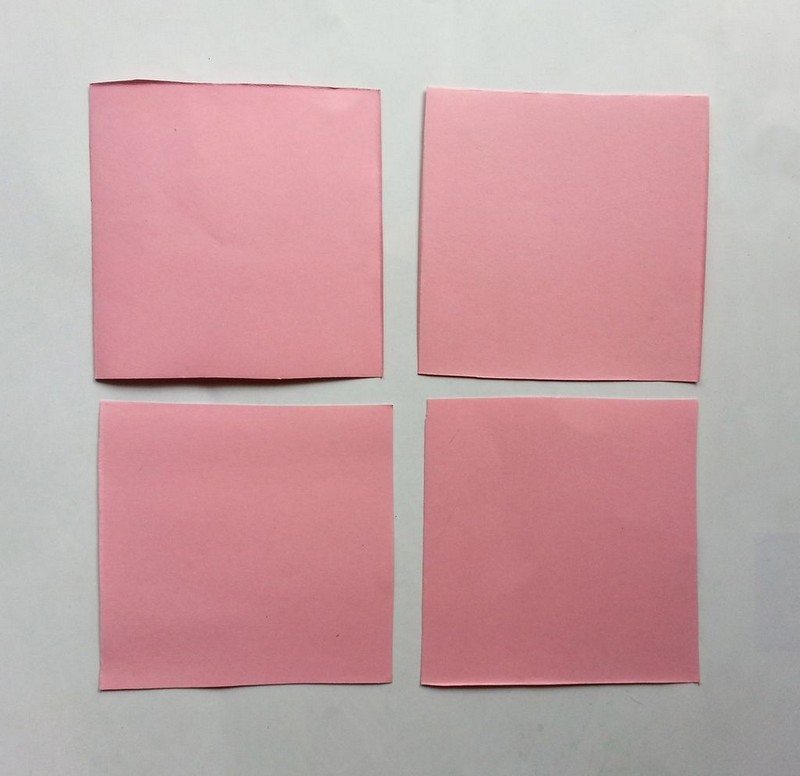
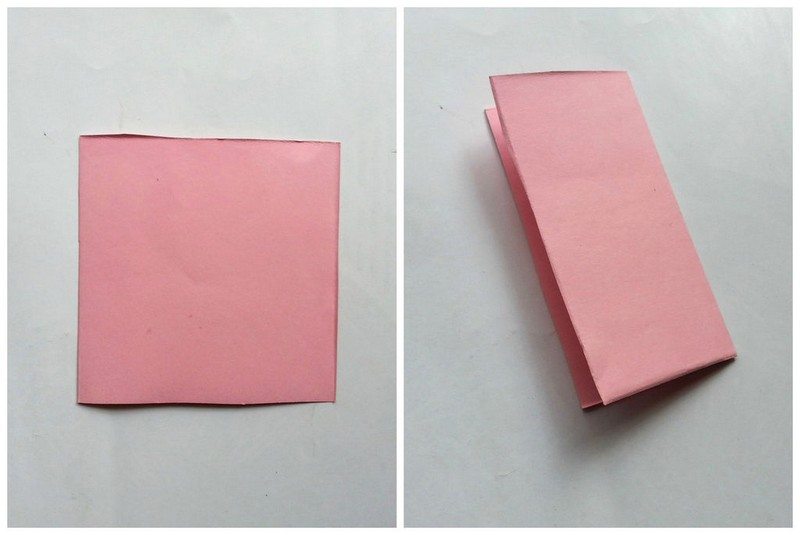
Fold the paper into half and then into even thirds.
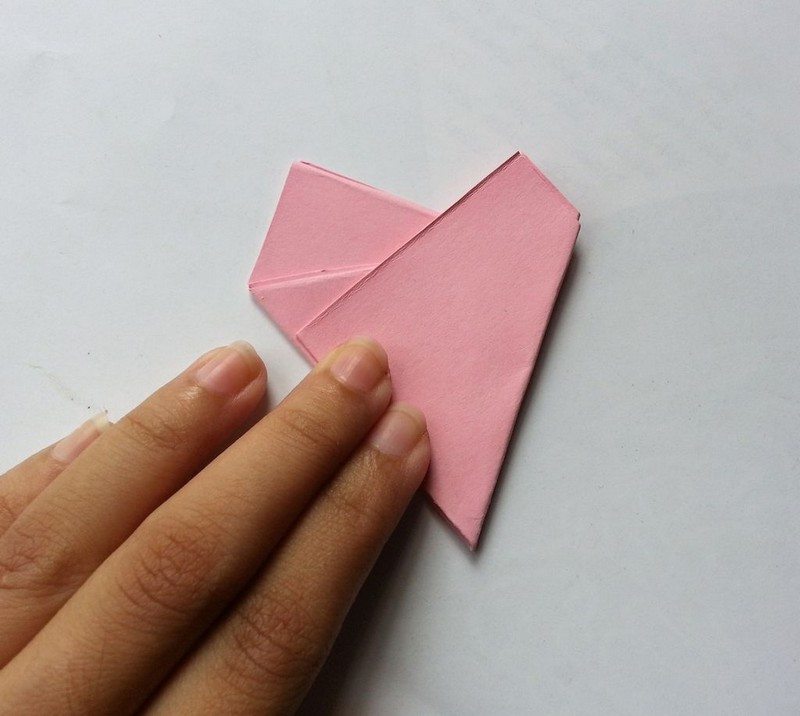
2. Cut the craft paper
If you’re looking to add a bit of extra flair to your paper flowers, why not try cutting the petals in a scalloped pattern? It’s easy to do and adds a lovely touch.
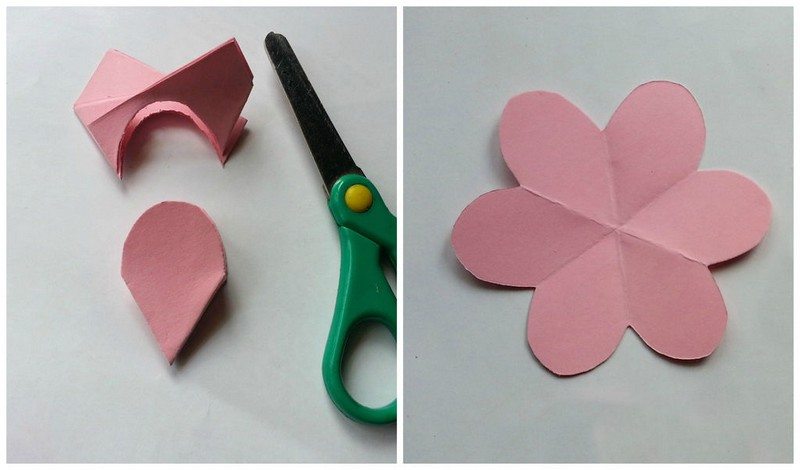
You can draw the pattern of the petal on the folded paper or you can simply cut the top of the folded paper into an arch shape. Similarly cut 3 more as you’ll need 4 of these. This way you’ll get 6 petals on each paper.
Again cut the 6 petaled papers as shown in the picture. Make sure to be precise with your cuts so that the end result is a beautiful flower!
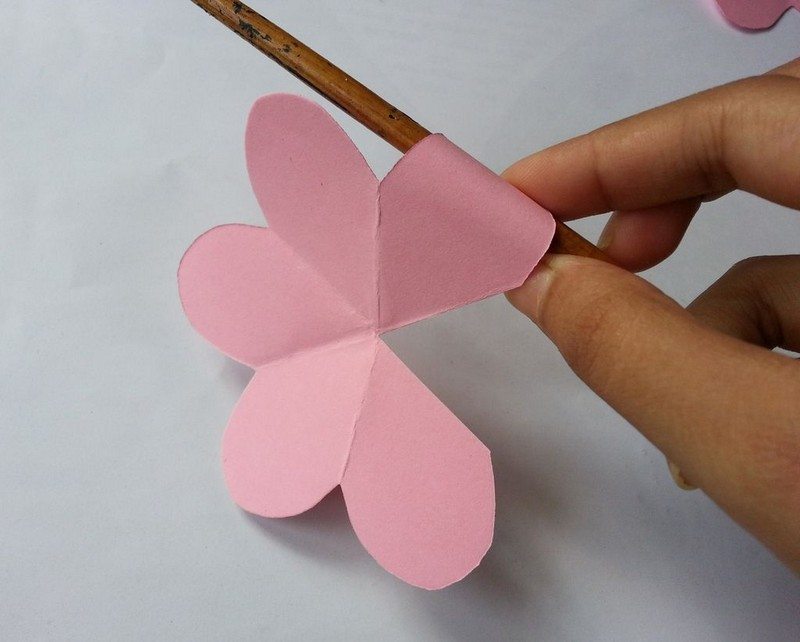
3. Add some curves
To create curves on the petals, use a small paint brush or any other small, round object. Gently press down and hold the brush against the petal as you make a sweeping motion. If you need to, go over the curves a few times to deepen the effect.
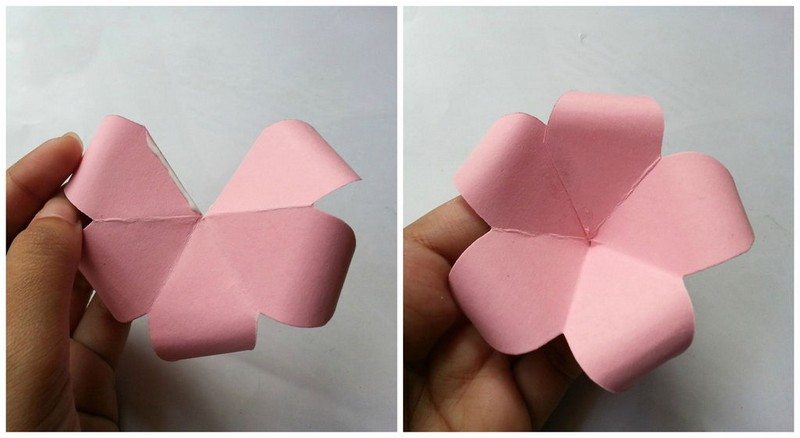
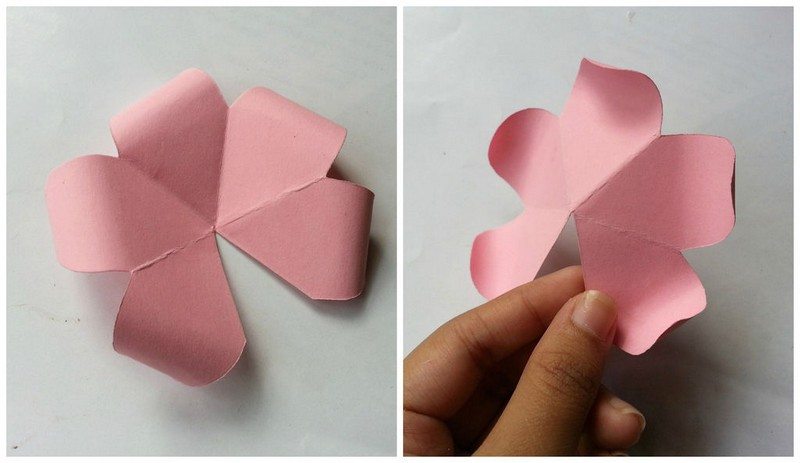
4. Apply glue
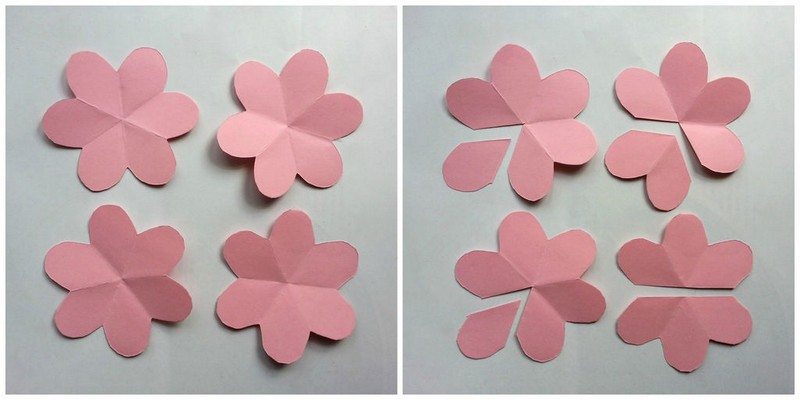
Apply glue on one side of the petaled paper and join it with the other side.

Now we have – 2 pieces with 5 petals, 1 with 4 petals, 2 with 3 petals, 1 with 2 petals, and 2 with 1 petals.
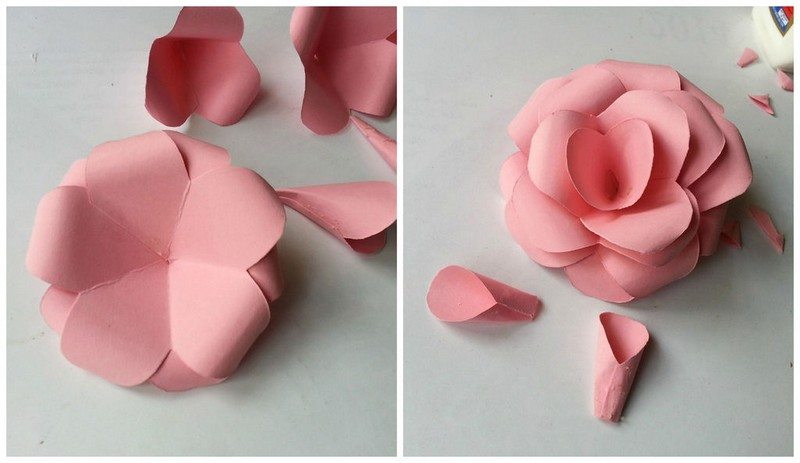
5. Finalize the pattern
Start gluing the pieces (petaled papers), one on top of the other one. Try to arrange them nicely to create a beautiful pattern. The ones with more petals should be on the bottom and the ones with fewer petals should be on the top.
Now let your imagination work and create more flowers with different shapes of petals!
Continue by repeating the steps above to create a bouquet of flowers. Then, arrange the flowers in the vase or container. You can do this however you like, but it usually looks best to start with the bigger flowers and work your way down to the smaller ones.
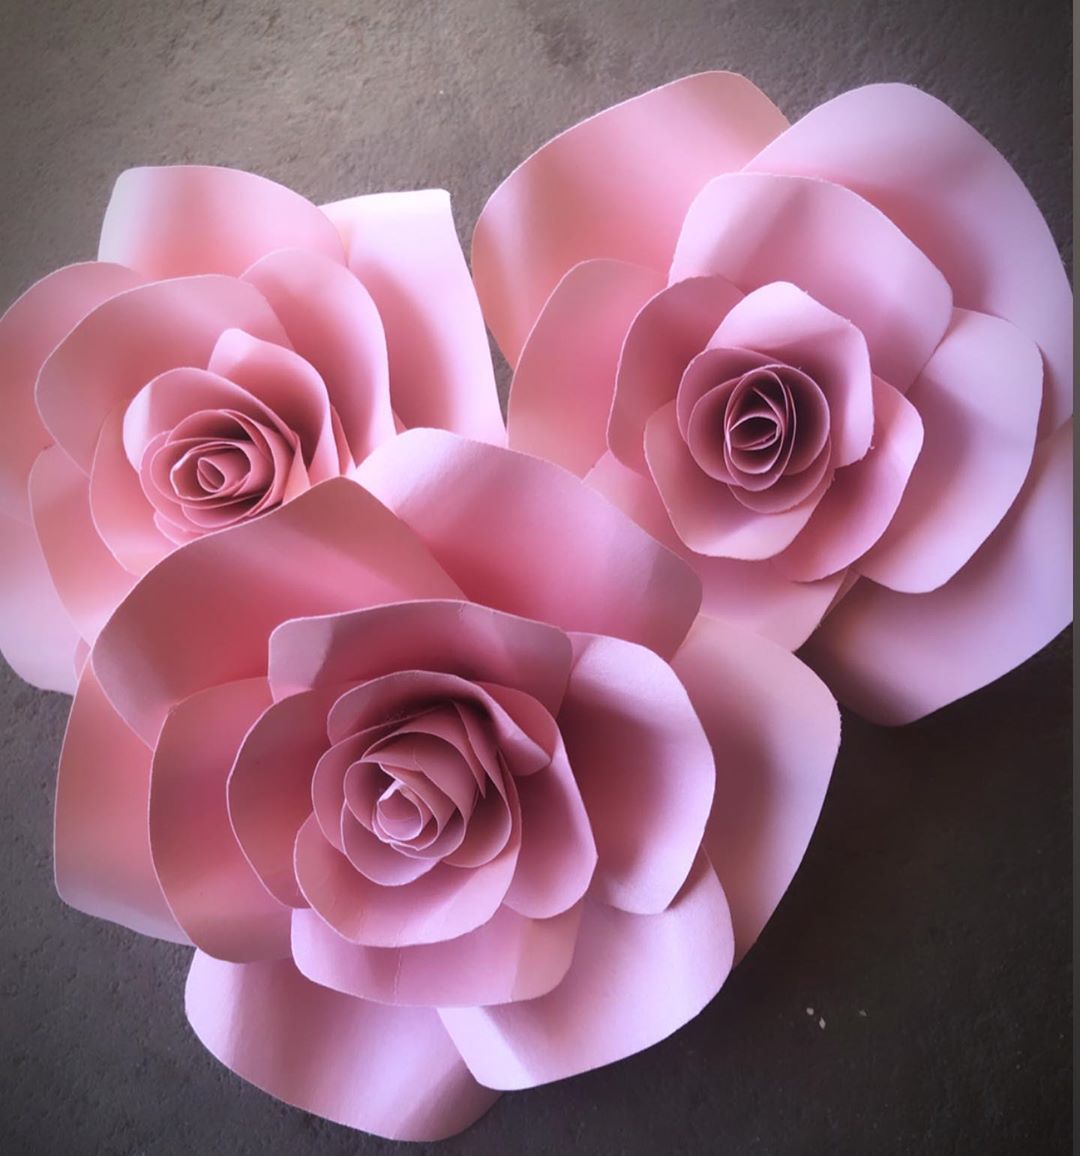
Display your flowers in a vase or bouquet, or use them to decorate a special card or gift. Have fun crafting your own unique flowers!
There you have it! And while you’re at it, why don’t you share your creation with us? We’d love to see what you come up with!
Thanks to Muhaiminah Faiz for this great tutorial!
If you liked this project, you might also like to view the How to Make Kans Grass Paper Flower…


