Contents
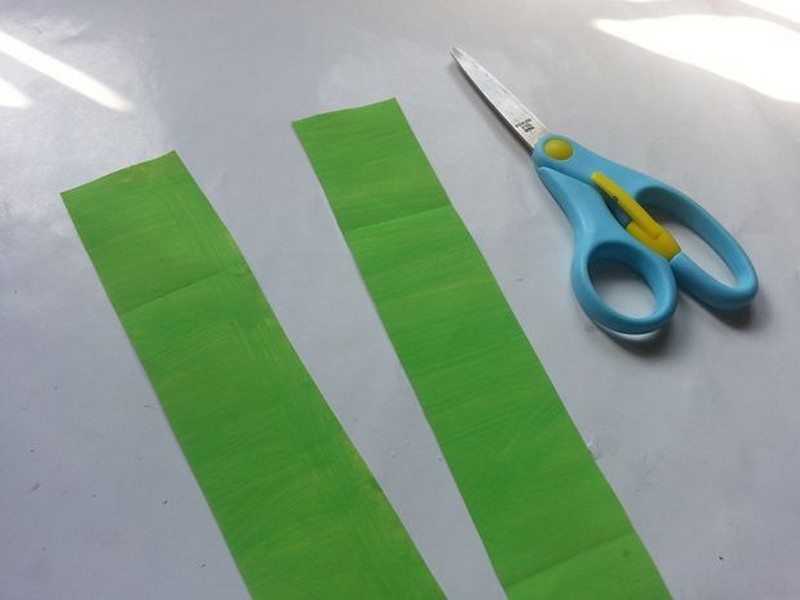
2. Make the Stem
Now get your green paper and cut them into 2 x 10 inches strips for the stem.
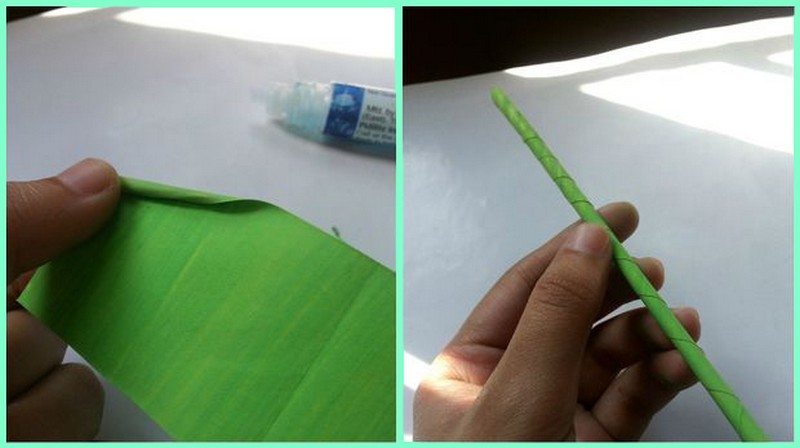
Apply glue on one corner of the paper, and roll it diagonally until you reach the other end. Also, put glue on the end corner to keep your stem intact.
This will ensure that your Kans grass paper is strong and will not fall apart easily.
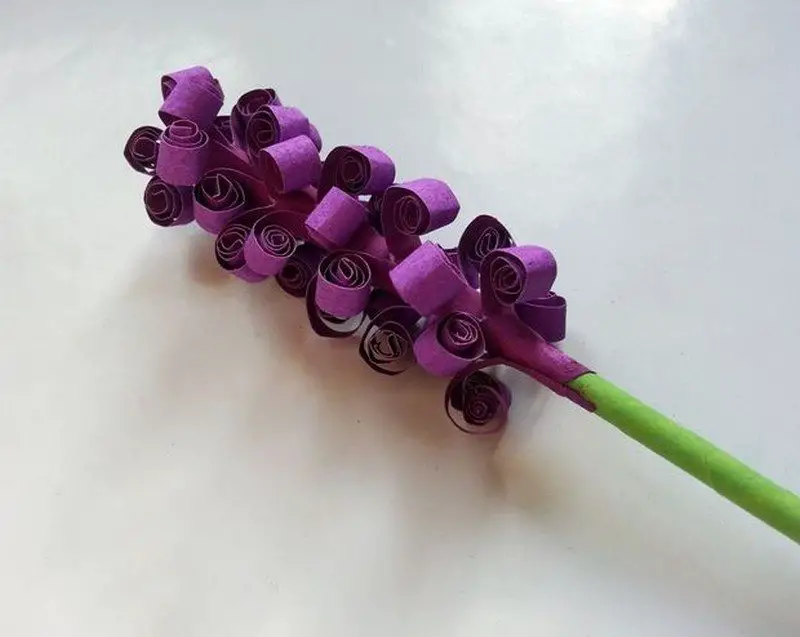
3. Attach the flower to the stem
Take your swirly-fringed paper and apply glue along the backside of the folded edge.
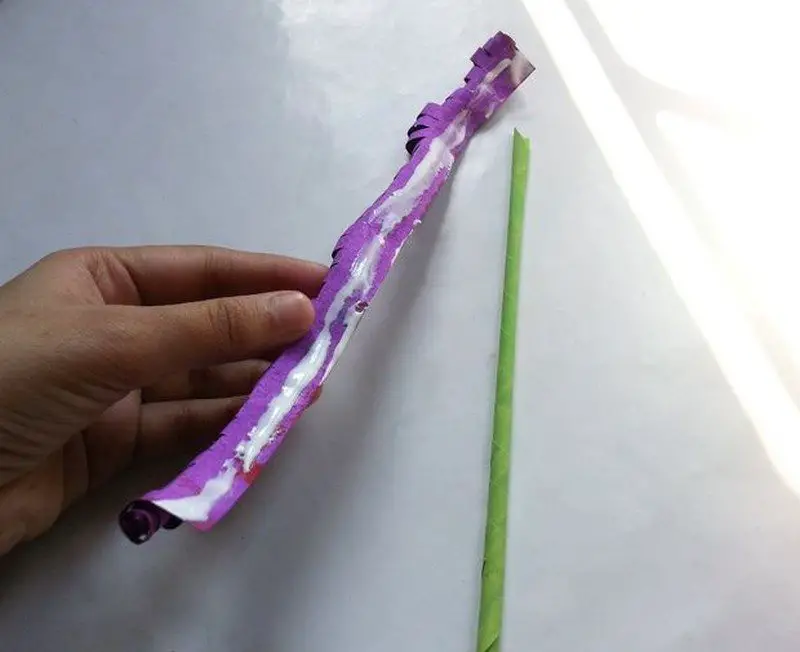
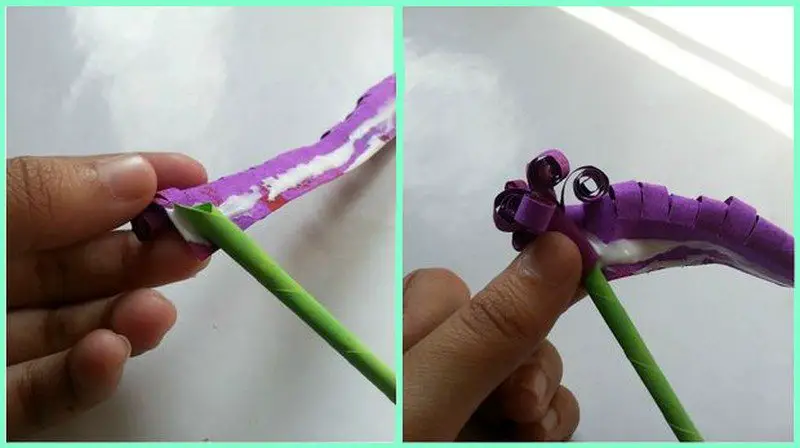
Starting with the ends, wrap the swirled paper around the stem.
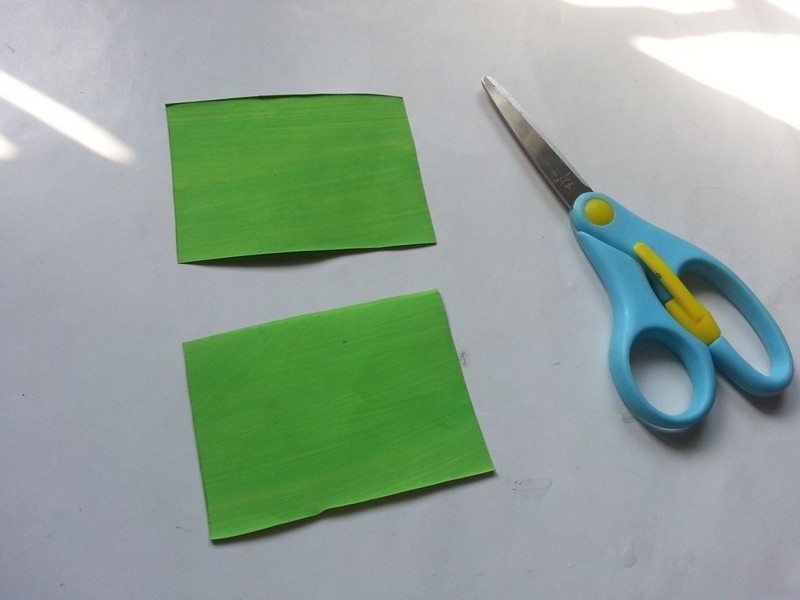
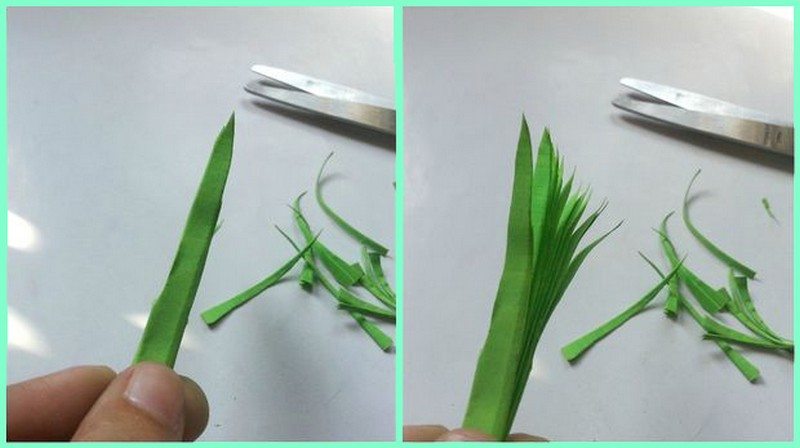
4. Make the leaves
For the leaves, cut green paper to 2 x 3 inches.
Fold them into a 1-centimeter accordion.
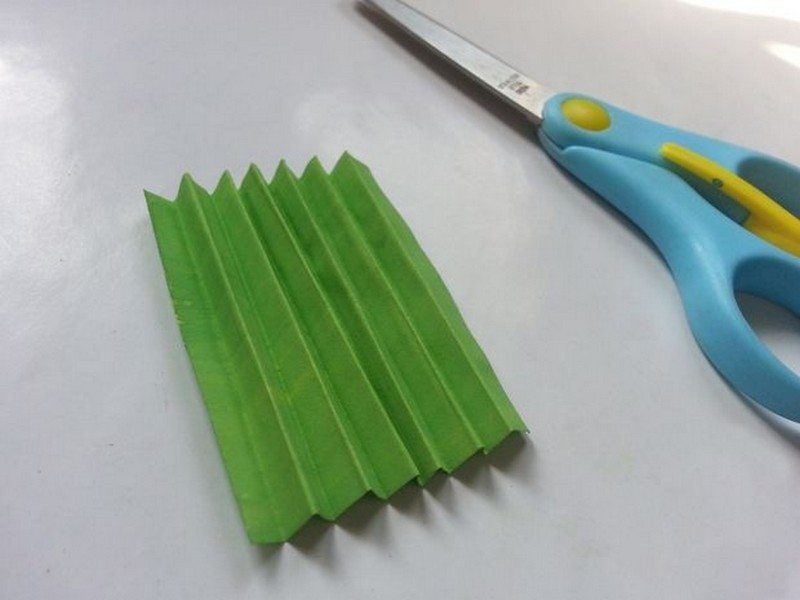
Cut one end into a pointy shape.
5. Attach the leaves to the stem
Cut the paper into two, and glue them around the stem below the bud.
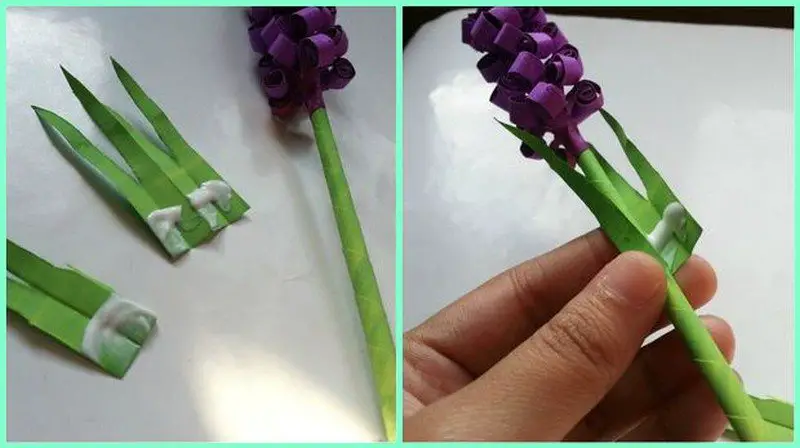
The second half of your leaves is only slightly lower than the first one.
There are lots of different ways to do this, so feel free to experiment and find the best colours to suit your flavour.
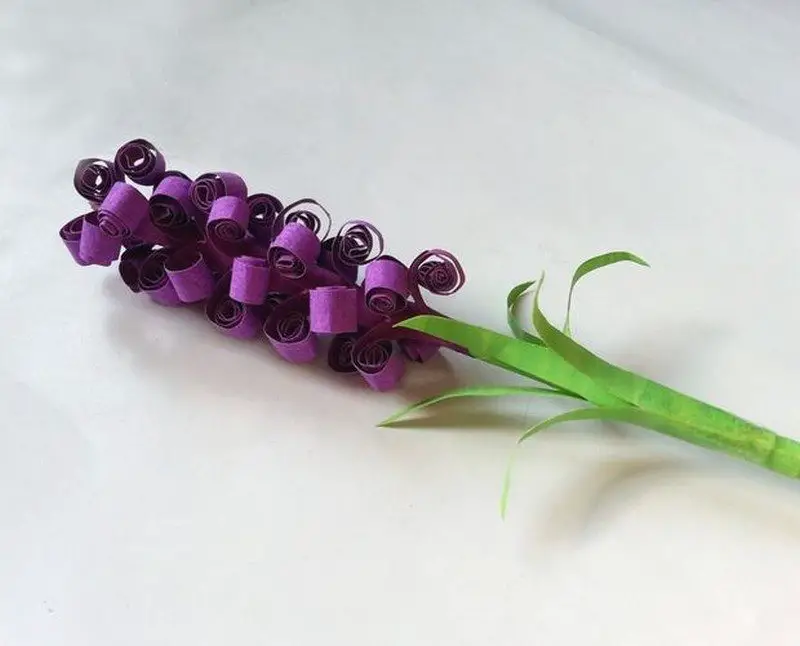
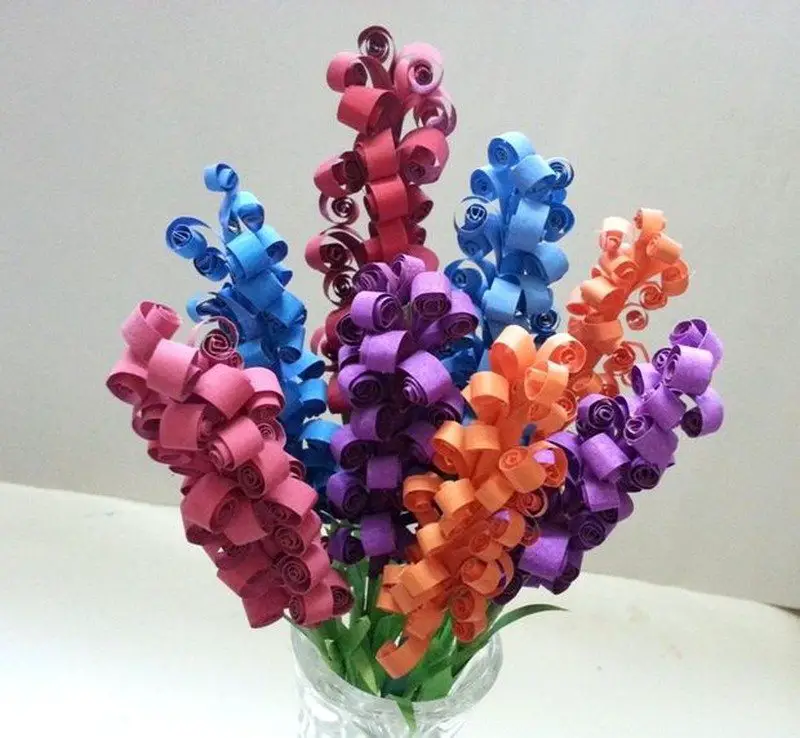
6. Create a bouquet
To make a beautiful bouquet, simply repeat these steps using different colours of flowers. You can experiment with different colour combinations to find a look that you love. Enjoy your beautiful bouquet! 😉

This is a great way to bring some life and colour into your home! Adding flowers to a vase is a simple way to brighten up any room, and it’s a great way to show off your personal style.
There are endless possibilities when it comes to choosing the right floral designs for your home, so take your time and find the perfect arrangement for your space.
Whether you’re making something for yourself or a loved one, the process of creating something can be very rewarding. So go ahead and get started on your next project – who knows what you’ll come up with! 😎
Thanks to Muhaiminah Faiz for this great project!
If you liked this project, you might also like to view DIY Paper Flowers…


