Contents
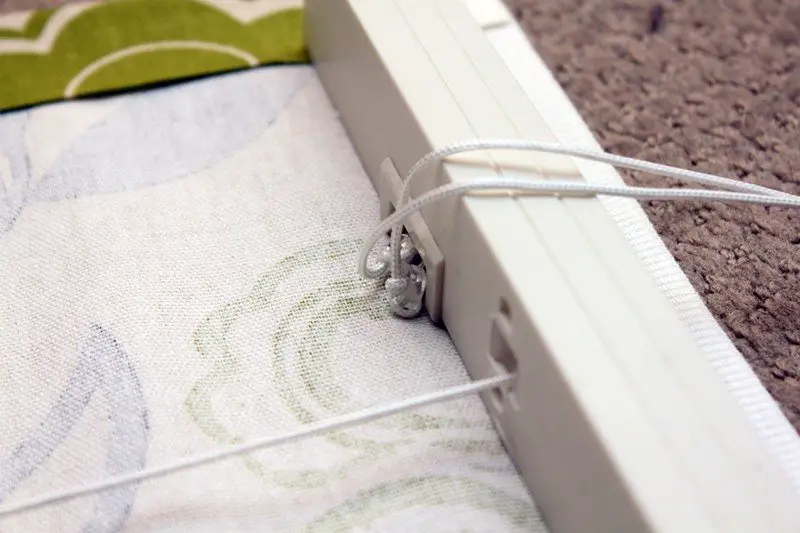
7. Attach the fabric to the mechanical top
Putting them all together. Attach the mechanical top onto the fabric using fabric glue. Make sure you are sticking to the right side. Make sure it is centered and even as well.
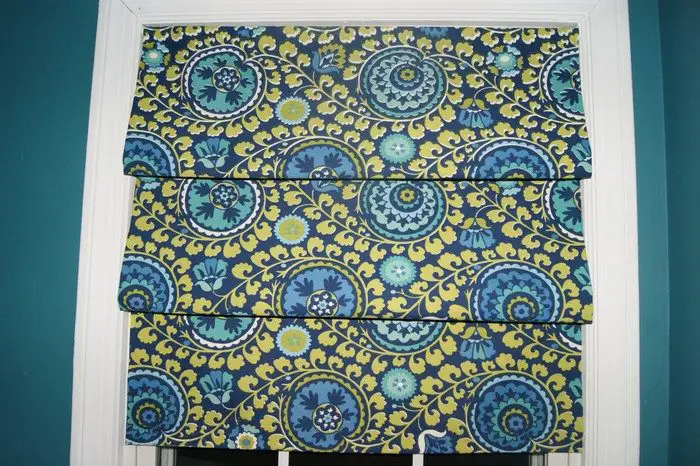
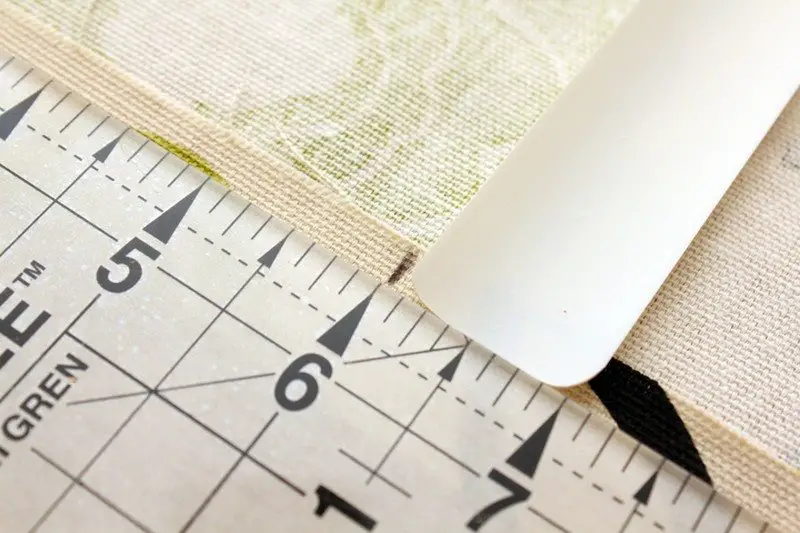
8. Make the pleats
Lightly mark your fabric with a pencil depending on the length of your pleats. Again make sure that your measurements are equal on both sides.
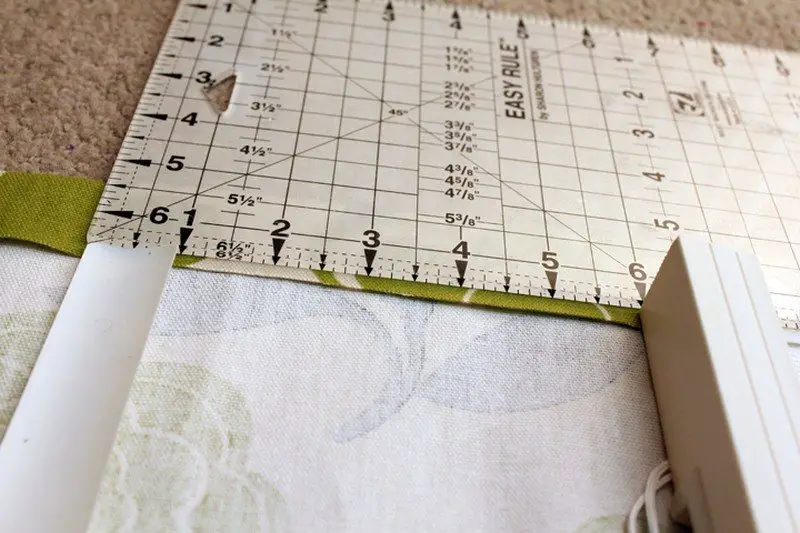
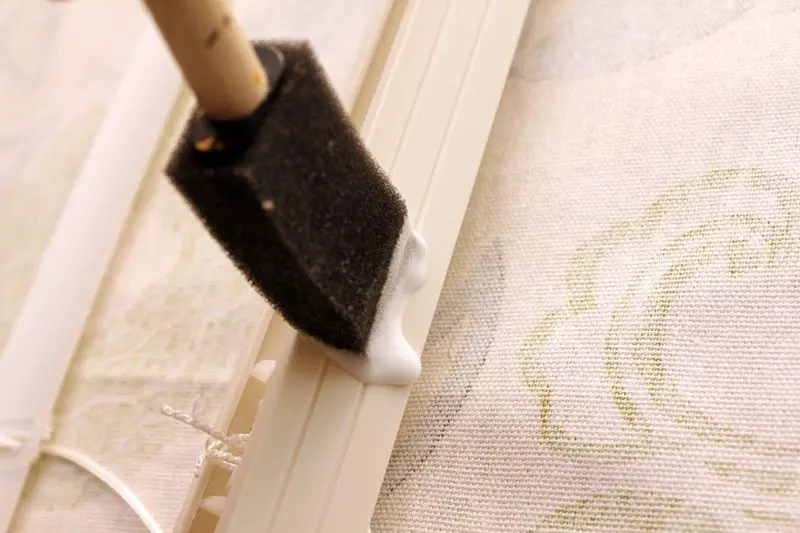
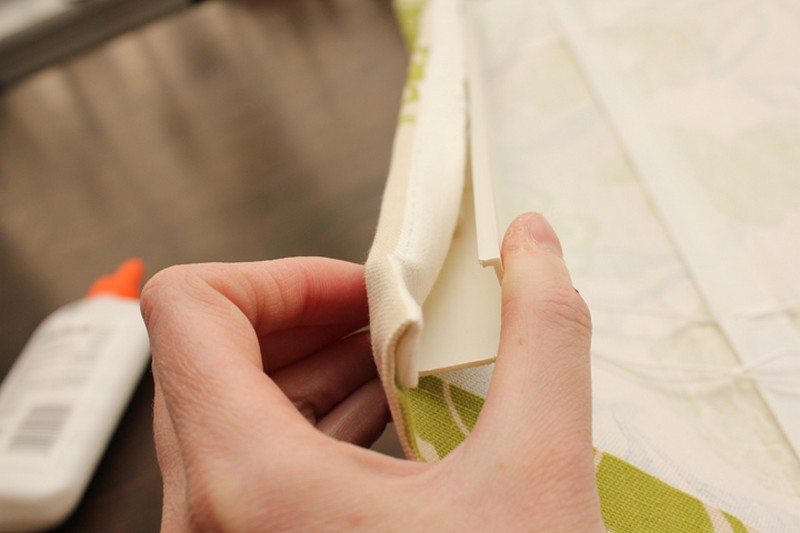
Brush the rounded side of the plastic strip with fabric glue and carefully press it onto the fabric. Repeat these last two steps of measuring and gluing until you have attached all the small strips.
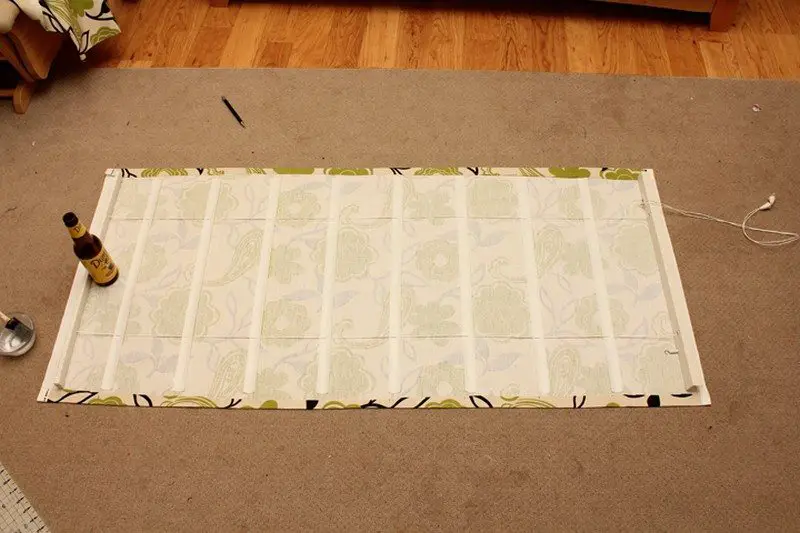
9. Let it dry overnight
Let it dry overnight. Use some weight to put at the ends to make sure it is spread out.
Finally, stick the ends of the fabric to the thick slats using a glue gun.
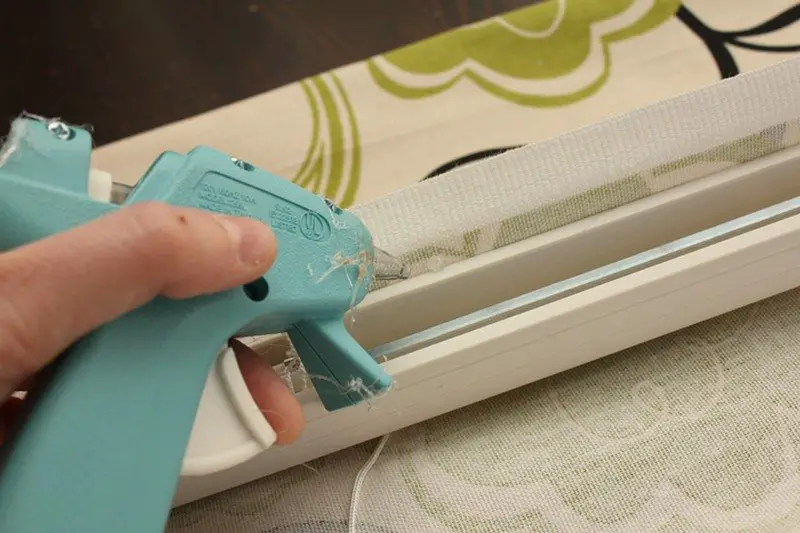
Make sure not to obstruct the top mechanism where the brackets will be attached for hanging.
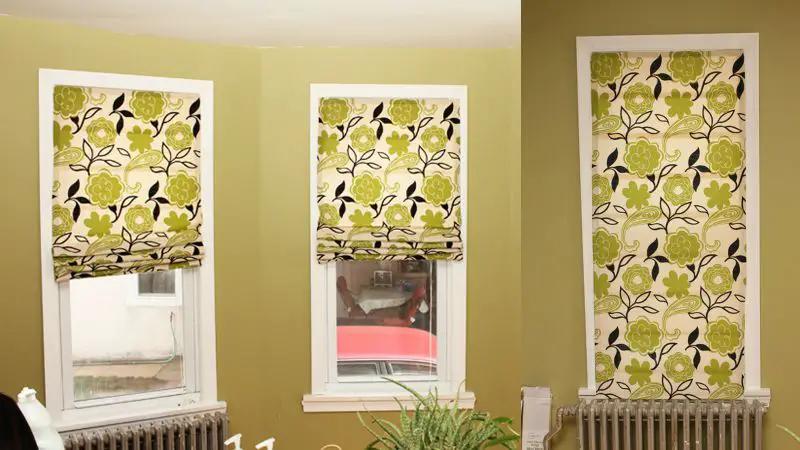
10. Hang it on your window
Now you are ready to hang and test it! :)