If you like Mason jars as much as we do, then you’ve saved everyone you’ve ever had! Some of our favourite DIY ideas consist of putting old jars to new use. One way you can reuse them is by turning them into mason jar lights!
Would you like elegant-looking lighting without having to spend big money? Well, here’s one DIY project you might want to try. Indoors or outdoors, these mason jar lights are beautiful!
You can use mason jars in a lot of cool DIY projects. While most of these projects have to do with the storage of various types of items, there are also some less predictable and quite interesting options. We believe these mason jar lights to be among the most clever and beautiful.
Contents
What are the materials needed to make DIY mason jar lights?
You’ll need the following tools and materials to make DIY Mason Jar Lights.
- Mason jar
- The socket you want to put the jar on
- A plastic or metal ring that fits your socket (to secure your jar lid to the socket)
- Light bulb (warm white)
- A nail or wood screw
- A pen, pencil, or marker
- A hammer
- Scissors
- Pliers
- A flat-head screwdriver
How to make DIY mason jar lights?
To make your own mason jar lights, you can follow the steps below.
1. Make a hole in the lid
Choose the size of your socket and light bulb depending on the jars that you have.
Make sure that the bulb will not be too close to the glass.
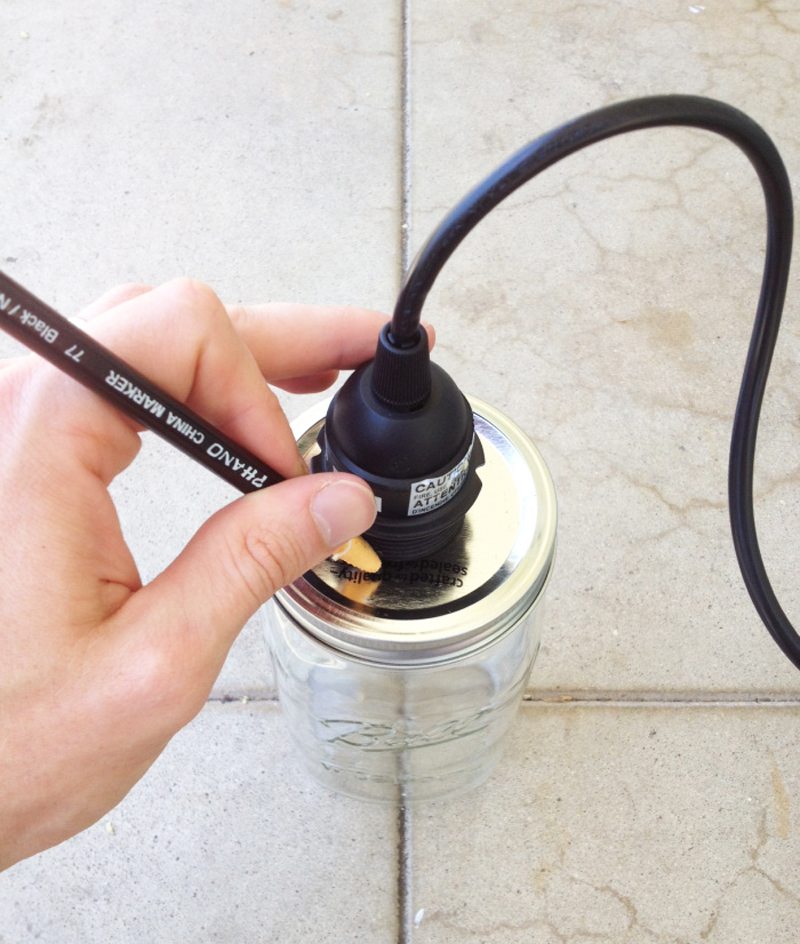
Trace the socket.
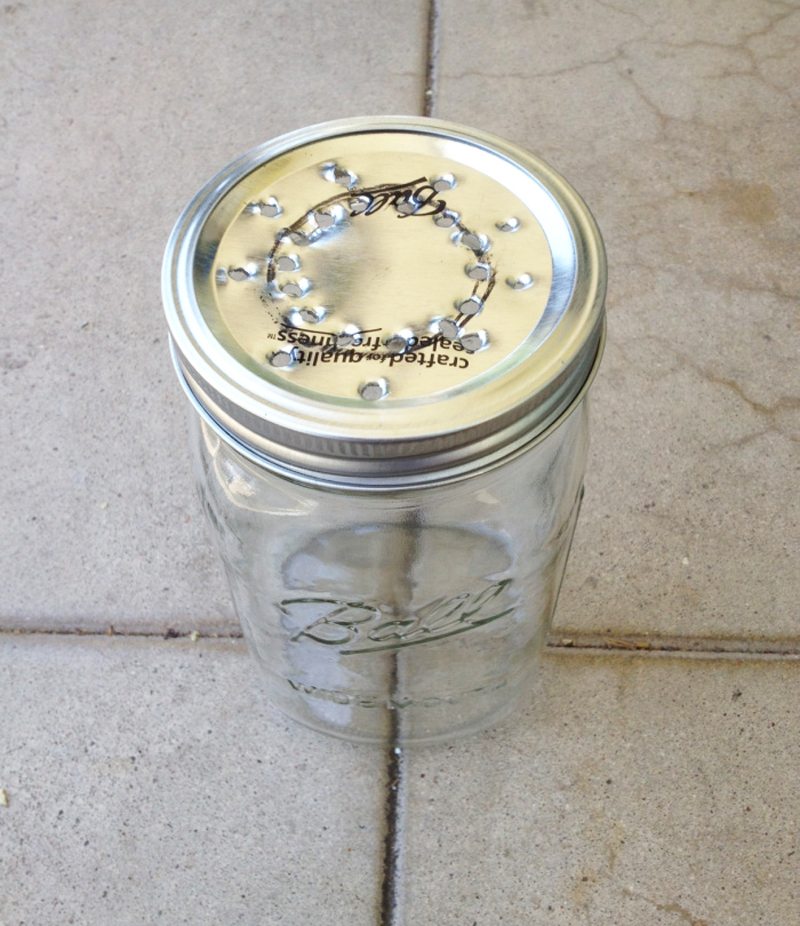
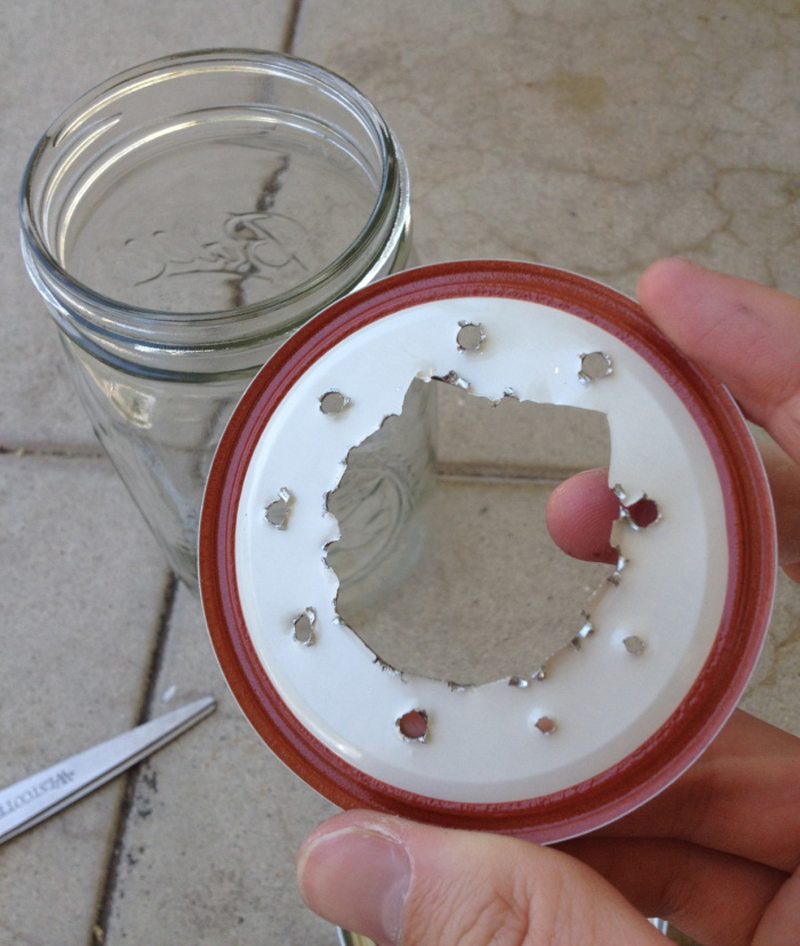
Punch holes along the circle, using a hammer and a nail or whatever tool you have to make those holes.
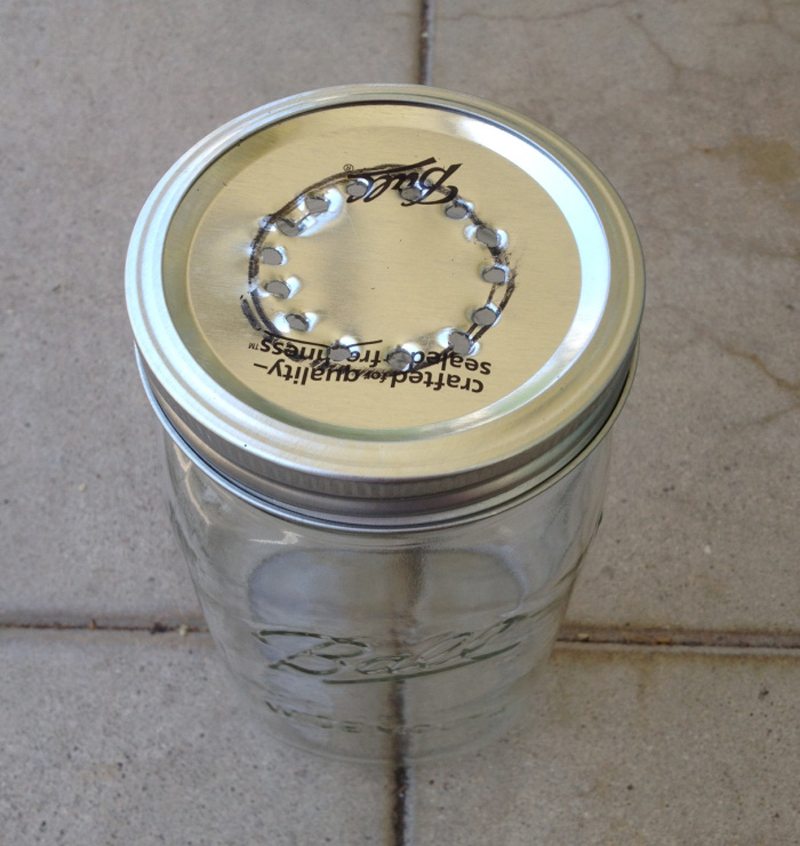
Punch holes around the circle for ventilation.
Using a hammer and flathead screwdriver, cut out the center of the lid.
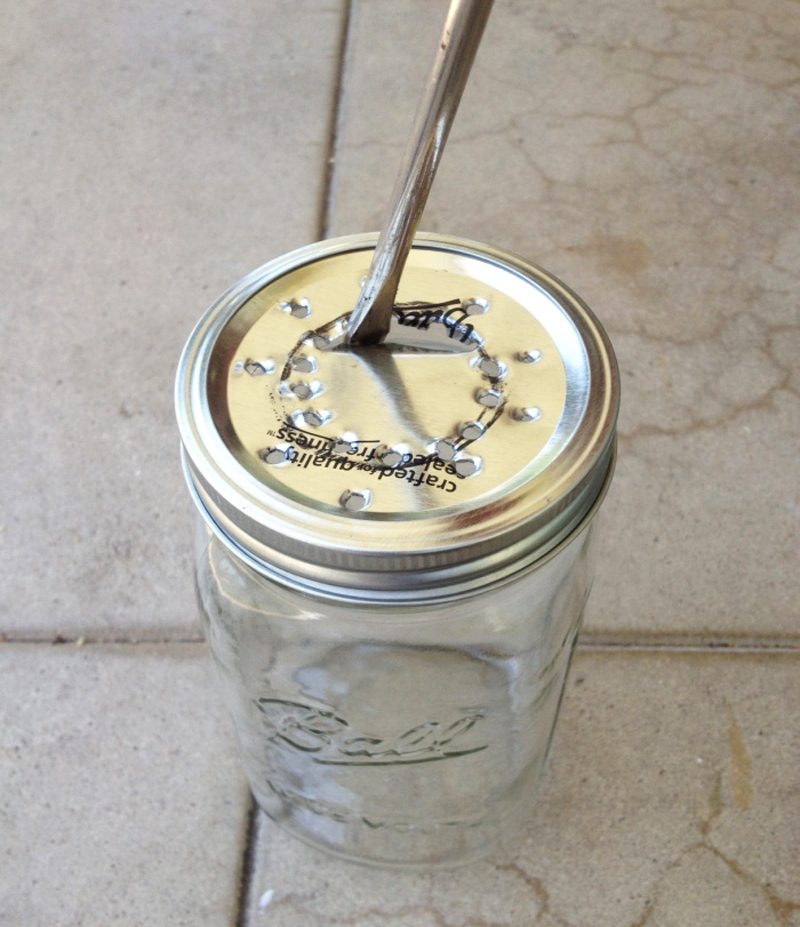
Then use scissors to cut the remaining bit.
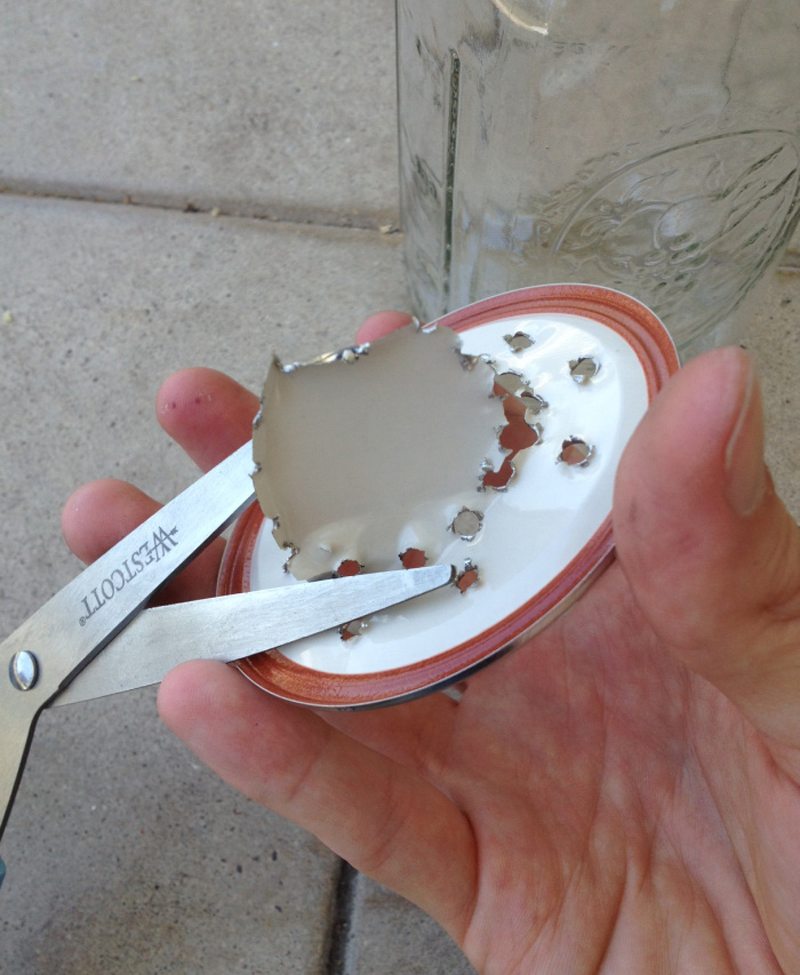
It’s not going to be pretty and that’s okay, as long as the hole doesn’t get too big for your socket.
2. Insert the socket and bulb
Now insert the socket into the hole.
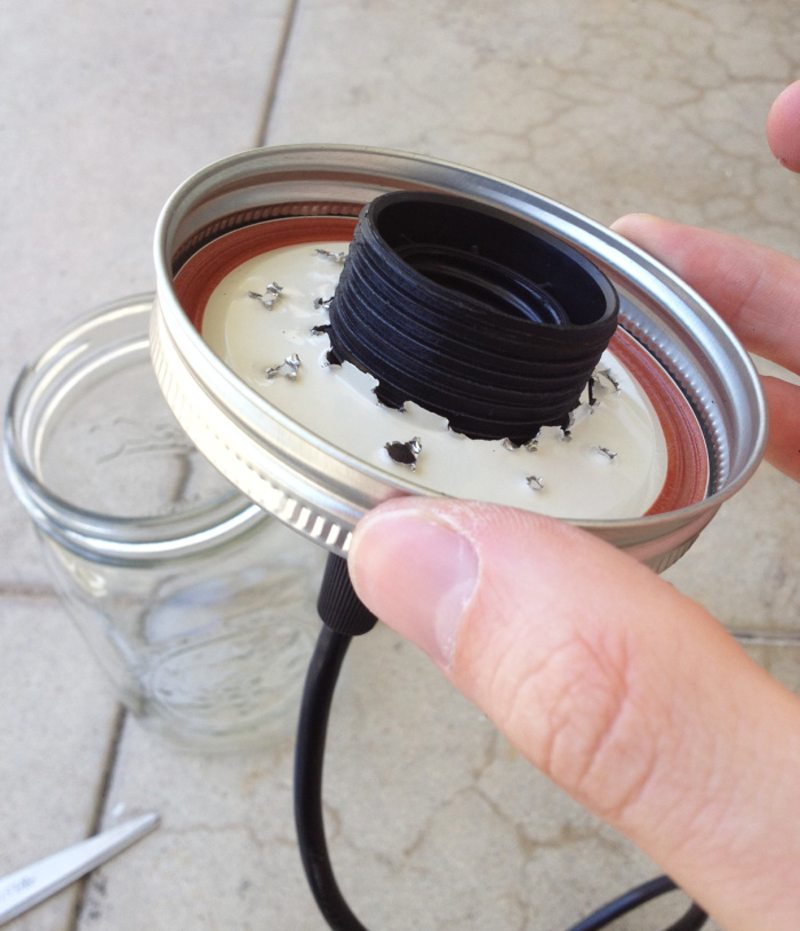
If the hole is still too small for the socket, you can use the pliers to adjust the lid where your socket doesn’t fit. But if you were able to push the socket through without difficulty that the lid cannot even hold it, it’s probably fine as long as the ring of your socket can hold the lid and socket together. See the above image.
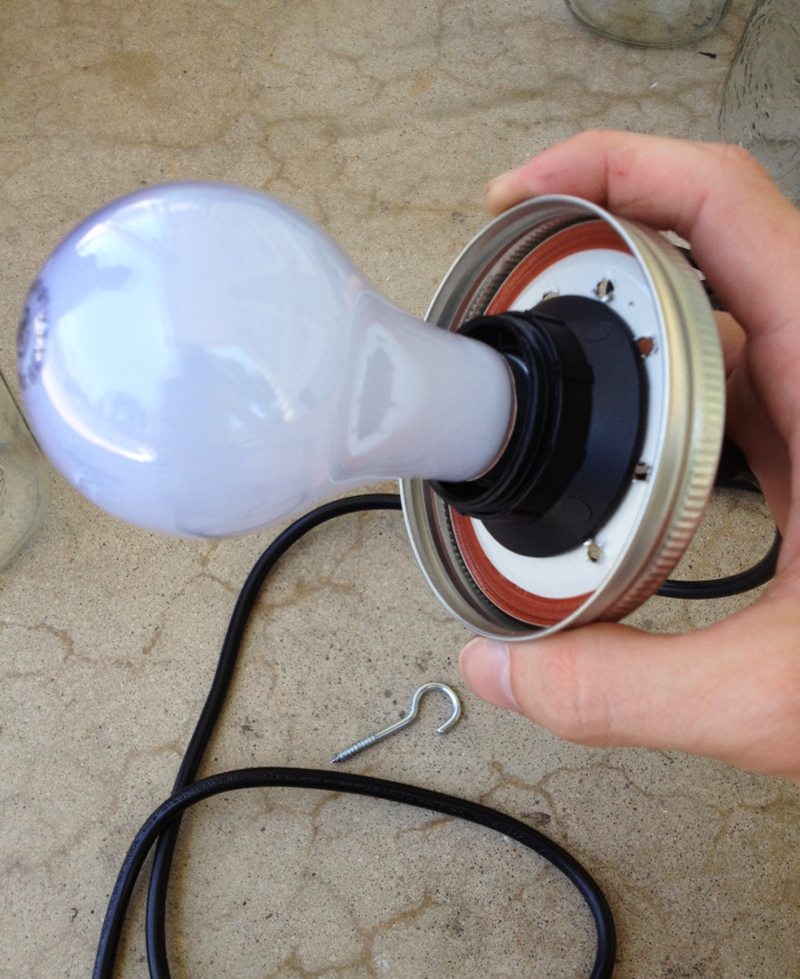
3. Close the jar with the lid
When everything is well in place, you can now attach the light bulb and the jar.

Now you’re ready to hang it and turn it on! 😎
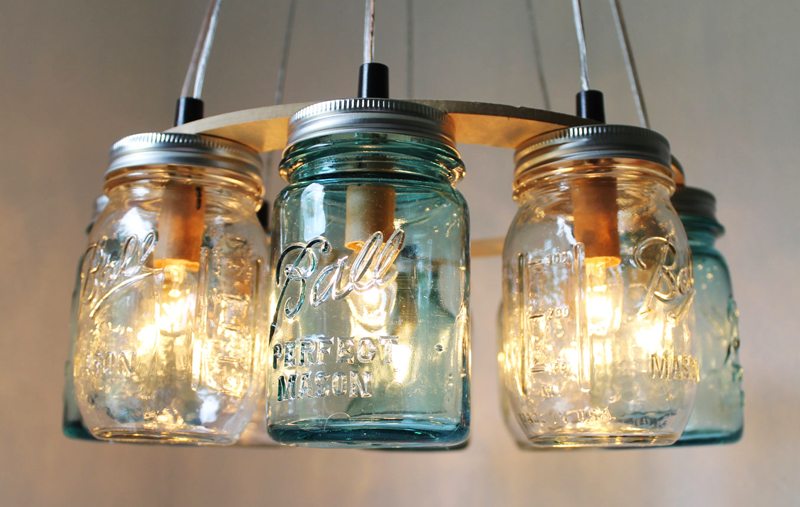
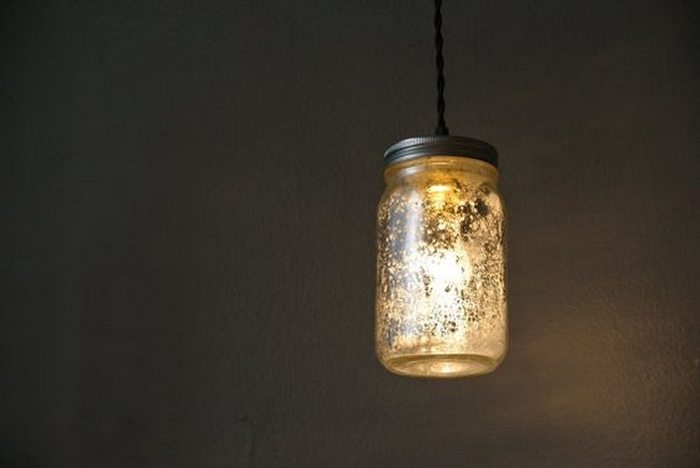
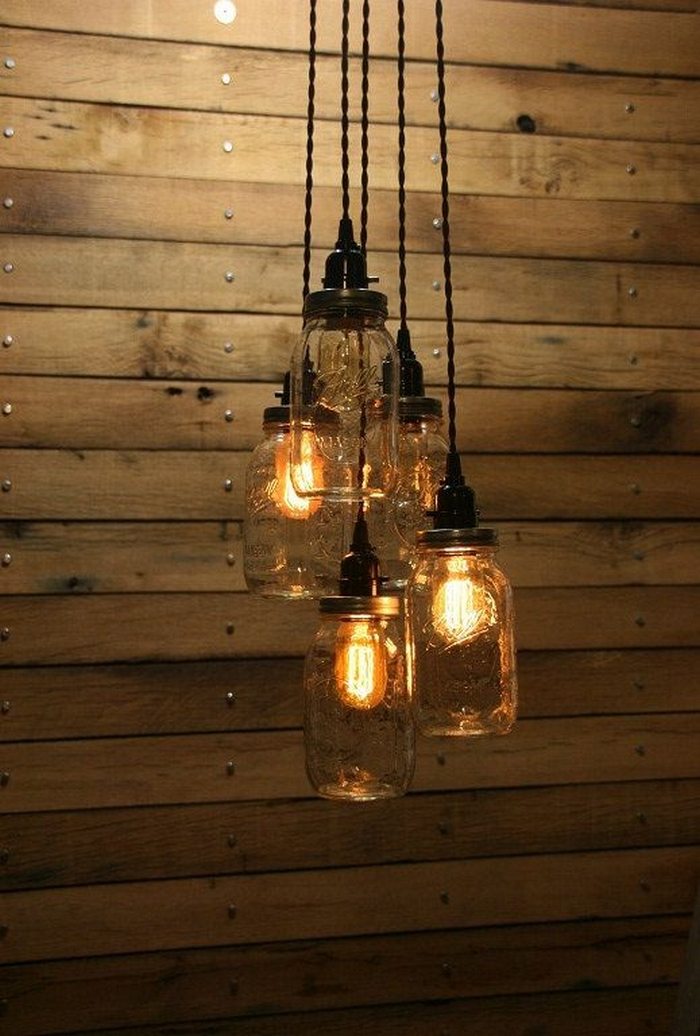
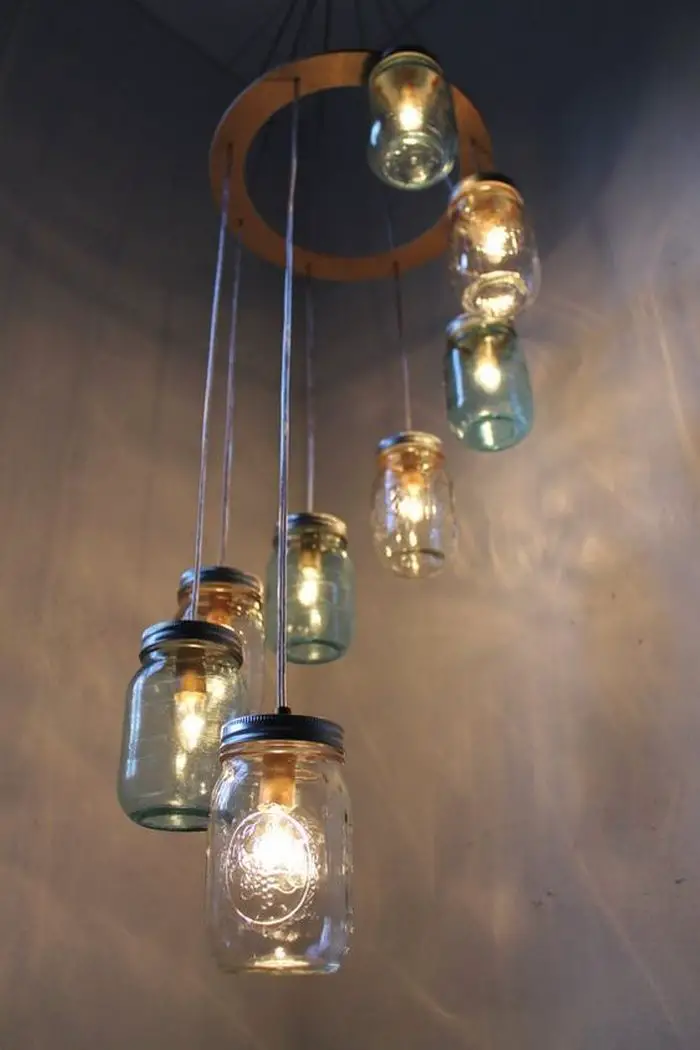
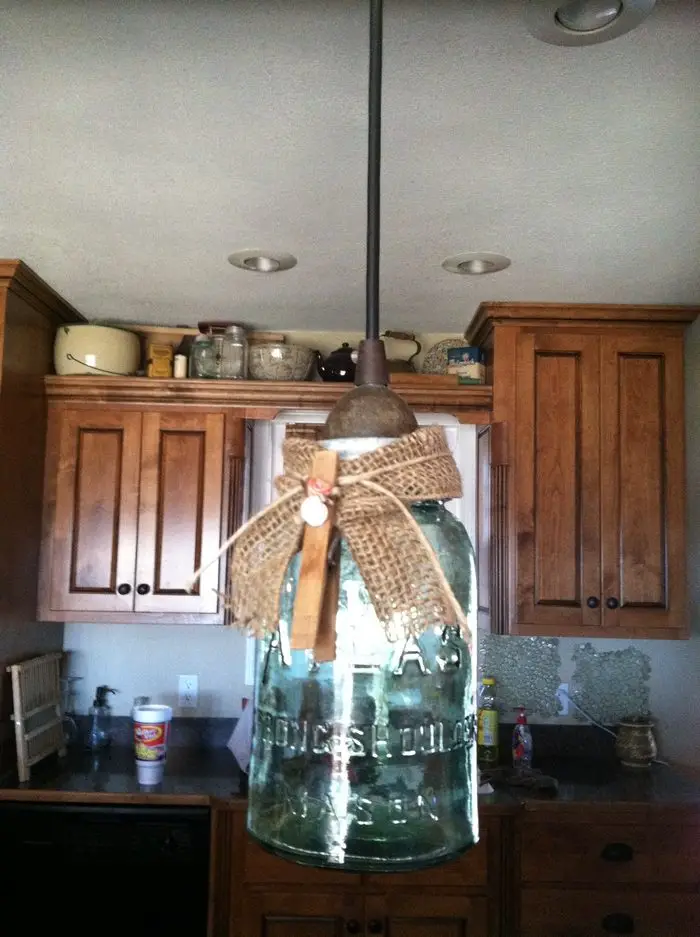
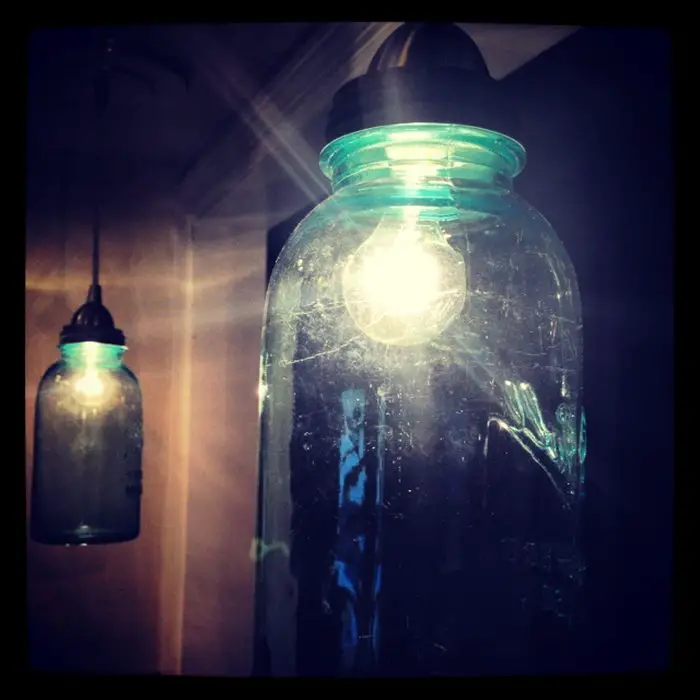
Below are some brilliant DIY mason jar light designs that you can choose from.
Brilliant DIY mason jar lights
Click on any image to start the lightbox display. Use your Esc key to close the lightbox. ![]()

Source: in.gredients


