Today, we’ll be demonstrating a fun craft that involves two items you might find in your living room and closet! Scroll down to learn how to make a DIY sweater pillow.
When the cold weather settles in, sweaters make you feel comfy and warm, but they can also become old and torn out. Wouldn’t it be great if you could turn them into sweater pillows instead of getting rid of them? A sewing machine, a regular pillow or any pillow form, and your old sweater – that’s all you need to make this project. Alternatively, you can sew it by hand if you do not own a sewing machine.
Instead of buying new pillowcases, why not make your own? It’s unique: no one will have the same pillowcase as yours. This can also be cheaper than buying a new pillowcase if you know where to look.
Throw pillows can be quite expensive in home décor stores. A homemade version using sweaters and pillow forms is WAY less expensive and super easy. So I’m sure you’ll be able to change them around all year long!
This is a great way to create unique pillows for a reasonable price. Having the option of switching them out as my style changes or as the seasons change is amazing.
Just check out your old sweaters from your closet, grab a pillow from your living room, and let’s do this project! 😉

Contents
What are the materials needed to make DIY sweater pillows
You’ll need the following tools and materials to make these comfy DIY sweater pillows.
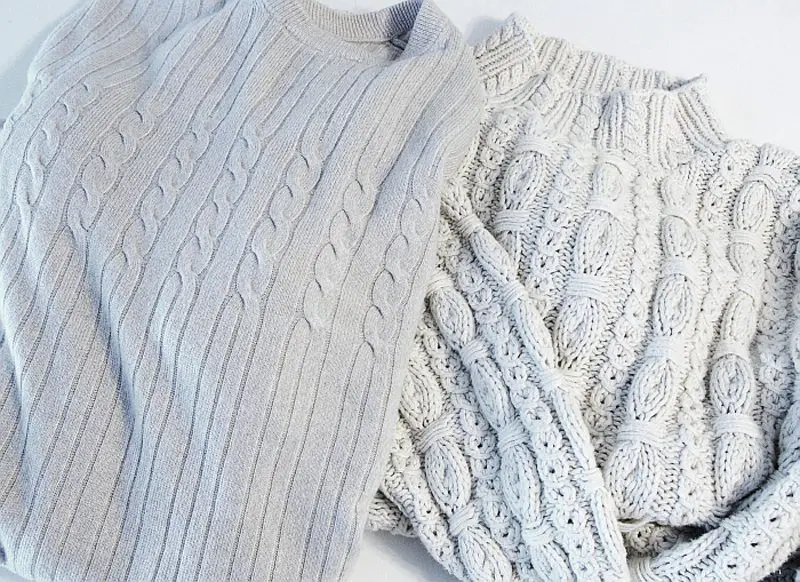
- Sweater – old one or from the thrift shop
- Pillow
- Buttons (optional)
- Measuring Tape
- Scissors
- Sewing Machine
- Straight Pins
How to make DIY sweater pillows?
Below are steps on how you can make use of your old sweaters and convert them into comfy pillows.
1. Wash and dry your sweaters
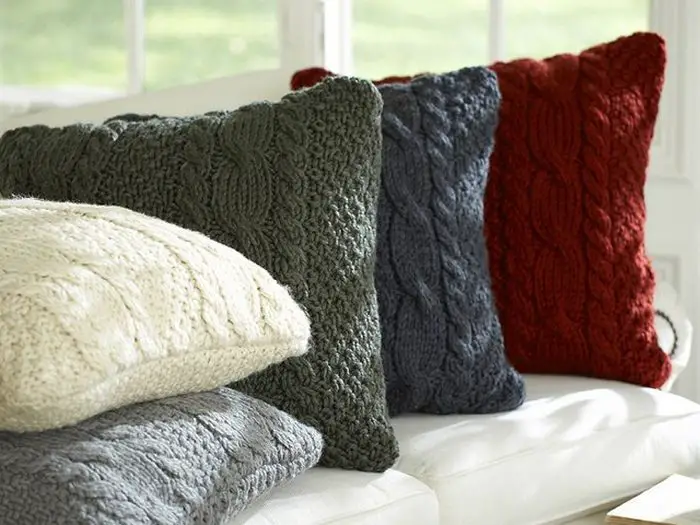
If you will be making more than one pillow case, you might want to choose sweaters that look good together. You can choose a sweater in similar colors. If this will be a variety of colors, make sure it will look good when combined. Make sure they are clean and dry. Remove any damaged parts of the sweater, or better yet, sew the torn part if it’s just a small one.
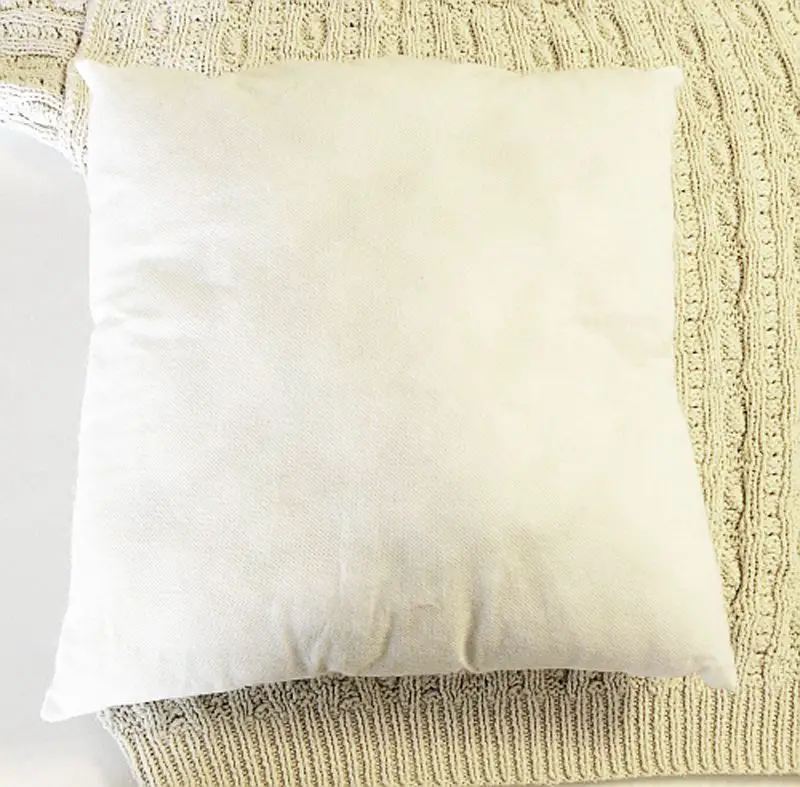
2. Turn the sweater inside out
Turn the sweater inside out. Put your pillow in place – on the edge of the sweater as in the picture, if possible, so that you have one less seam to sew.
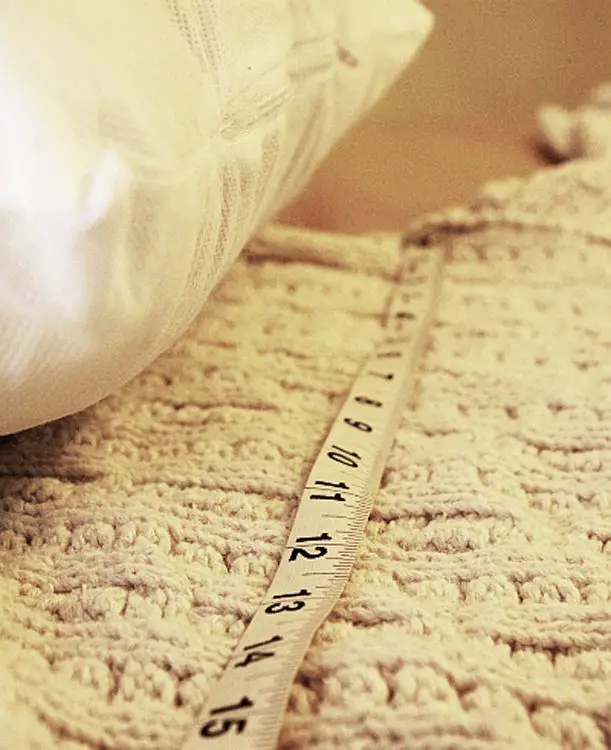
3. Mark the sweater
Mark the sweater around the pillow where you are going to cut it. Make sure you leave a margin for sewing. You can use a marking pen or better yet, use the marking pins intended for the sewing process.
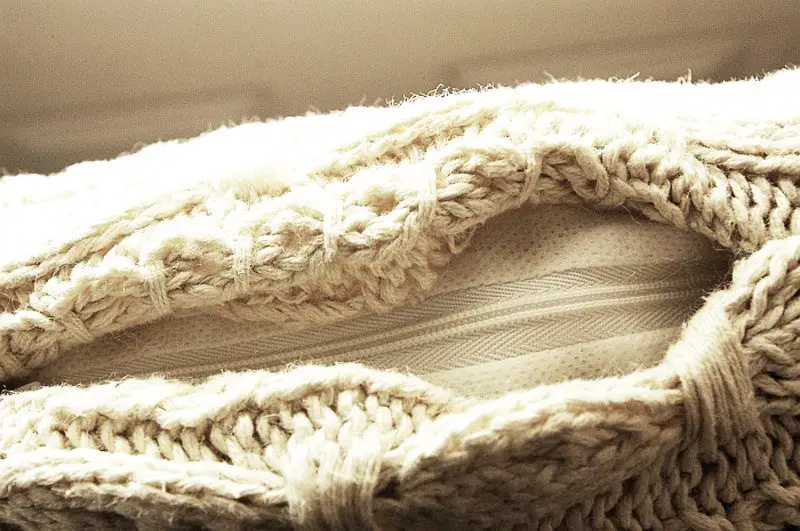
4. Cut and sew on the edges
After marking all the necessary lines, cut and sew on the edges, leaving one side open where you can insert the pillow inside. You can use a sewing machine, or you can also sew it by hand. Once the pillow is in, a stitch that opening up manually. And it’s done.
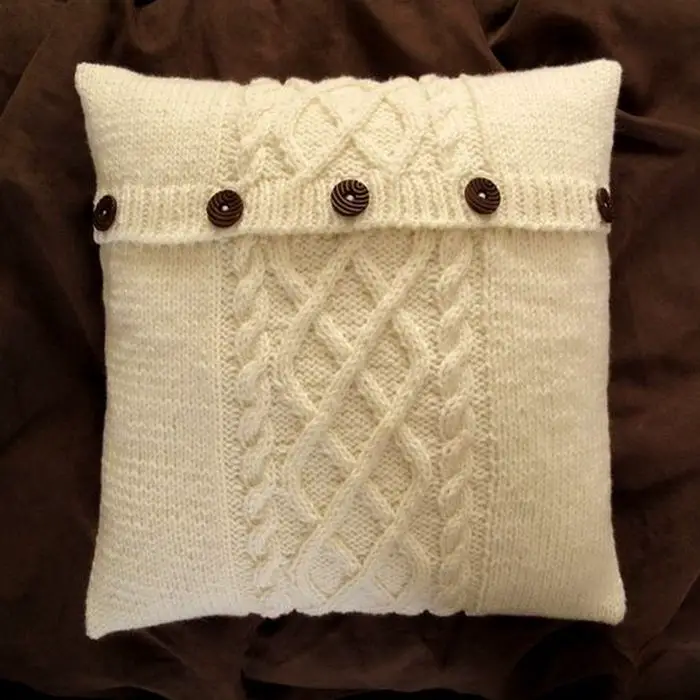
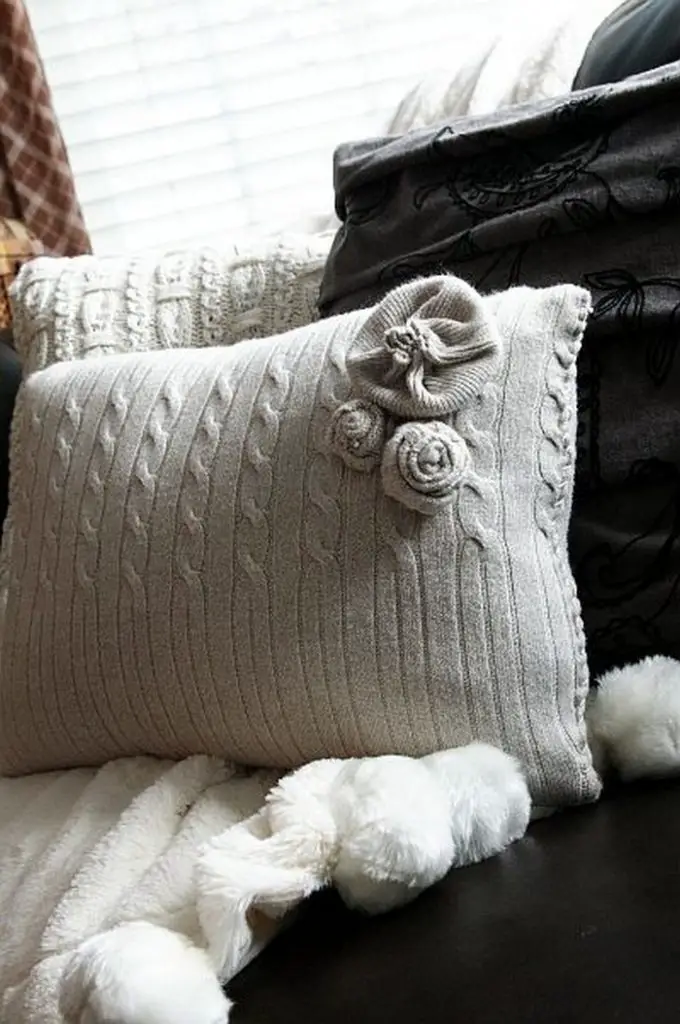
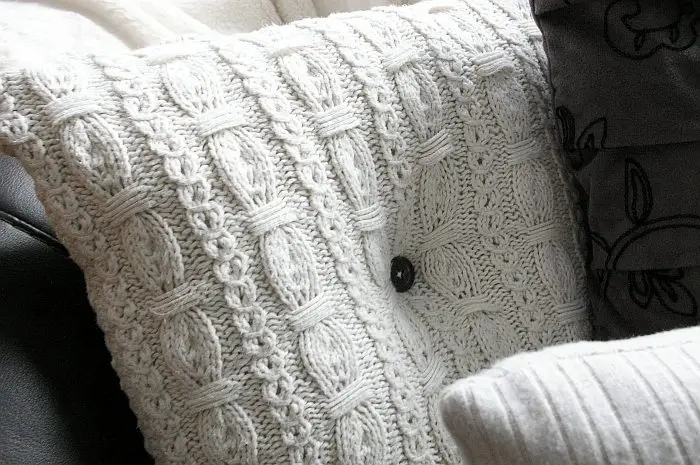
You can also add some colorful buttons or the off-cuts as embellishments. :)

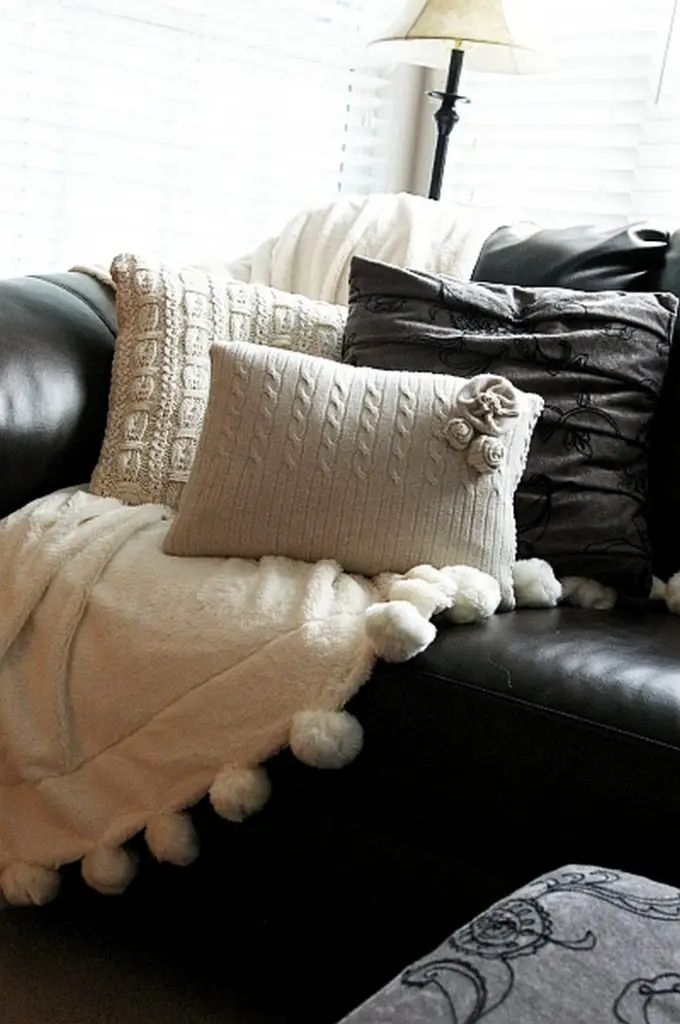
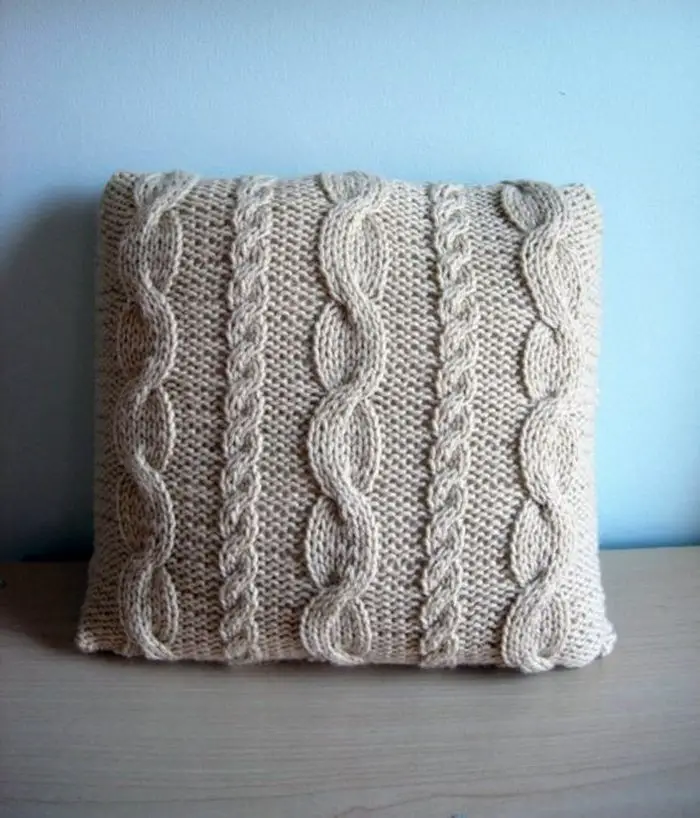
Below are images of some of the impressive DIY sweater pillow designs you can use for your next project!
Impressive DIY sweater pillow designs
Click on any image to start the lightbox display. Use your Esc key to close the lightbox. 😎