Need some really pretty gift bows for your Christmas presents? No need to add those to your Christmas gift shopping list or take a last-minute trip to the store! You can easily make them yourself using any nice-looking paper you already have at home!
Most DIY projects usually require more time and preparation to accomplish. But this little DIY project is one that you can do even when you are crunching time to get all your presents ready!
These DIY gift bows look like those we usually purchase from the store. But you don’t need to buy beautiful art paper to make them. You can just search your home for any colorful paper you can recycle — scratch papers or pages from a book or magazine.
The nice thing about making your gift bows is that you have more freedom to choose what color your gift bows would be. Plus, you can make them any size you want! Just take note that the bigger the gift bow, the thicker or stiffer your paper should be.
Creating several gift bows probably takes about the same time as going to the store. But what’s better is that you don’t need to go out of your house, you get to save some money, you get to have the exact size and color that you want and you are recycling!
Do you know someone who needs this gift-wrapping idea?
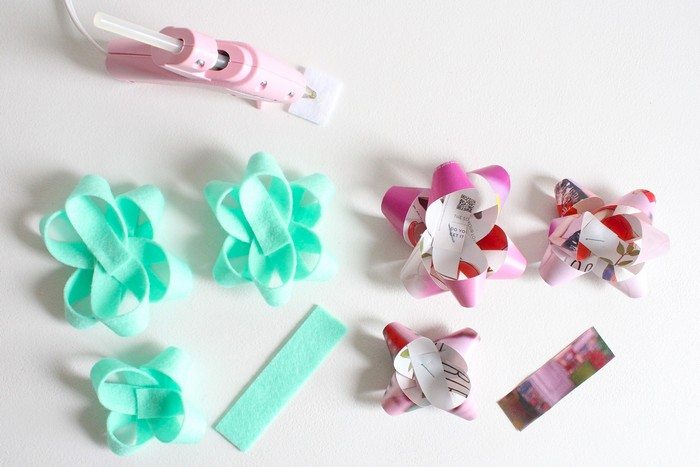
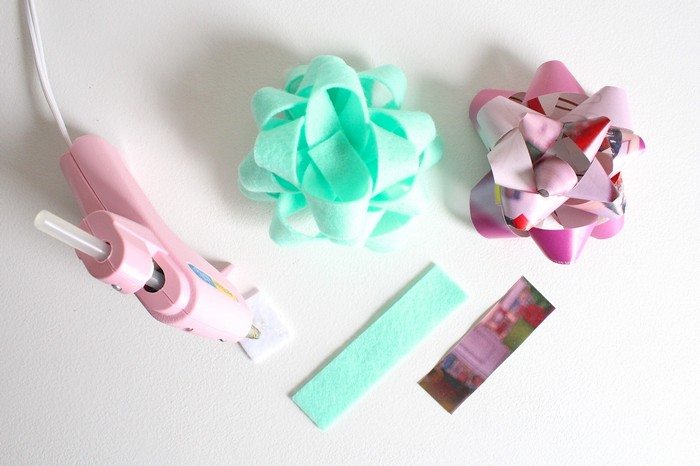
You’ll need the following tools and tools and materials to create this project.
- Paper or Craft Felt
- Scissors or Cutter
- Ruler
- Hot Glue Gun
- Stapler (optional but a time-saver)
Contents
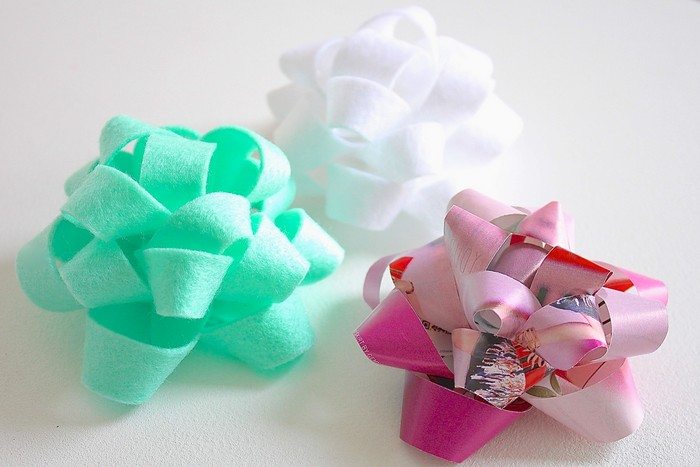
Lovely gift bow designs
Below are images you can choose from to make a lovely gift bow.
Click on any image to start the lightbox display. Use your Esc key to close the lightbox.![]()

How to make a gift bow
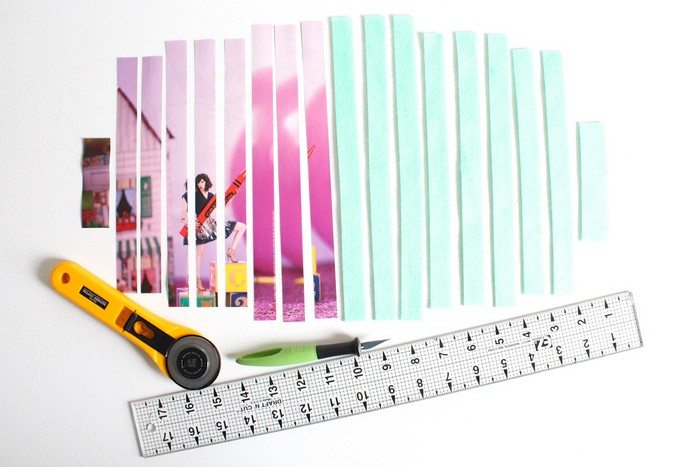
1. Cut strips out of your chosen material.
The sizes of these strips can vary greatly – skinnier and shorter strips give tiny bows, and longer and thicker strips give bigger bows!
These are the strips you’ll need:
- 3 long strips – mine was 3/4 x 11″
- 3 medium strips- mine was 3/4 x 10 “
- 2 short strips – mine was 3/4 x 9″
- 3/4 – 1″ wide strip for the middle of the bow – length will vary
The measurements above will give you the typical-sized bow you’d buy in a store – 4-5 inches across.
Once you’ve made a few of these, you should be able to size them up and down pretty easily! The process makes much more sense once you’ve made one or two.
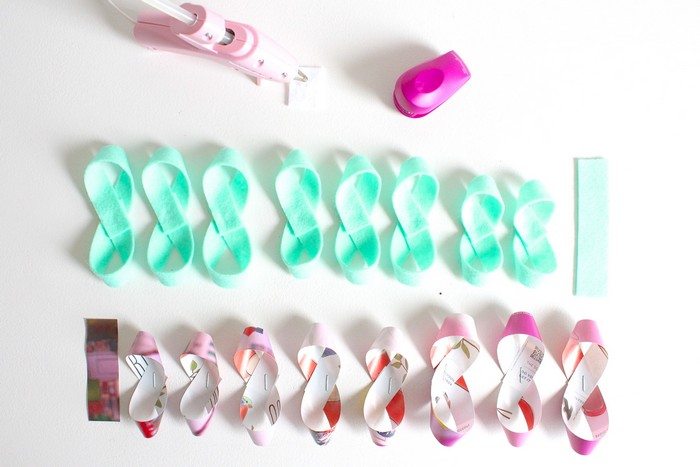
2. Loop the strips
Now you’ll want to loop the ends of each strip and have them meet in the middle. Just play around with one of the longest ones until it looks right, and then make the other long strips match that one. Do the same for the medium and short strips – each group of strips should look similar!
For paper, it’s super easy to staple them! It’s a nice shortcut. For felt, you’ll want to stick them together using a glue gun.
3. Glue them together.
Now you’ll want to glue each group together so you have three separate tiers.
4. Stagger the layers
Once that’s done, glue the three tiers together! Try to stagger the layers so they look nice and full.
The size of the strip you use to fill in the middle depends entirely on the space that’s left!
On felt bows, it’s best to use a wider strip – maybe 1 inch wide by 3-4 inches long. That will fill in the space better.
On paper bows, you’ll probably have a smaller space to fill in, so a strip 3/4 inch wide by 2-3 inches wide should do the trick.
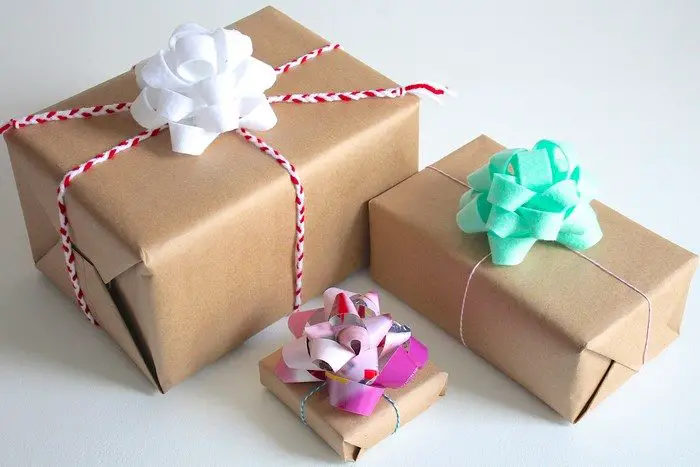
And there you go – custom gift bows out of any paper or felt you have around!
Thanks to jessyratfink for this great project!
If you liked this project, you might also like to view 10 Gift Ideas…


