If your house is anything like ours, then somewhere is a huge container of crayons. We acquired our collection over the years from restaurants, birthday parties, school supplies, gifts, and the like.
We keep them around because crayons inspire creativity in our kids. They are a fun, colorful way for children – and adults! – to express themselves. They are also quite versatile.
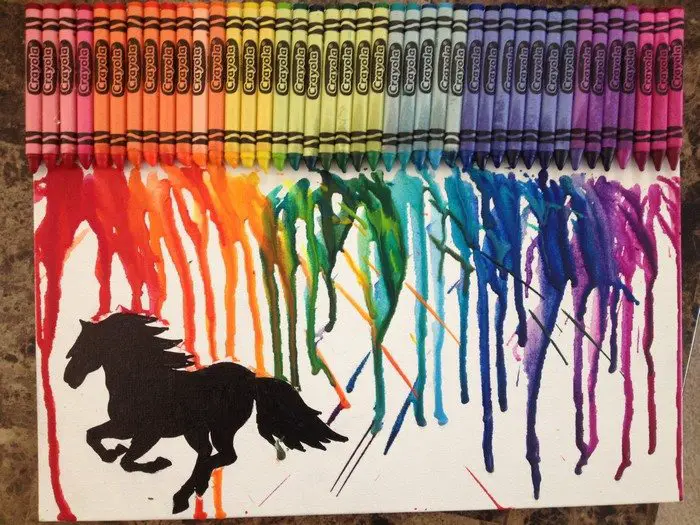
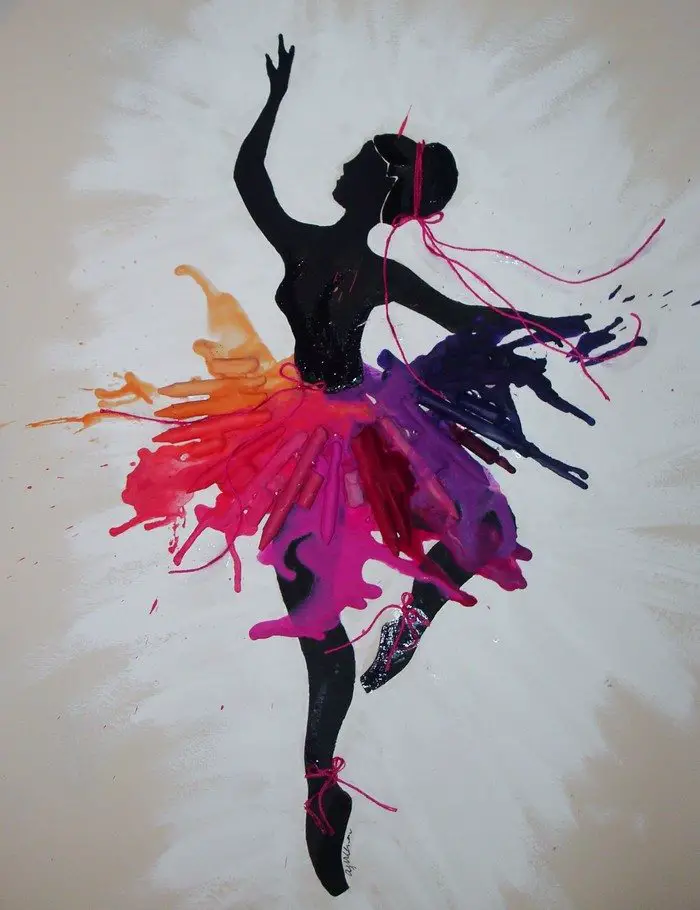
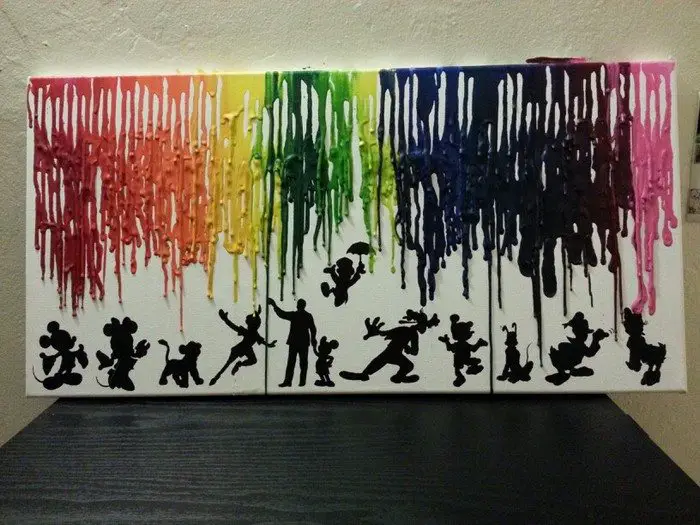
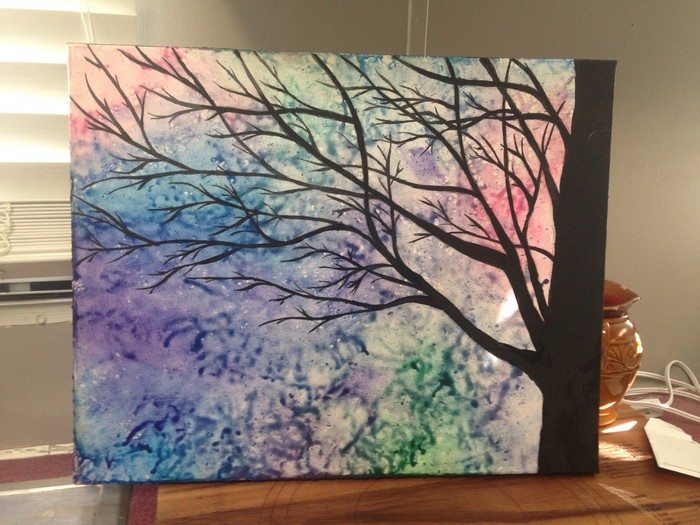
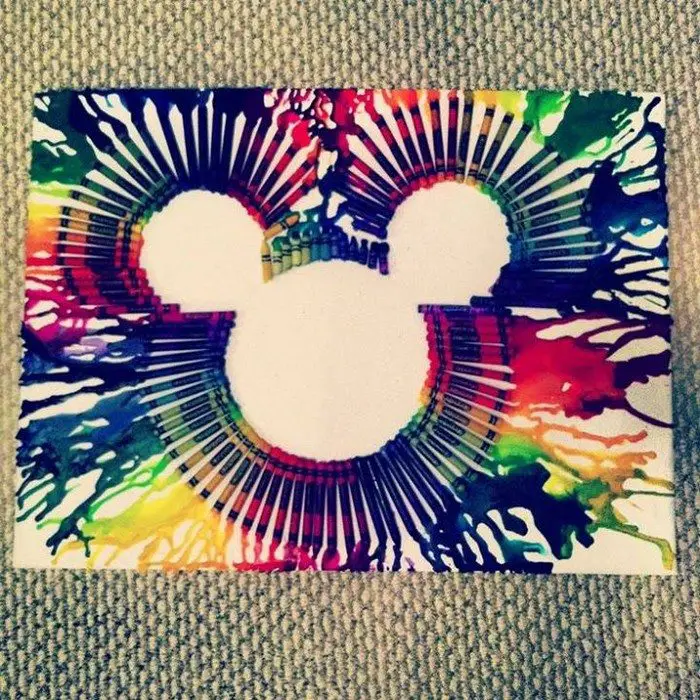
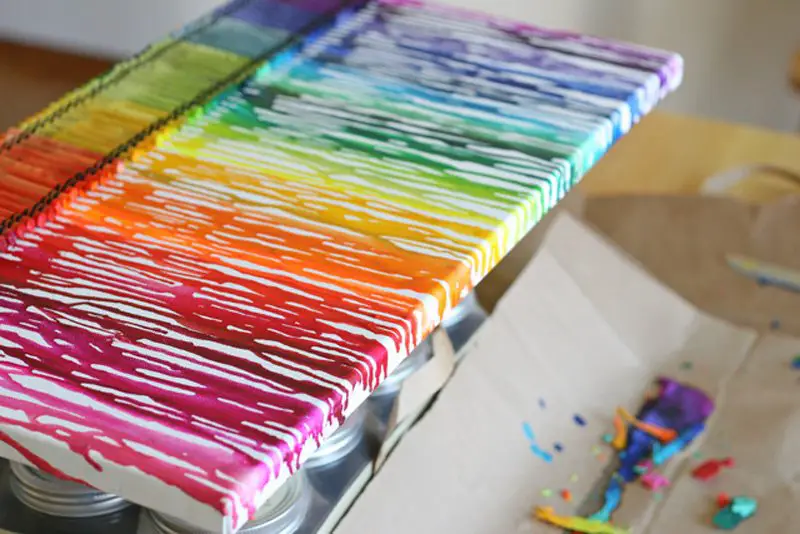
You can even hang your own canvas masterpiece with the use of crayons and a heat gun. Be creative and try making different shapes or abstract art with it!
Click on any image to start the lightbox display. Use your Esc key to close the lightbox.![]()

Contents
- 1 What are the materials needed to create a DIY melted crayon wall decor?
- 2 How to create a DIY melted crayon wall decor?
- 2.1 1. Spread out a newspaper
- 2.2 2. Sort the crayons
- 2.3 3. Lean your canvas
- 2.4 4. Melt the crayons
- 2.5 5. Clean up the edges and coagulated parts
- 2.6 Thanks to Glorious Treats for this wonderful project.
- 2.7 If you liked this project, you might also like to view DIY Candles from Crayons and Remake broken crayons…
What are the materials needed to create a DIY melted crayon wall decor?
Materials:
- Canvas
- Crayons
- Glue gun
- Heat Gun (or hair dryer, but the melted crayons are more difficult to control using this)
- Old newspapers
How to create a DIY melted crayon wall decor?
1. Spread out a newspaper
First of all, spread out the newspaper in your work area so that you won’t have to clean your furniture or floor after. Remember you are working with wax. It may even damage your furniture.

2. Sort the crayons
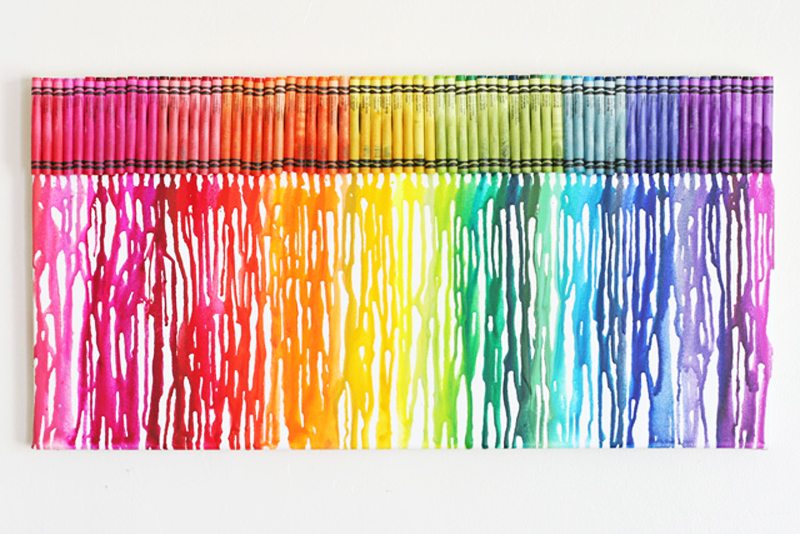
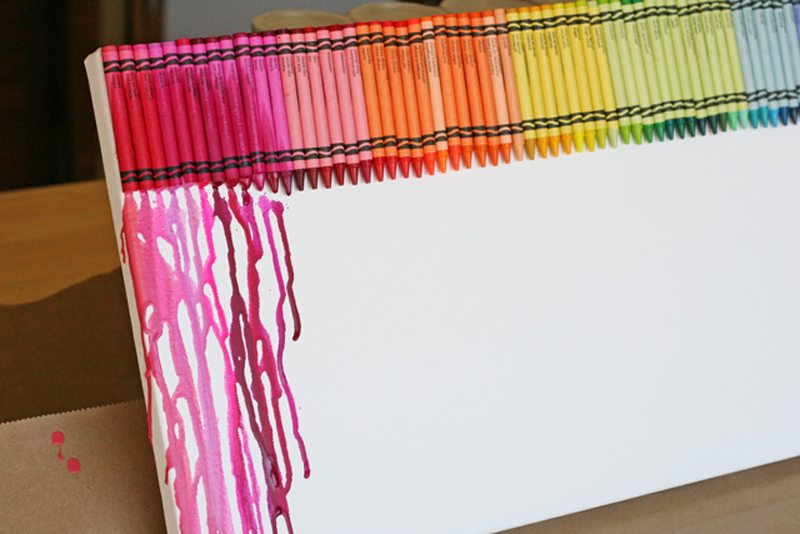
Now sort the crayons by color. You might want to exclude the browns, black and grey. Line them up in a nice spectrum of colors. And when you are satisfied stick the crayons on top of your canvas using the glue gun.

3. Lean your canvas
Once all the crayons are attached, lean your canvas on some support, positioning it at about 30 degrees. Start blowing a few crayons at a time with the heat gun. Hold the gun about 12 inches away from the crayons.
4. Melt the crayons
Now you have to be patient here, the crayons will take some time before it melts and runs. This might take you a little less than an hour to complete.
5. Clean up the edges and coagulated parts
Once you are done with all the crayons, lay your canvas with the bottom edge hanging. “Clean” up the edge by scraping off excess wax, or use the heat gun again to melt some that have coagulated. Let your kids do this art with your guidance.
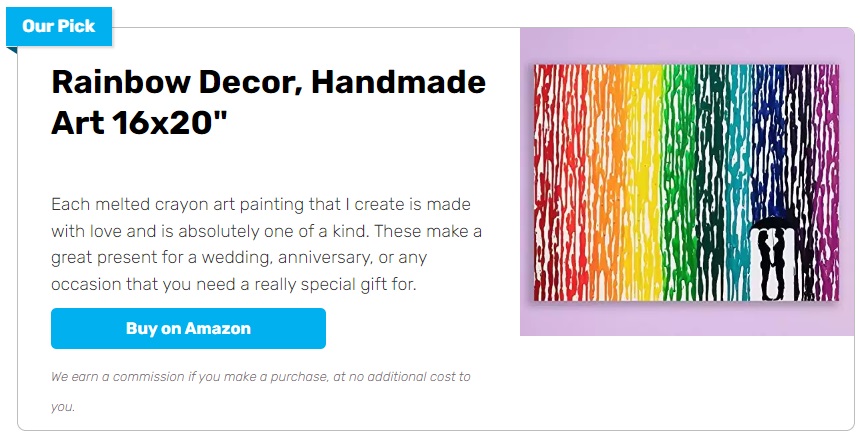
Now you can have this piece of art displayed in your living room! :)


